
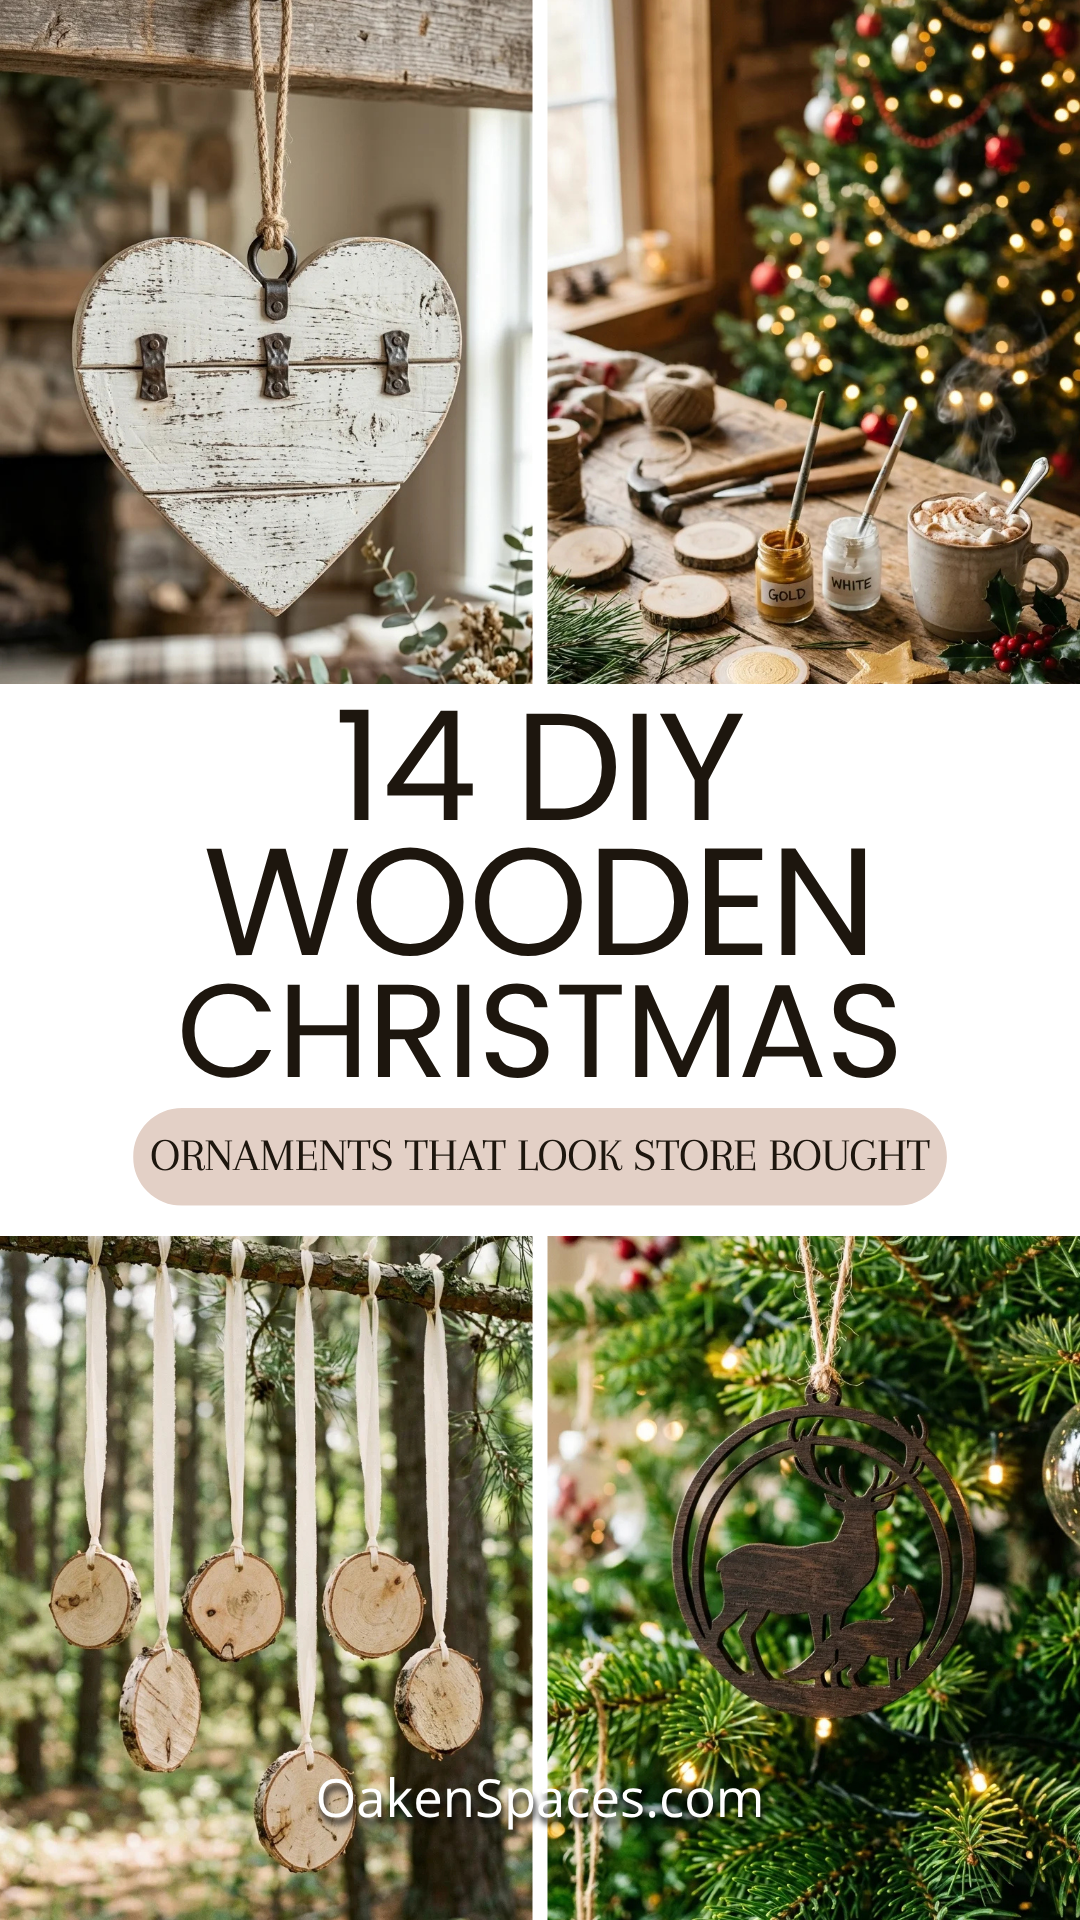
The holiday season brings a unique craving for authenticity and warmth in our home decor. While plastic baubles have their place, there is something undeniably timeless about wooden ornaments. They ground a Christmas tree with earthy textures and a “hand-crafted” luxury that feels both nostalgic and high-end.
The secret to making DIY ornaments look “store-bought” lies in the finishing touches: sanding until the surface is buttery soft, using a sophisticated color palette, and choosing high-quality hardware. If you are ready to upgrade your tree with artisanal flair without the boutique price tag, here are 14 stunning wooden ornament projects to try this year.
1. Wood Slices
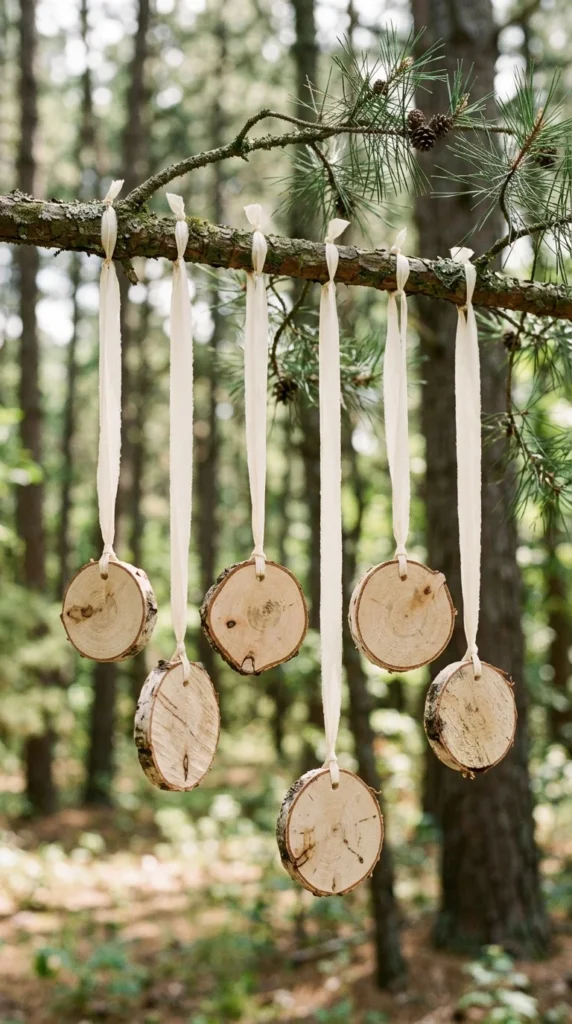
The classic wood slice is the foundation of rustic holiday decor. To elevate these from a “school craft” to a “boutique find,” focus on the wood species. Birch slices with their silvery-white bark are particularly striking.
- How to achieve the look: Sand both sides of the slice with 220-grit sandpaper until they are smooth. Instead of using thick twine, use thin leather cord or velvet ribbon.
- Design Tip: Leave them blank to showcase the natural grain, or apply a light coat of matte polyurethane to deepen the wood tones without adding an artificial shine.
2. Geometric Gems
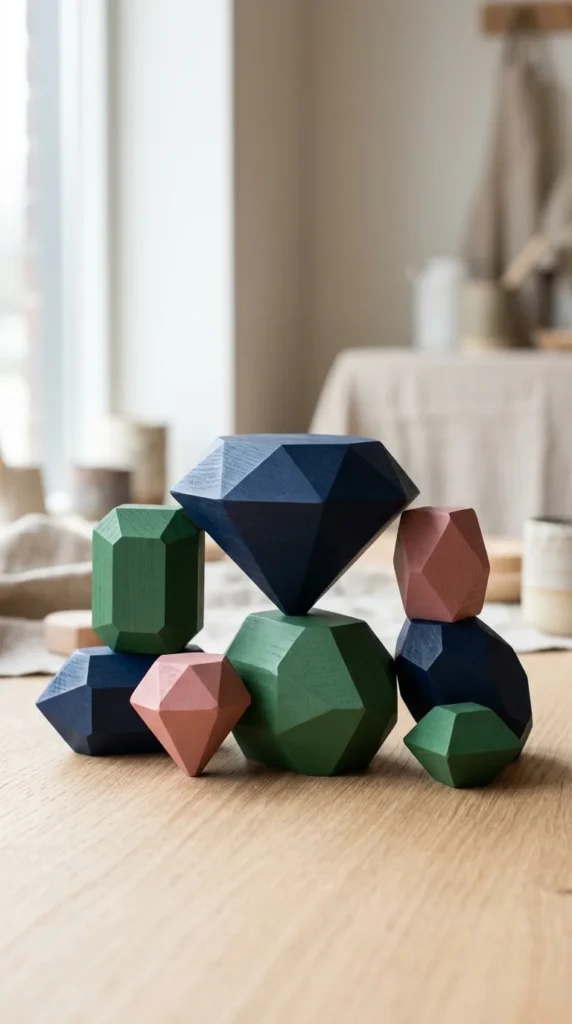
Modern Christmas trees benefit from sharp lines and abstract shapes. You can purchase pre-cut geometric wooden beads or blocks from craft stores and transform them into “gems.”
- The Technique: Use painter’s tape to create crisp lines. Paint half of the “gem” in a matte jewel tone and leave the other half as raw wood. This “dipped” look is a hallmark of Scandinavian design.
- Assembly: Drill a small hole through the center and thread a metallic gold wire through, finishing with a small loop at the top.
3. Scandi Trees
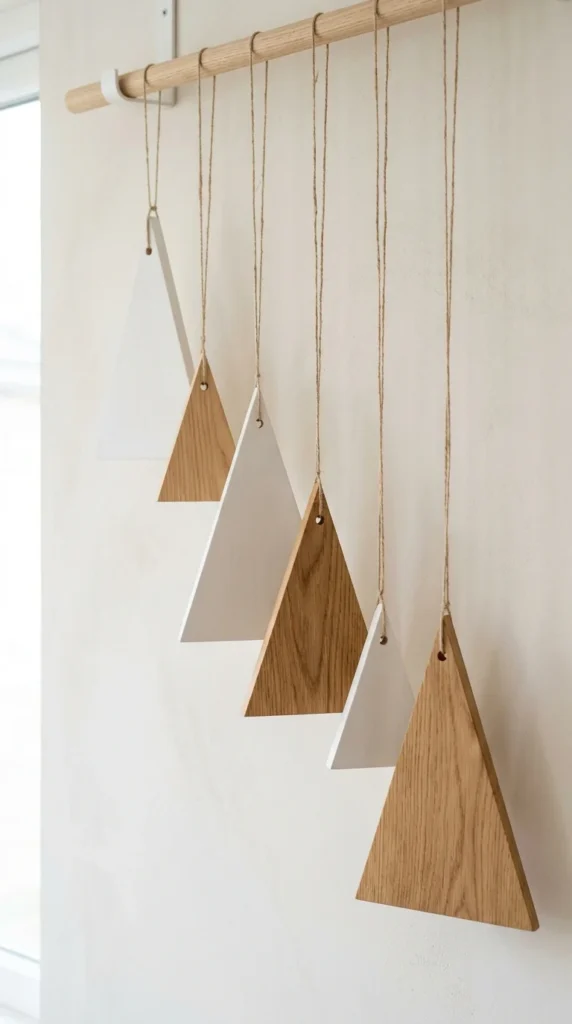
Minimalism is key for a high-end Scandi aesthetic. These ornaments are essentially stylized triangles that emphasize the beauty of the wood grain.
- Materials: You can use thin plywood or even thick balsa wood for easy cutting.
- The Finish: Avoid glossy paints. Instead, use “whitewash” (a mix of white paint and water) to let the wood grain peek through. This creates a soft, frosted appearance that looks beautiful against green needles.
4. Burned Snowflakes
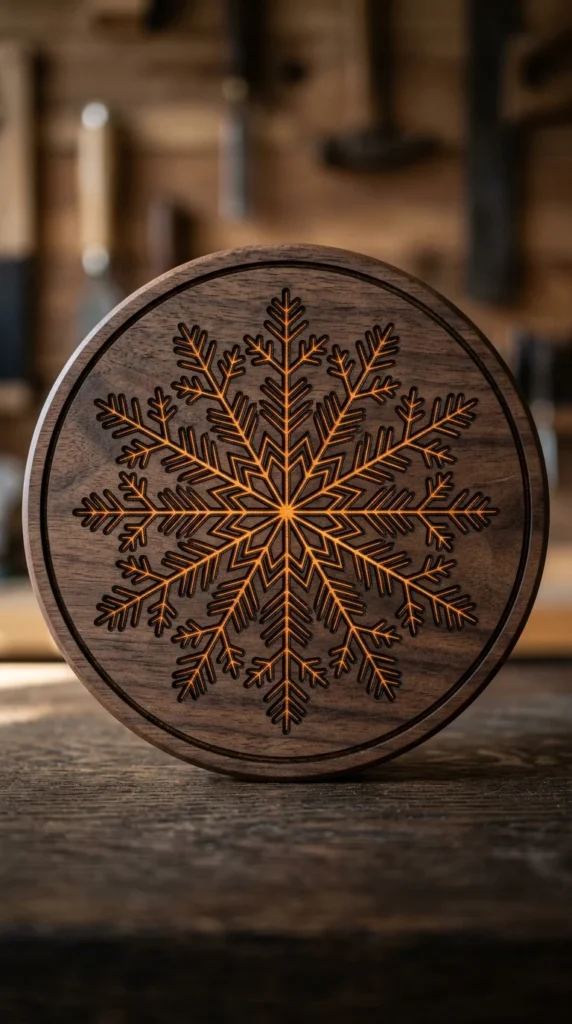
Pyrography, or wood-burning, is the ultimate way to get a professional, permanent design. It looks like a custom laser-cut piece but carries the soul of a handmade item.
- Getting Started: Draw your snowflake lightly in pencil first. Use a wood-burning tool with a fine tip to trace the lines.
- Elevate it: Contrast the dark, charred lines by rubbing a tiny bit of white wax or white oil paint into the grooves once the wood has cooled.
5. Bead Wreaths
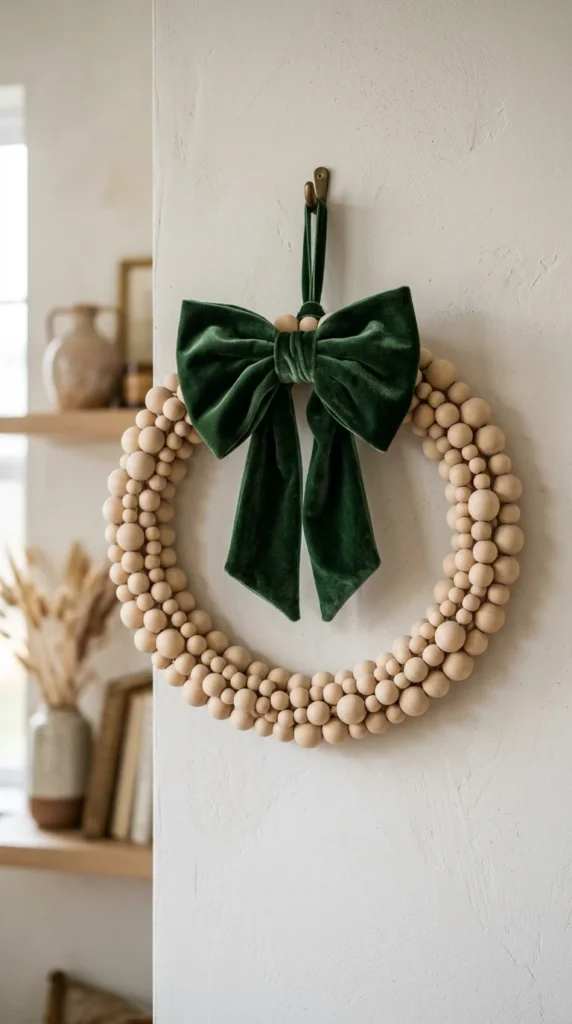
Wooden bead ornaments are incredibly popular in high-end home decor stores. They add a soft, organic texture that breaks up the roundness of traditional spheres.
- Construction: Use a sturdy floral wire to string together 10-15 wooden beads. Twist the ends together to form a perfect circle.
- The Detail: Hide the wire twist under a high-quality ribbon. Choose “unpainted” beads for a raw, boho look, or “faceted” beads for a more modern edge.
6. Enamel Stencils
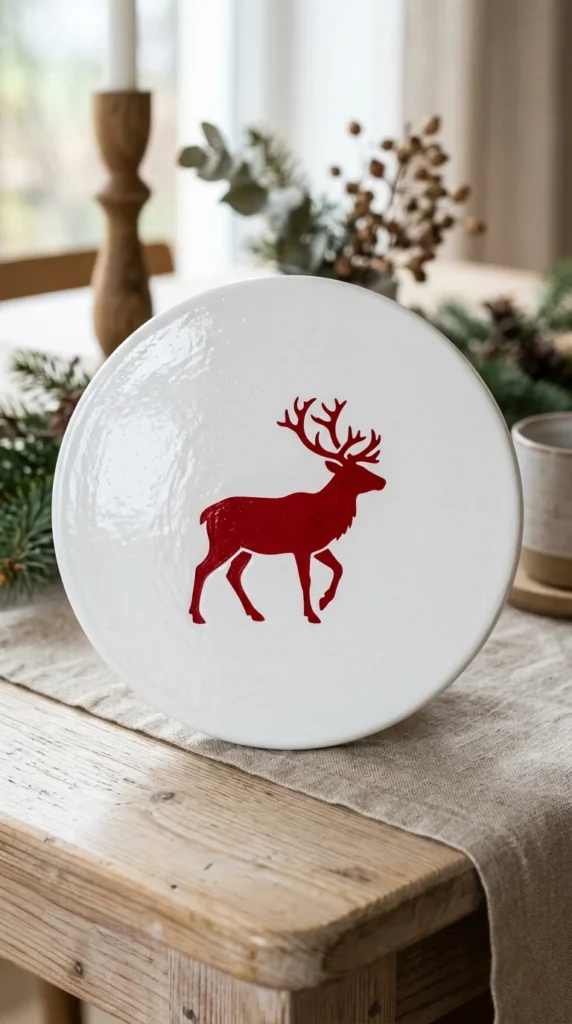
To get the “store-bought” look, you want to mimic other materials like enamel or ceramic. This is done through heavy-duty sanding and high-gloss finishes.
- The Process: Apply two coats of white primer to a wooden disk, sanding between each. Use a high-quality stencil and red acrylic paint for your holiday icon (a sled, a tree, or a star).
- The Secret: Finish with a thick layer of “Triple Thick” gloss glaze or resin. This gives the ornament a weighted, glass-like feel.
7. 3D Stars
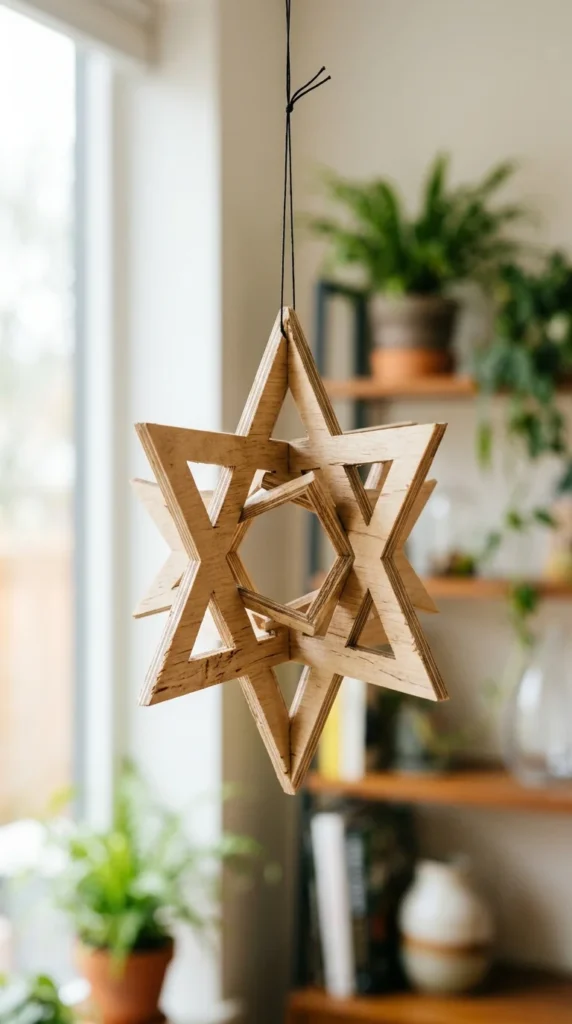
Three-dimensional ornaments add depth to your tree. Slotted wooden stars look architectural and expensive.
- DIY Hack: You can find flat wooden star cutouts at most craft stores. Use a small hand saw to cut a slit halfway down the center of one star, and halfway up the bottom of another.
- Assembly: Slide them together like a puzzle. They will stay together with friction, but a tiny drop of wood glue ensures they survive the season.
8. Driftwood Trees
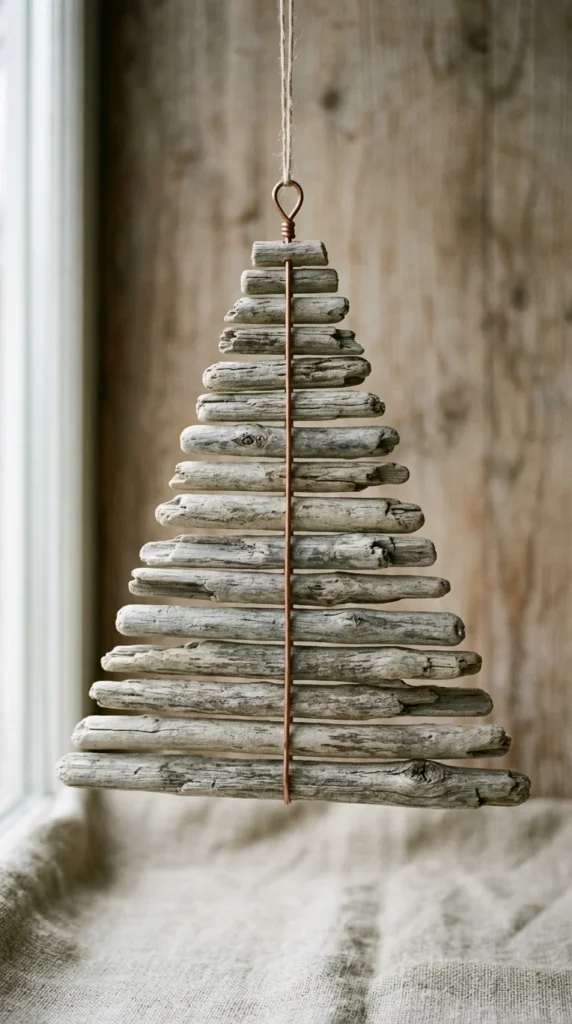
If you prefer a coastal or rustic farmhouse vibe, driftwood ornaments are a perfect choice. They look like something you would find in an upscale seaside boutique.
- Sourcing: You can find bags of “craft driftwood” online if you don’t live near a beach.
- The Build: Drill a hole through the center of 5-7 sticks of varying lengths. Thread them onto a piece of twine, placing a small wooden bead between each “branch” to give the tree height.
9. Photo Transfers
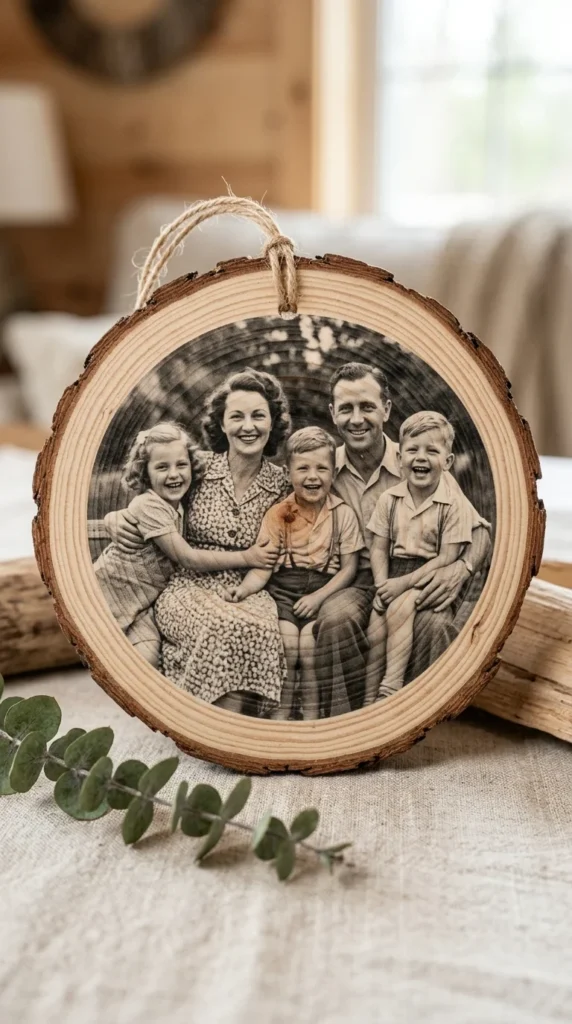
Personalized ornaments can often look “cluttered,” but a wood-transfer technique makes them look like professional heritage pieces.
- The Method: Print a photo on a laser printer (must be a laser printer). Apply “Photo Transfer Medium” or Mod Podge to the wood, place the photo face down, and let it dry overnight.
- The Reveal: Gently rub the paper away with a damp cloth to reveal the ink embedded in the wood. It looks like the photo was printed directly onto the grain.
10. Gilded Edges
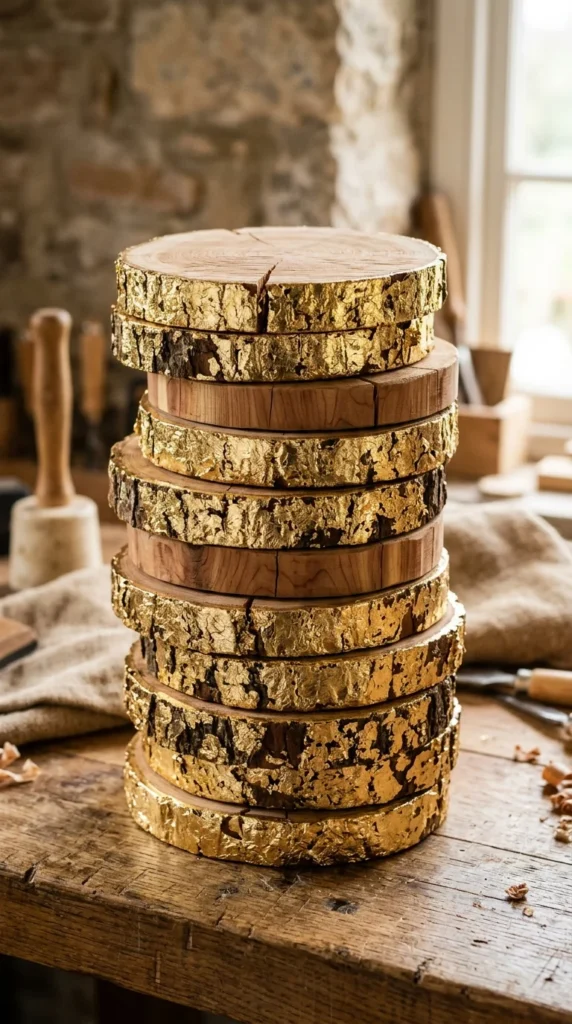
Adding a metallic element instantly boosts the “luxe” factor of a wooden ornament. Gold leafing is an easy way to achieve a professional finish.
- Application: Use “gold leaf size” (a specific adhesive) on just the outer bark edge of a wood slice. Carefully press gold leaf sheets onto the adhesive.
- Contrast: The juxtaposition between the rough, natural bark and the shiny, refined gold is incredibly high-end.
11. Chalkboard Circles
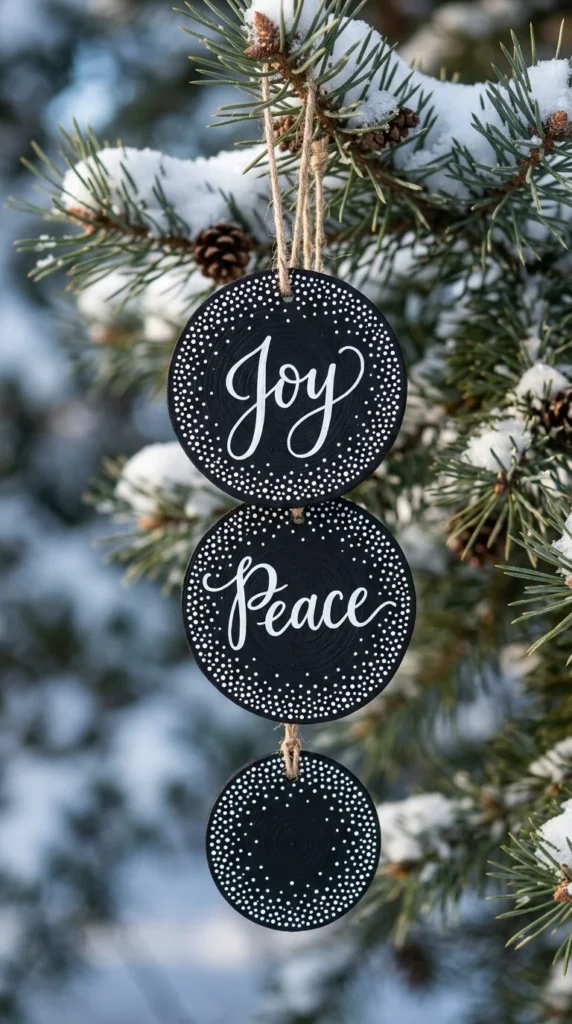
Chalkboard ornaments allow for customization while maintaining a cohesive, sophisticated look across the tree.
- The Paint: Use high-quality chalkboard paint rather than standard matte black, as it has a more velvety texture.
- The Art: Instead of using actual chalk, which smudges, use a “fine-tip chalk marker” for the crisp look of professional lettering. Add a sprig of real cedar or rosemary to the top for a fragrant, designer touch.
12. Silhouetted Animals
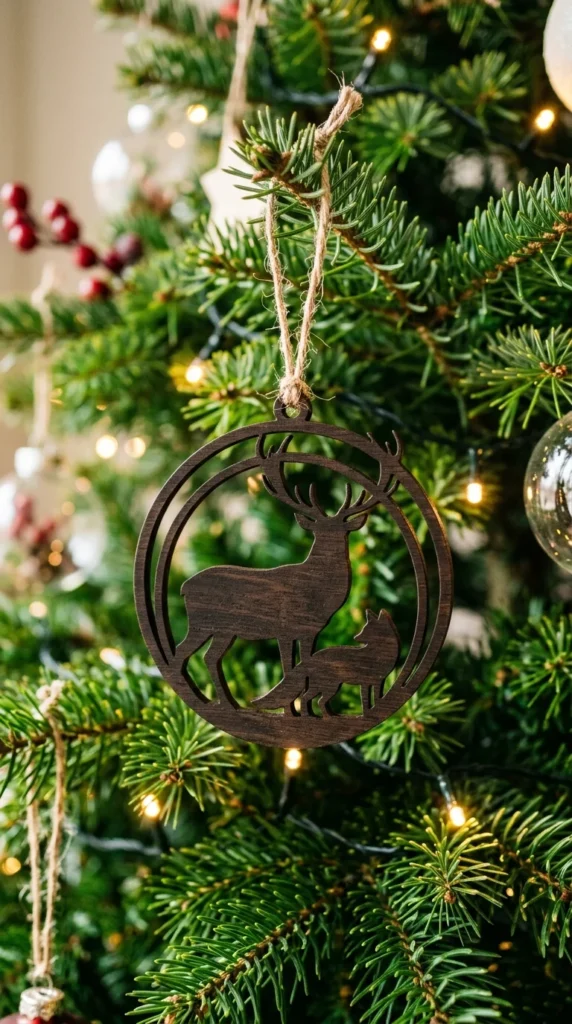
Silhouettes are timeless. By using dark stains, you can make simple wooden cutouts look like expensive iron or carved mahogany.
- Finishing: Use a “Gel Stain” in a color like Espresso or Ebony. Gel stains sit on top of the wood rather than soaking in unevenly, providing a very consistent, deep color that looks like high-end furniture.
- Hanger: Use a thin copper wire for the hanger to complement the dark wood tones.
13. Veneer Inlays
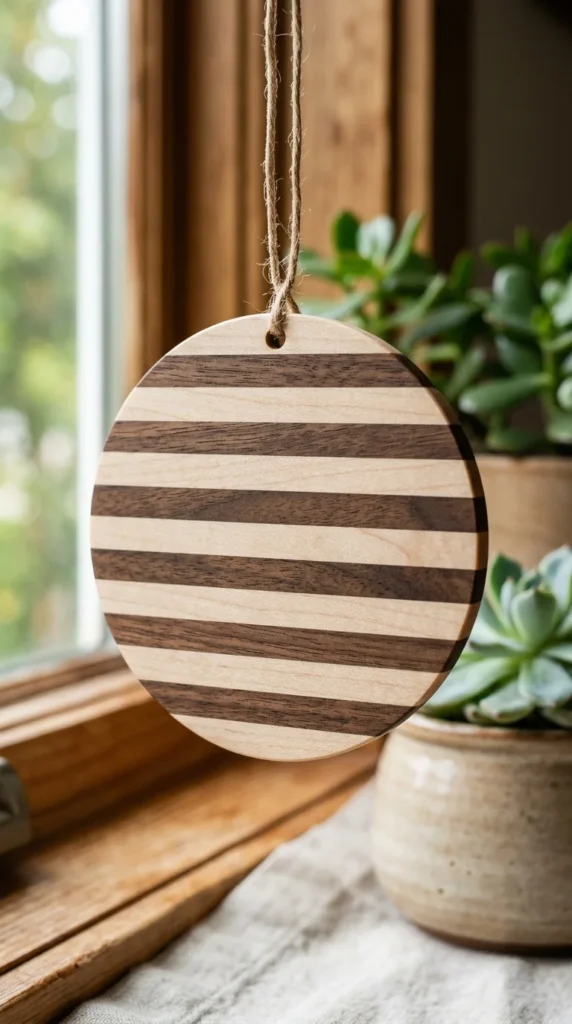
Wood veneer is paper-thin wood that can be cut with scissors or a utility knife, making it perfect for complex designs without heavy machinery.
- The Look: Glue strips of different colored veneers (cherry, maple, walnut) onto a thin plywood backing. Once dry, cut out your ornament shape (like a bell or a ball).
- The Result: This mimics the look of “marquetry,” an expensive furniture-making technique, but is achievable on a small scale at your kitchen table.
14. Shiplap Hearts
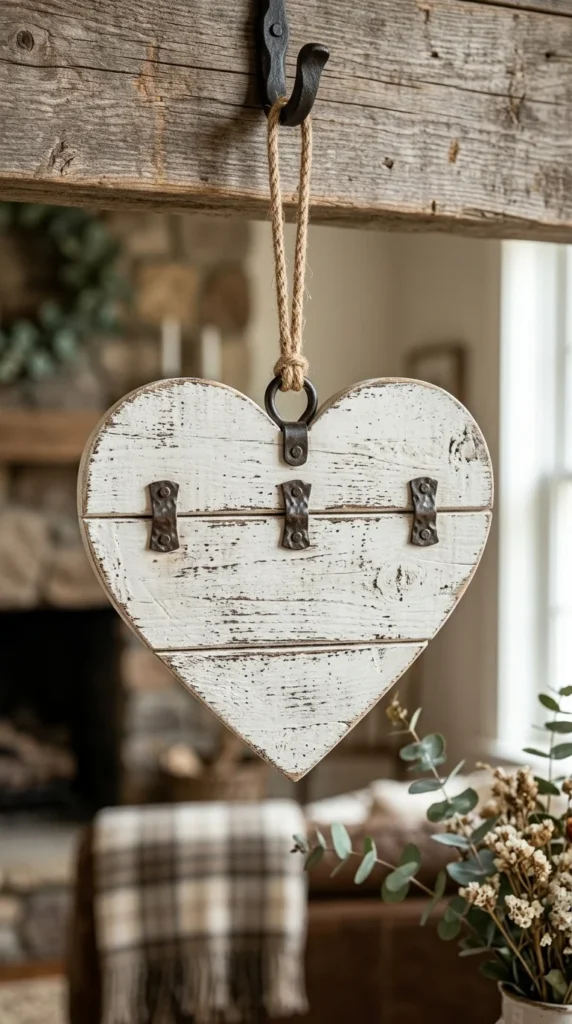
For fans of the modern farmhouse aesthetic, shiplap isn’t just for walls. These “slatted” ornaments look like architectural salvage.
- Construction: Glue 3 or 4 small craft sticks or thin wood strips together horizontally to a backing piece.
- The “Store-Bought” Secret: Don’t just paint them white. Use a “dry brush” technique with a nearly dry paintbrush to create a weathered look, then sand the edges to reveal the “old” wood underneath. Finish with a small rusted metal star or a galvanized wire loop.