
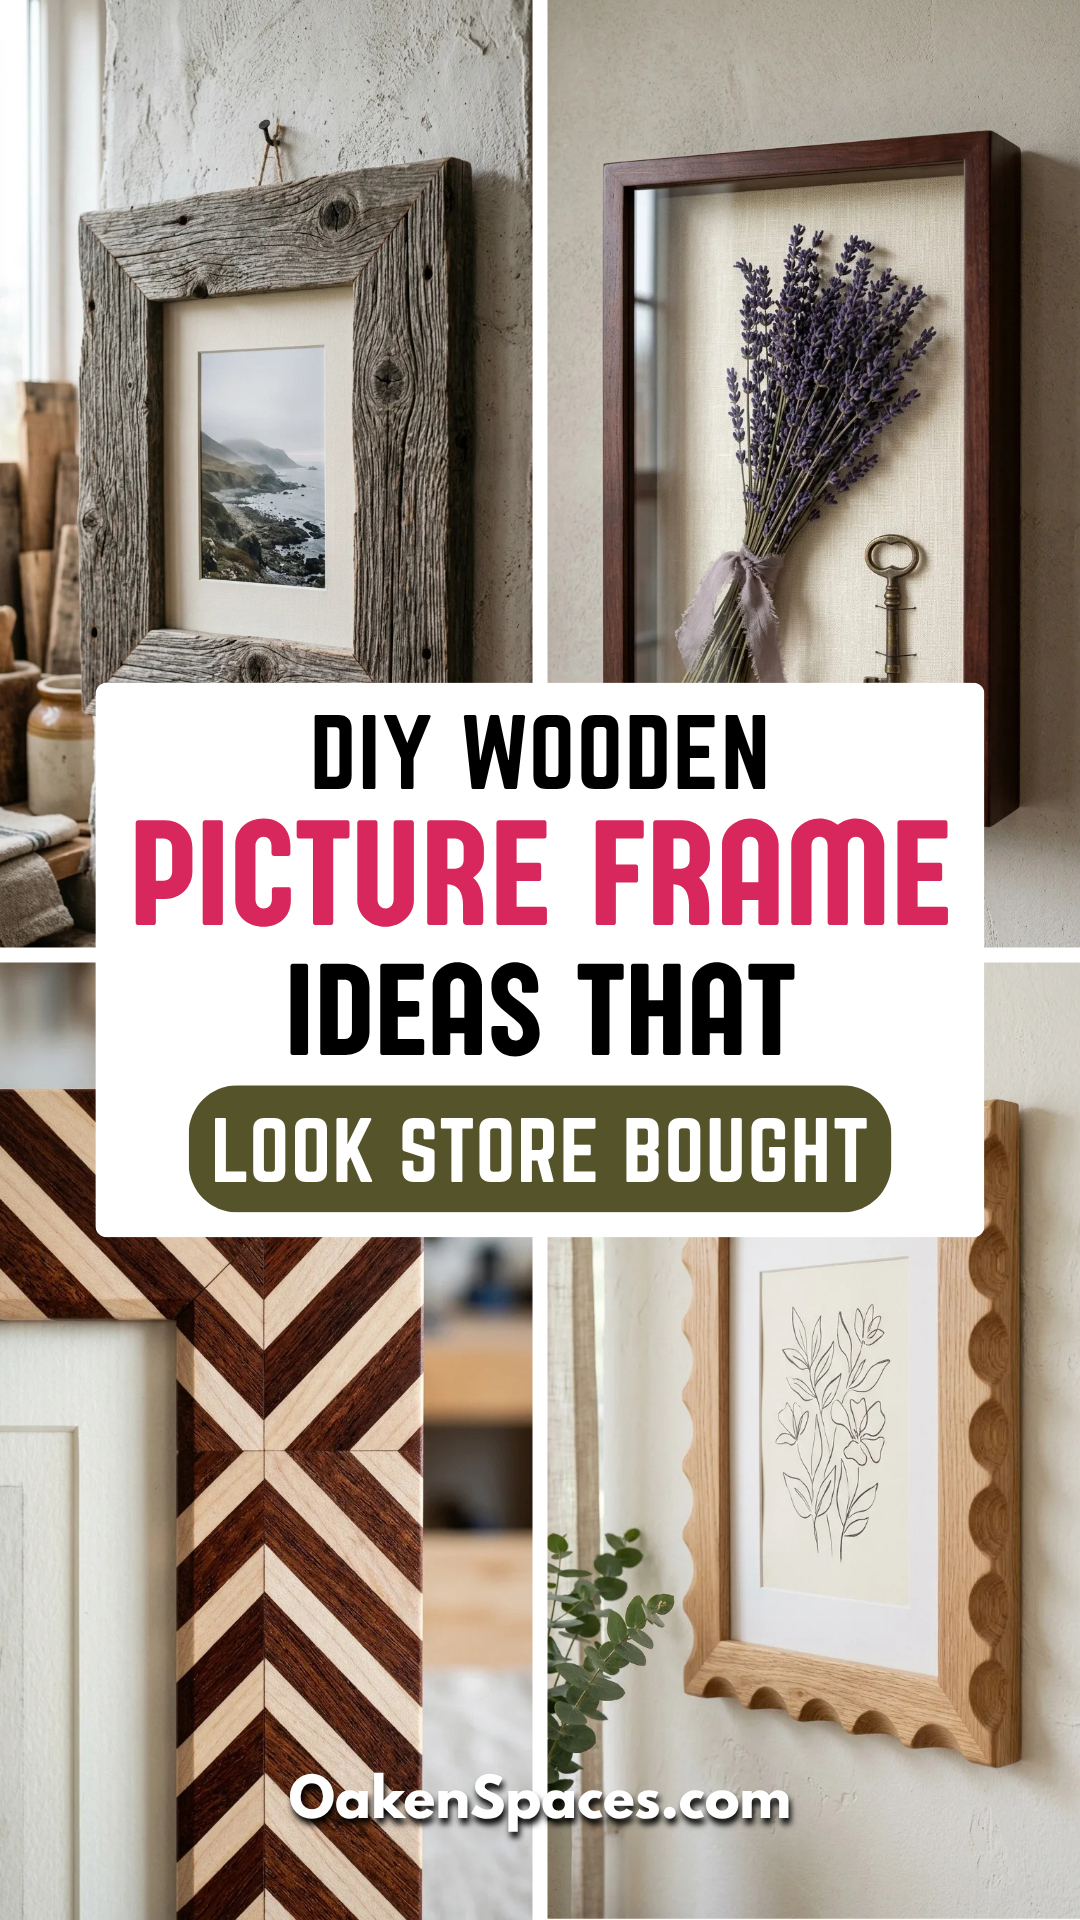
Standard store-bought frames can be surprisingly expensive, often lacking the character or the exact dimensions you need for your favorite art pieces. However, with a few basic tools and a bit of creativity, you can craft gallery-quality frames that look like they were plucked straight from a high-end boutique. Whether you are aiming for a minimalist modern look or a rugged rustic vibe, these ten DIY wooden picture frame ideas will elevate your home decor while saving you a fortune.
1. Floating Frame
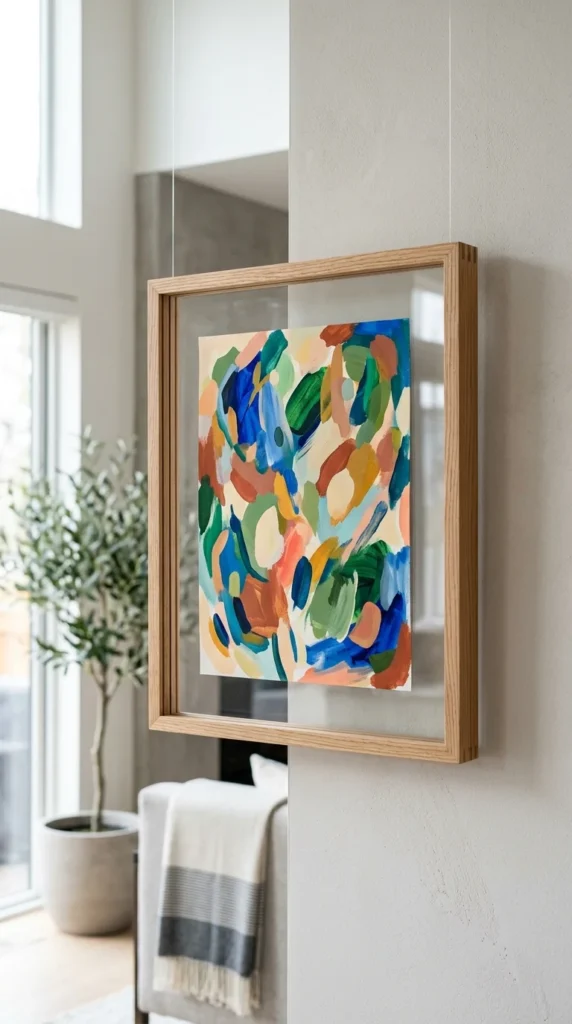
The floating frame is the pinnacle of modern sophistication. Unlike traditional frames where the art sits against a backing, floating frames sandwich the artwork between two pieces of glass or acrylic. This creates a transparent border that makes the art appear to hover within the wooden structure. To achieve a professional finish, use thin, hardwood slats like oak or walnut. The key to the “store-bought” look here is precision; ensure your mitered corners are tight and the wood is sanded to a buttery smooth finish. Using a clear satin polyurethane will protect the wood without making it look overly shiny or “plasticky.”
2. Rustic Barnwood
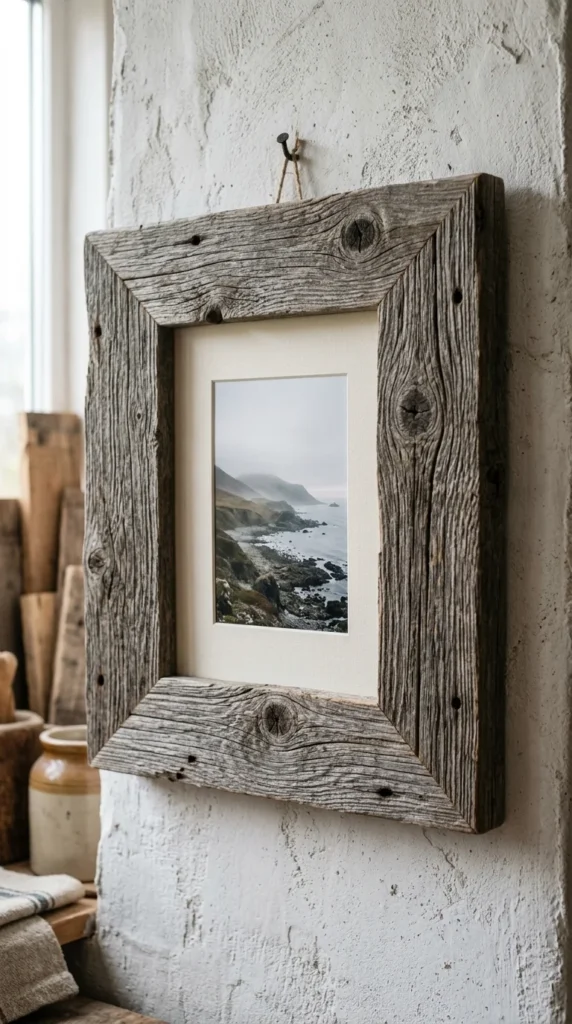
Nothing beats the warmth of reclaimed wood. To make this look professional rather than messy, focus on the proportions. A wide, chunky border made from weathered cedar or reclaimed pallet wood creates a dramatic focal point. To get that high-end “restoration” look, lightly sand the surface to remove splinters but leave the deep grooves and natural discoloration intact. A dark wax finish can be applied to settle into the grain, adding depth and a subtle sheen that makes the reclaimed wood look intentional and curated.
3. Chevron Inlay
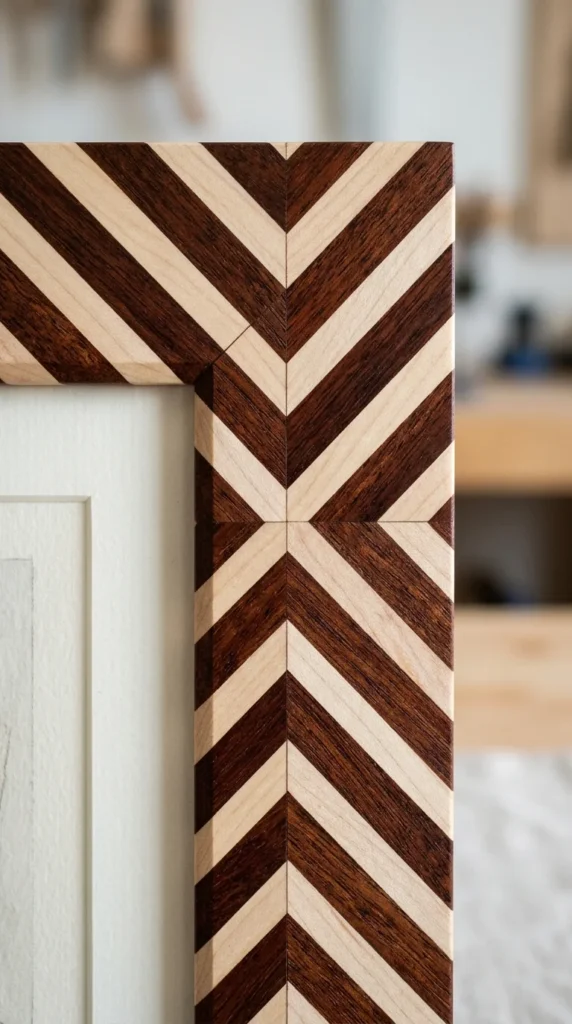
If you want a frame that is a work of art in itself, the chevron inlay is the way to go. This involves cutting small strips of contrasting wood—such as maple and walnut—at 45-degree angles and gluing them onto a plywood base. The resulting “V” pattern is visually striking and mimics the intricate parquetry found in luxury furniture stores. To ensure it looks store-bought, use a wood filler that matches your darker wood to close any tiny gaps before the final sanding. A high-gloss finish can make these contrasting colors pop beautifully.
4. Gold Leaf
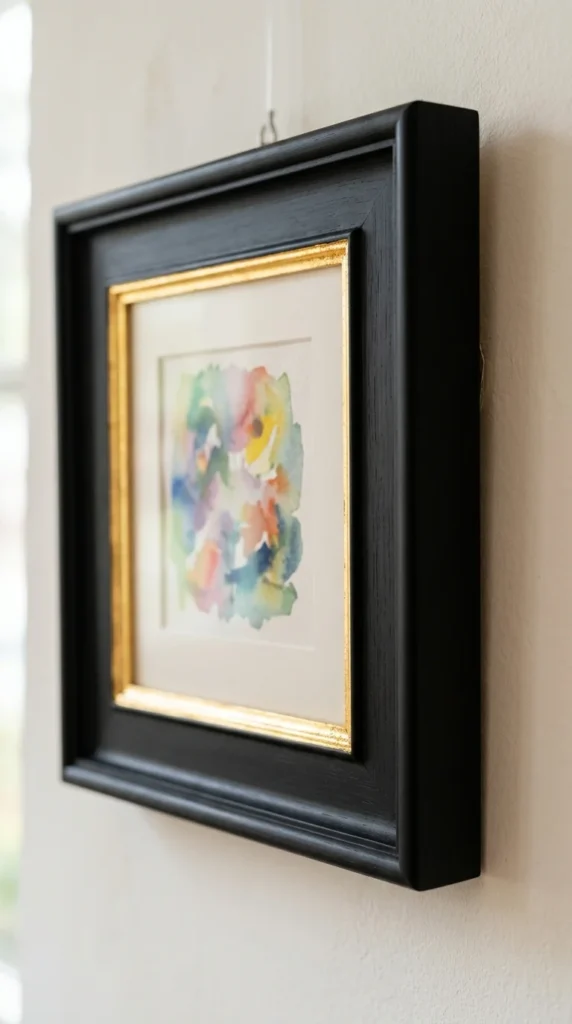
Adding a touch of metallic flair is the easiest way to make a simple wooden frame look like a million dollars. Start with a basic pine frame and paint it a deep matte black or a moody navy. Once dry, apply a thin layer of gold leaf adhesive to the inner lip of the frame. Carefully lay down sheets of gold leaf, brush away the excess, and seal it. The contrast between the organic wood grain (even under paint) and the bright, reflective gold creates a sophisticated, “museum-grade” aesthetic that fits perfectly in formal dining rooms or offices.
5. Magnetic Hangers
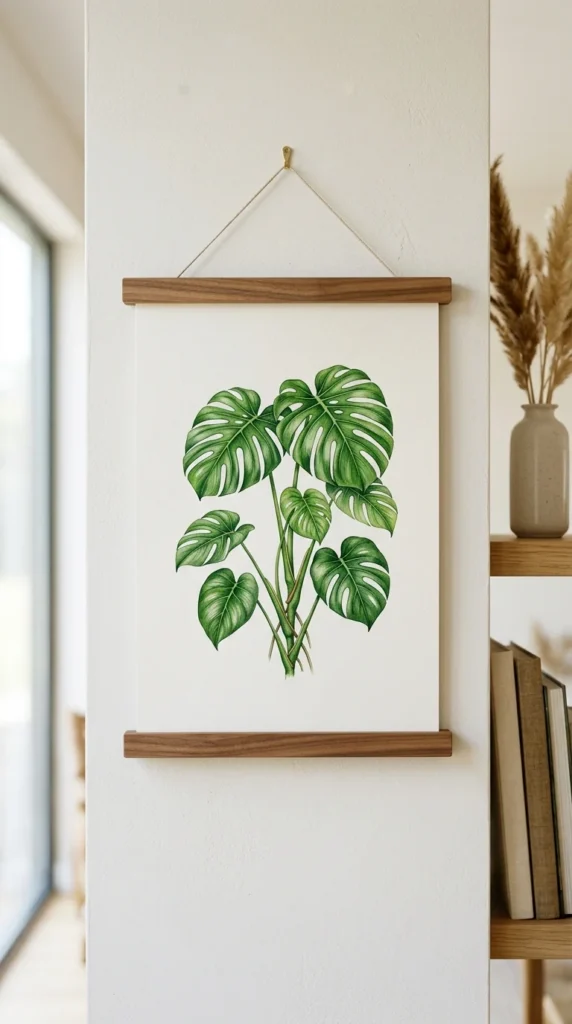
Magnetic wooden hangers are incredibly popular in Scandinavian design. They are essentially two pairs of wooden slats with powerful rare-earth magnets embedded inside them. One pair “claps” the top of the print, and the other provides weight at the bottom. To make these look professional, use a router to create a clean groove for the magnets so they sit flush with the wood. These are perfect for oversized prints or maps, offering a clean, airy look that traditional heavy frames can’t replicate.
6. Deep Shadowbox
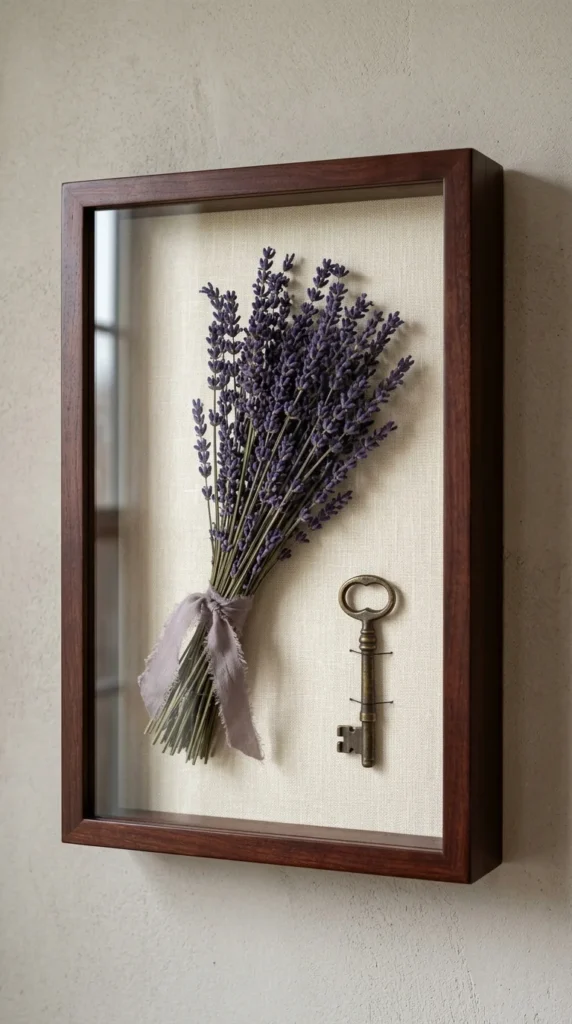
A shadowbox adds a sense of luxury by providing depth. These are excellent for framing three-dimensional objects or giving a “gallery” feel to flat photos by setting them far back from the glass. To achieve a high-end look, line the interior of the frame with a neutral fabric like linen or acid-free cardstock. The outer wooden shell should be deep—at least two to three inches—and joined with hidden biscuits or dowels to ensure the corners remain perfectly square under the weight of the deeper structure.
7. Distressed Chalk
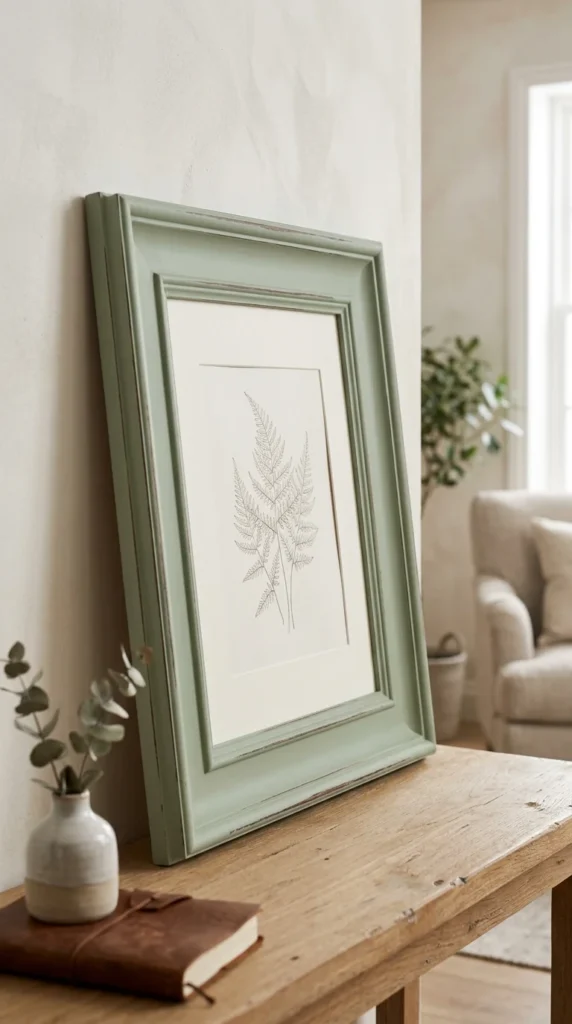
The “shabby chic” or “French country” look is all about texture. By using chalk paint, you can achieve a soft, matte finish that is easy to distress. To keep it looking like a high-end boutique find rather than a school project, use two different colors of paint. Apply a dark base coat, followed by a lighter top coat. Once dry, use fine-grit sandpaper to gently wear away the top layer on the corners and raised edges. Finish with a clear furniture wax to give the frame a smooth, touchable surface that feels aged rather than just “used.”
8. Mitered Classic
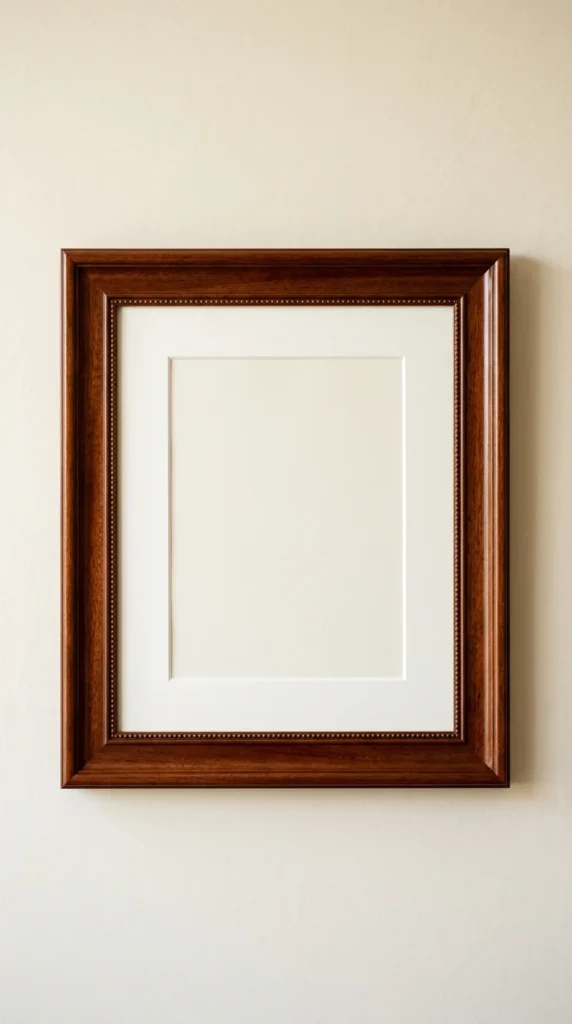
Sometimes, simplicity is the ultimate sophistication. A classic mitered frame relies on perfect angles and high-quality timber. Using hardwoods like cherry, maple, or walnut is essential here. To make this look store-bought, use a miter trimmer or a high-quality table saw sled to ensure your 45-degree cuts are absolutely perfect. Instead of using visible nails, use “V-nails” on the back or hidden splines in a contrasting wood color. A hand-rubbed oil finish will bring out the natural luster of the wood, creating a piece that feels heavy, solid, and expensive.
9. Scalloped Edge
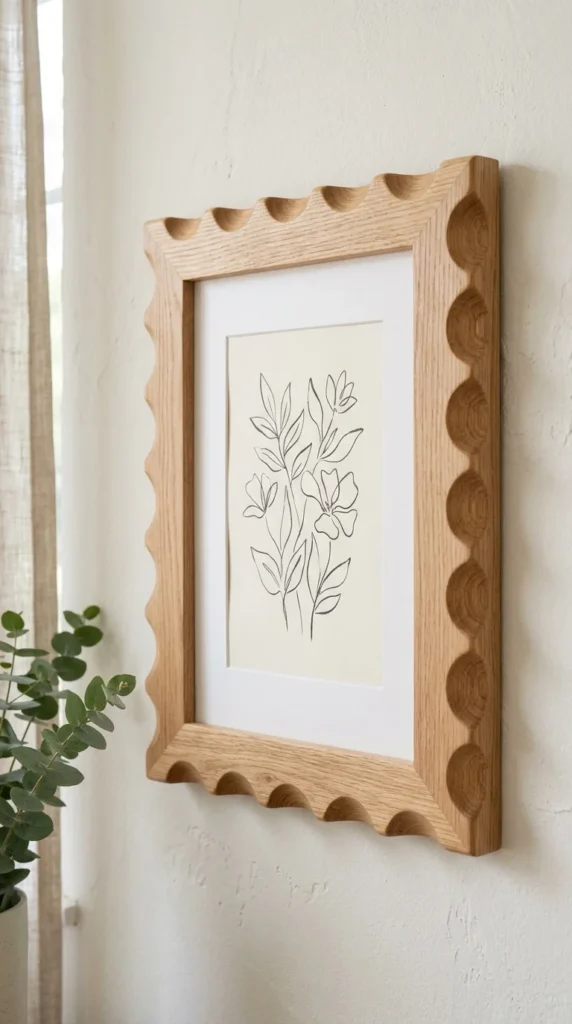
Scalloped edges are currently trending in high-end interior design, adding a whimsical yet curated touch to gallery walls. While it looks difficult, you can achieve this by using a Forstner bit on a drill press to cut a series of half-circles along the edge of a wide board before assembling the frame. Once the “waves” are sanded smooth, the frame takes on a custom-designed look. Painting these in a bold, glossy color like terracotta or forest green emphasizes the unique shape and makes them look like expensive designer pieces.
10. Inlaid Veneer
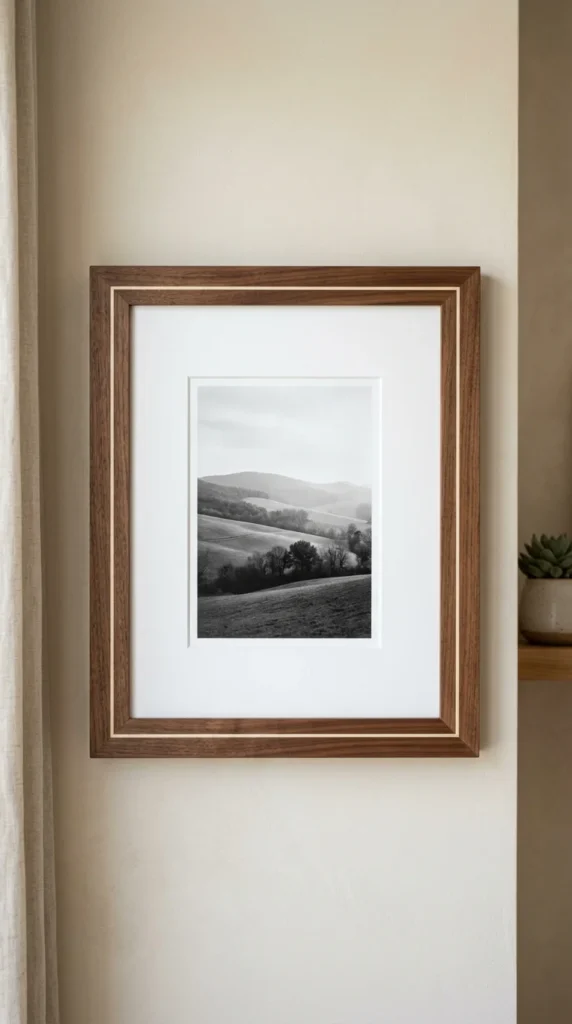
Inlay is the hallmark of fine woodworking. You don’t need a master’s degree in carpentry to pull this off; you can buy pre-made inlay strips. By routing a shallow channel into your frame’s face and gluing the inlay strip inside, you create a look of extreme precision. This technique is often seen in high-end antique frames or luxury modern decor. To finish, sand the inlay flush with the frame and apply a clear coat. The result is a flat, seamless surface where two different woods meet perfectly—a detail that screams “professional craftsman.”