
Creating your own wooden picture frames is more than just a weekend craft project; it is an opportunity to infuse your living space with soul, history, and personal flair. While store-bought frames serve a purpose, they often lack the character and specific dimensions required for unique artworks or cherished family photos. By working with wood, you tap into a versatile medium that can transition from sleek modernism to rugged farmhouse charm with just a few tool strokes. Whether you are a seasoned woodworker or a novice with a miter box, these 21 DIY ideas will help you transform simple lumber into stunning displays for your home.
1. Rustic Pallet
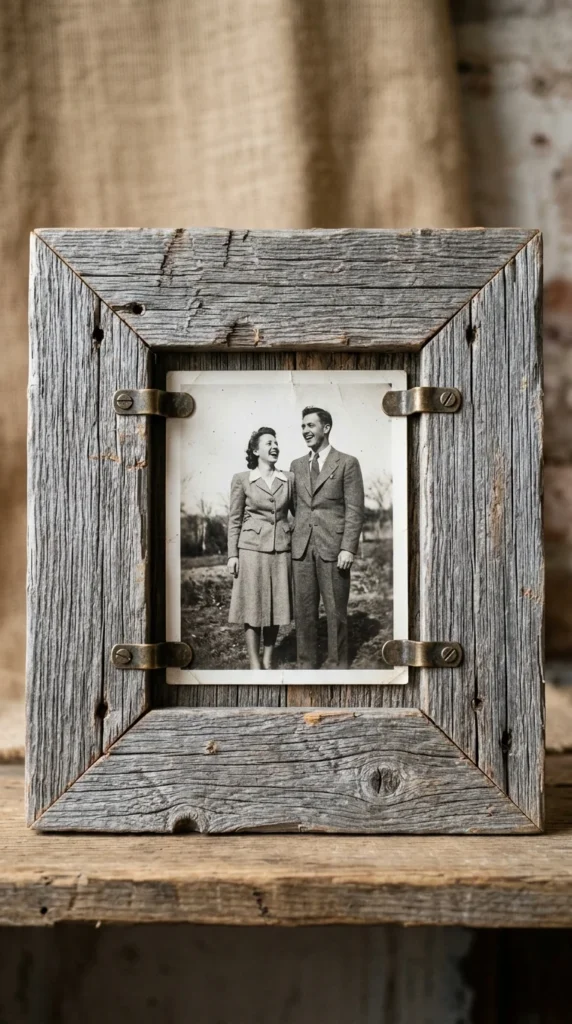
Pallet wood is a favorite among DIY enthusiasts because it is often free and comes pre-aged with a beautiful, weathered patina. To create this frame, disassemble a shipping pallet and select boards with interesting grain patterns or nail holes. Sand them just enough to remove splinters while preserving the “rugged” look. These frames work exceptionally well for black-and-white photography or botanical prints, providing a high-contrast backdrop that feels grounded and organic.
2. Modern Floating
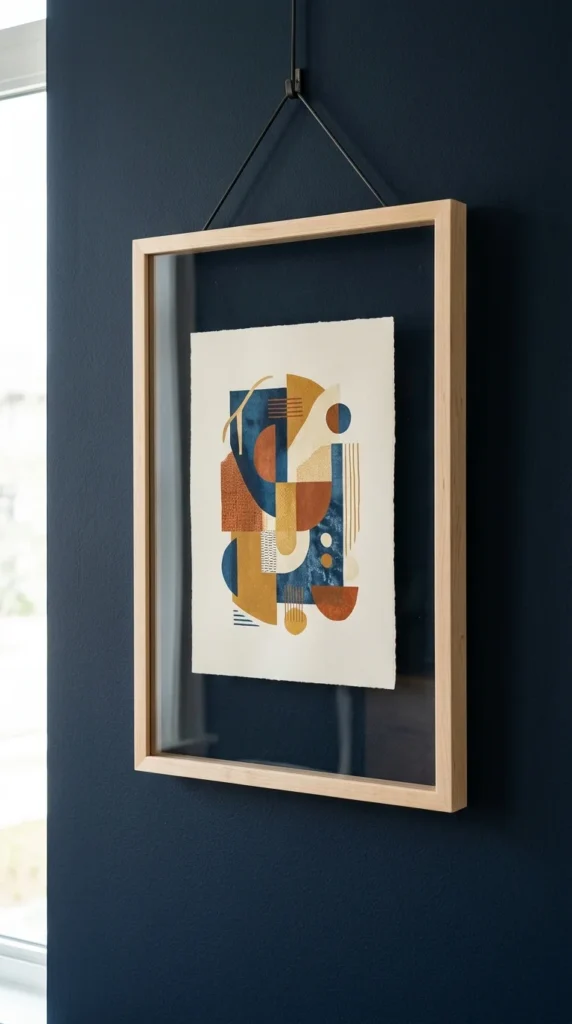
The floating frame is the pinnacle of contemporary gallery style. Instead of the art touching the edges of the frame, it is sandwiched between two pieces of glass or acrylic, leaving a transparent border around the image. The wooden outer frame acts as a structural perimeter. Using a light wood like maple or birch keeps the look airy. This style is perfect for showcasing pressed flowers, handwritten letters, or irregularly shaped art pieces where you want the edges of the paper to be visible.
3. Barn Wood
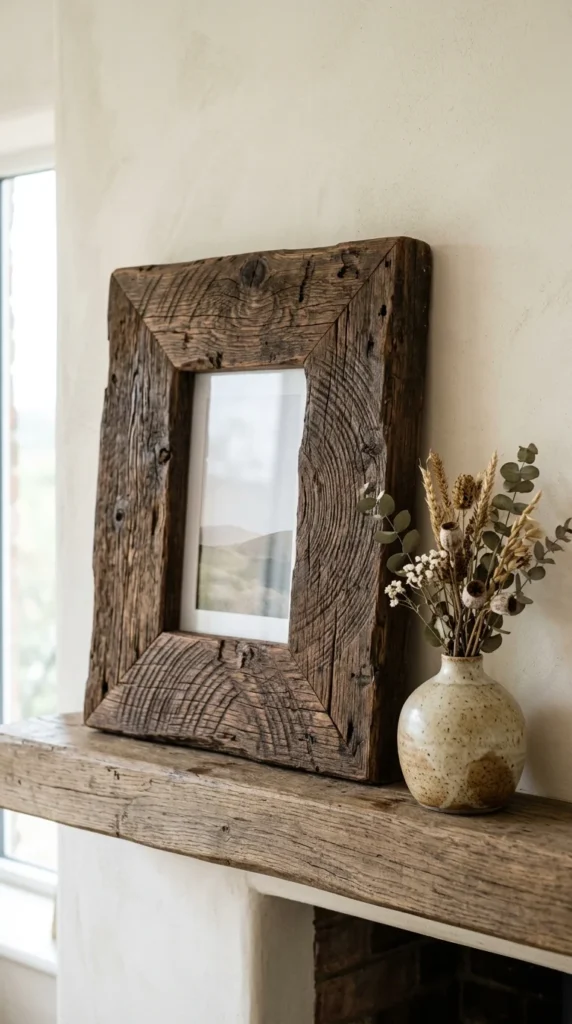
True reclaimed barn wood carries a history that new lumber simply cannot replicate. These frames are usually wider and thicker, making a bold statement on any wall. Because barn wood is often uneven, the “perfectly imperfect” joinery is part of the charm. You can leave the wood completely raw or apply a clear matte sealant to deepen the colors and protect the surface. It’s an ideal choice for large landscape paintings or family portraits.
4. Scalloped Edges
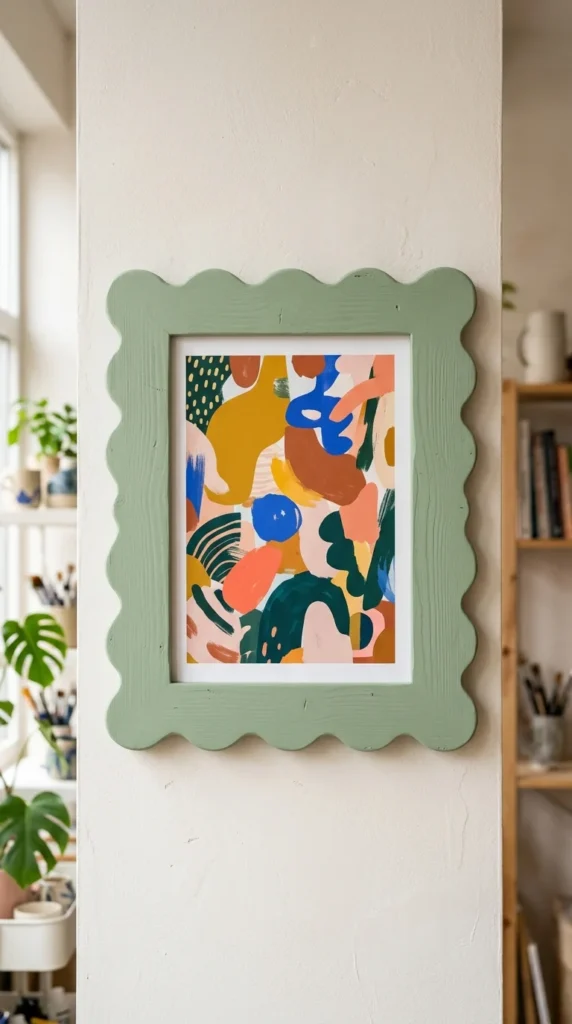
Scalloped frames are currently trending in the world of interior design, offering a whimsical, feminine touch to a room. To achieve this look, use a jigsaw to cut a wave pattern along the outer edges of your wood strips before assembling the frame. This style looks fantastic when painted in pastel hues or bold primary colors. It’s a great way to add movement and a “boutique” feel to a child’s bedroom or a creative home office.
5. Shadow Box
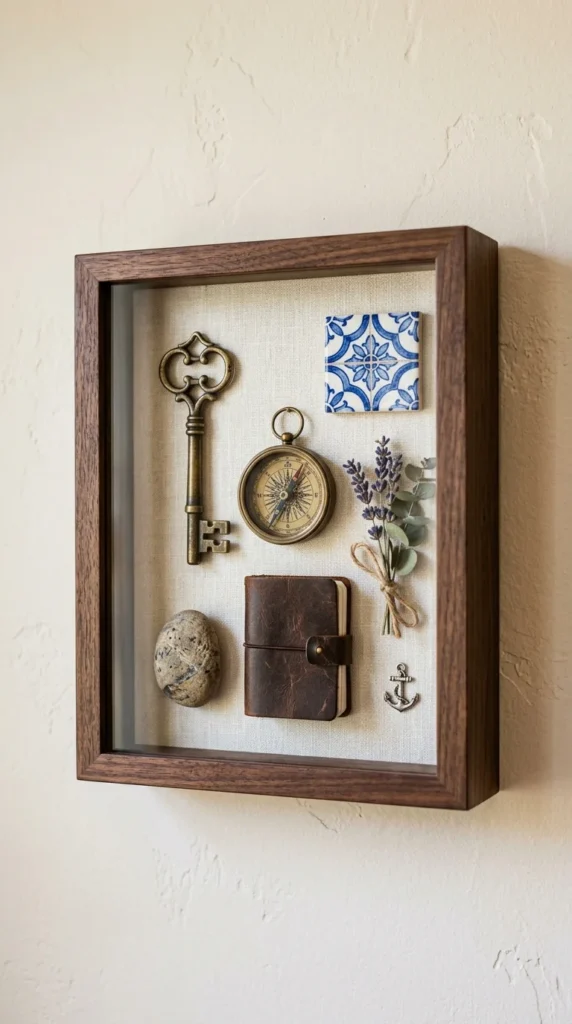
When your memories are three-dimensional, a standard flat frame won’t do. A shadow box uses deeper wooden sides (usually 2 to 4 inches) to create a protective compartment. This allows you to display medals, baby shoes, or sea shells. Building these requires a bit more precision in your corner joints to ensure the “box” is sturdy. Using a dark wood like walnut adds a sense of museum-quality prestige to the items housed within.
6. Plywood Cutouts
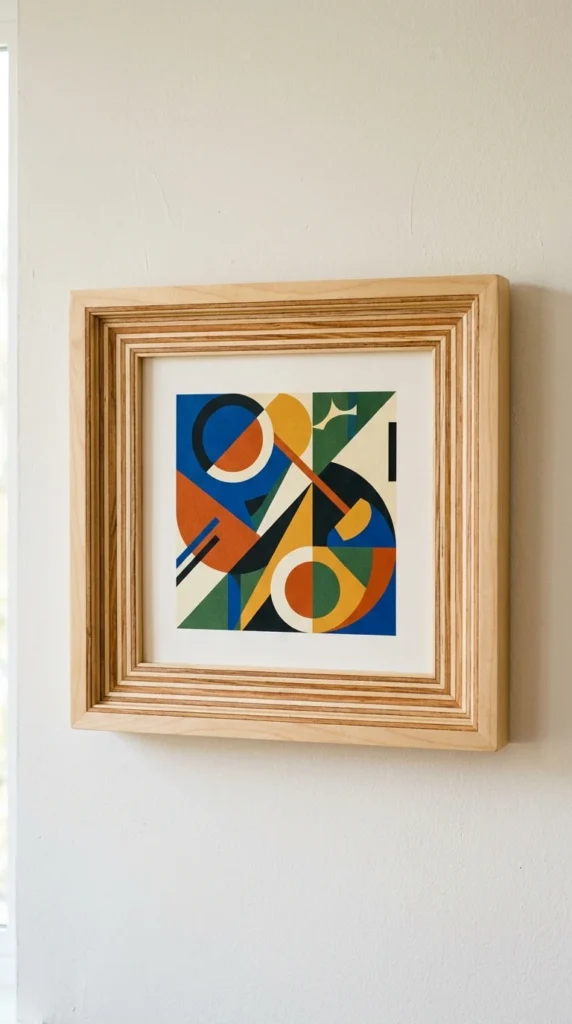
Plywood is often hidden away, but high-grade birch plywood has a stunning edge grain that can be the star of the show. By cutting frames from a single sheet of plywood using a router or a CNC machine, you can create seamless corners. Alternatively, you can stack thin strips of plywood so that the “pinstripe” layers face forward. This provides a mid-century modern aesthetic that is both budget-friendly and highly sophisticated.
7. Burnt Finish
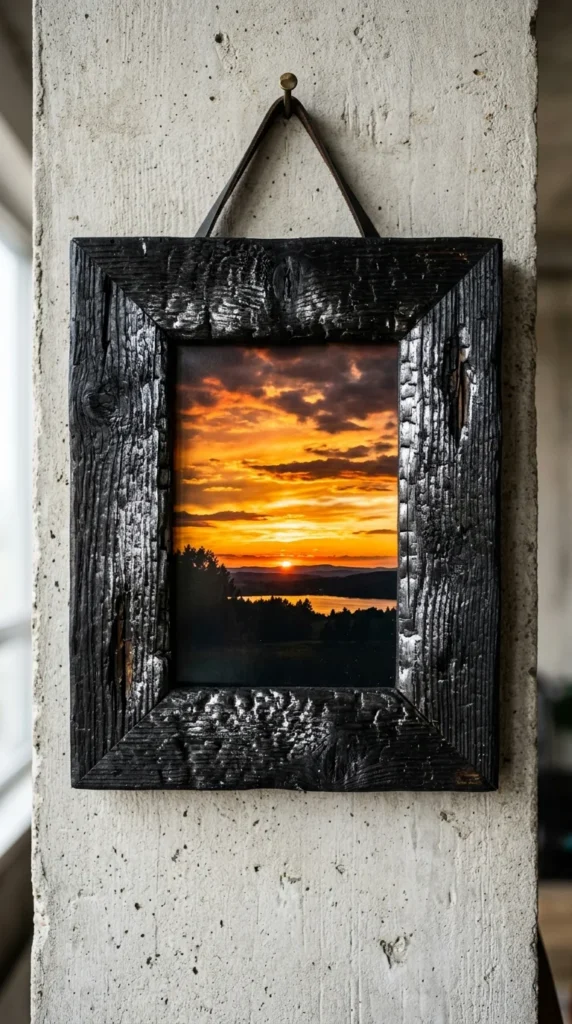
Known as “Shou Sugi Ban,” this Japanese technique involves charring the surface of the wood with a torch. The fire burns away the softer cellulose, leaving the harder grain raised and blackened. After burning, the wood is brushed and sealed. This creates a frame with incredible depth and a “cracked” texture that looks like alligator skin. It is a dramatic choice for high-contrast art or as a standalone focal point in a minimalist room.
8. Painted Borders
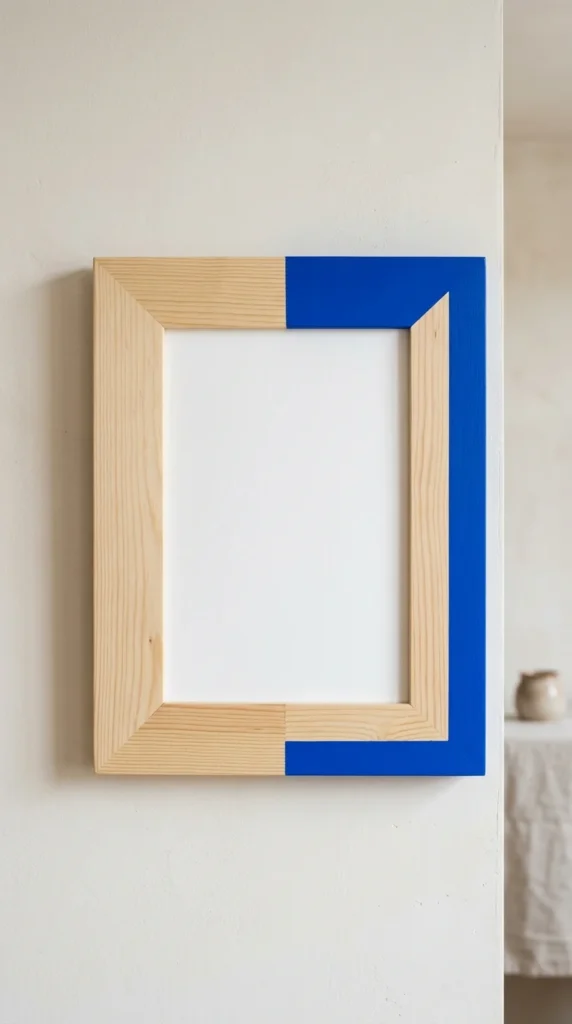
Color blocking is a simple yet effective way to modernize a basic wooden frame. By using painter’s tape, you can create sharp geometric divisions. You might paint only the bottom third of the frame or create a “dipped” effect. This technique allows you to pull specific colors from the artwork itself, creating a cohesive look that feels custom-designed for the piece.
9. Natural Twig
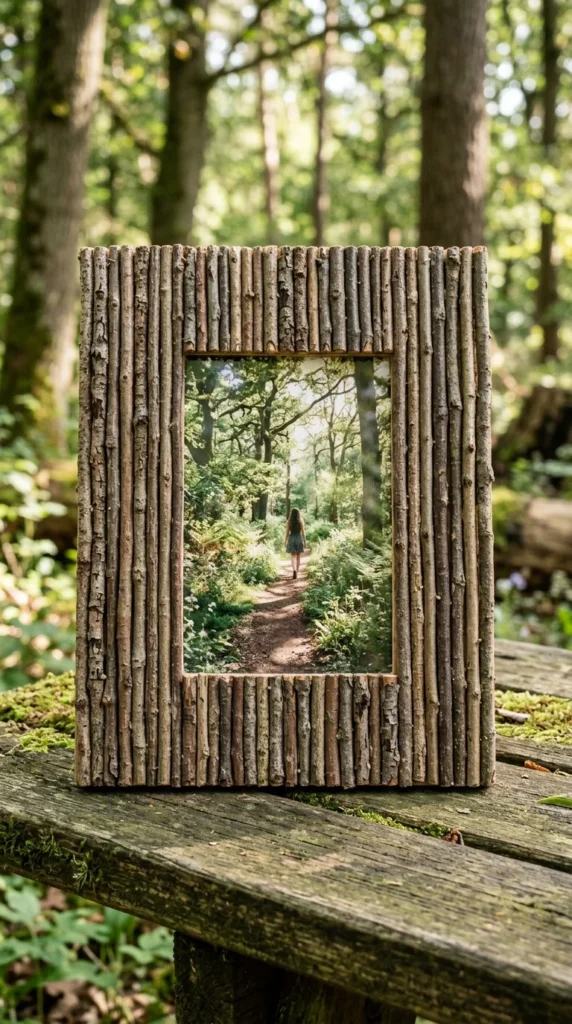
For a cottagecore or rustic cabin vibe, look no further than your own backyard. By gluing small, cleaned twigs onto a basic flat wooden frame, you create a 3D texture that brings the outdoors in. Try to use twigs from the same species of tree for a uniform color, or mix species like birch and maple for a variegated look. This project is incredibly tactile and adds warmth to any small nook or hallway.
10. Mitered Oak
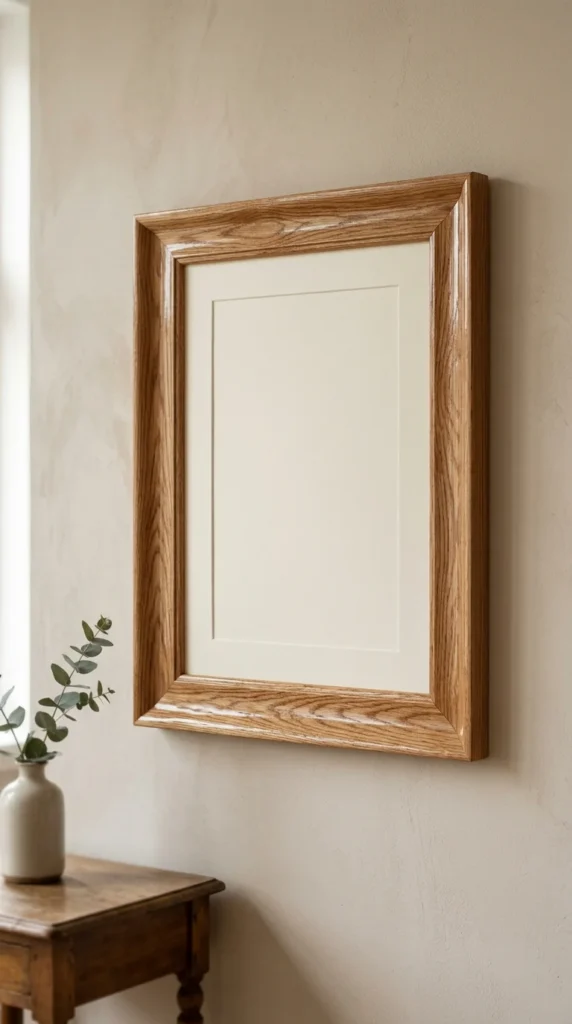
Sometimes, simplicity is the ultimate sophistication. A classic mitered oak frame focuses on the quality of the wood and the precision of the craftsmanship. Oak is durable and has a timeless appeal that fits into both traditional and contemporary homes. The key to this frame is the 45-degree cut; using a high-quality miter saw ensures the corners meet perfectly with no gaps, creating a professional, high-end finish.
11. Shabby Chic
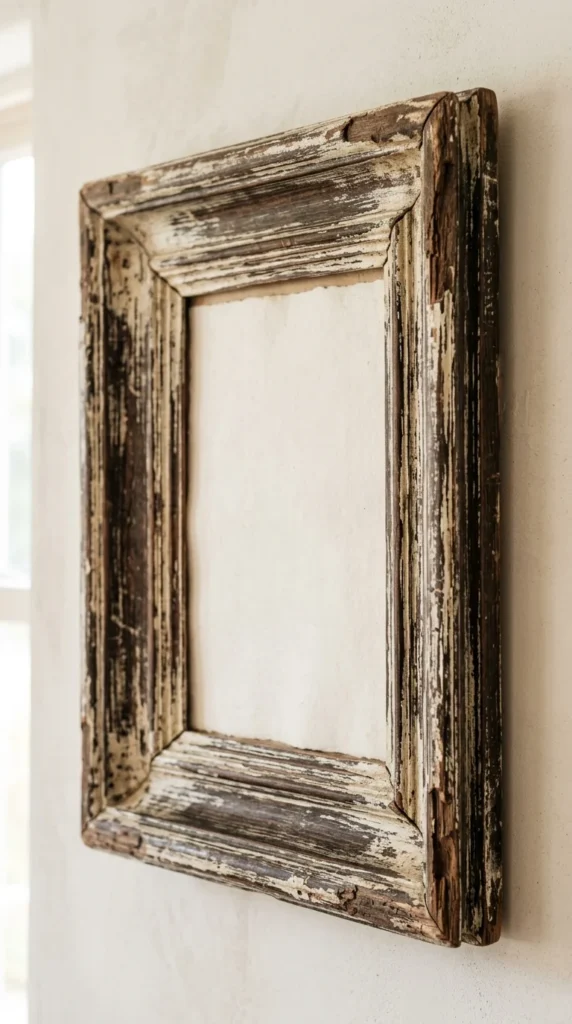
The “shabby chic” aesthetic relies on the charm of aged furniture. To DIY this, apply a base coat of dark paint, followed by a coat of white or light gray. Once dry, use sandpaper to wear away the top layer in areas where natural wear would occur—the edges and corners. Finish with a bit of furniture wax. This style is perfect for farmhouse kitchens or bedrooms where you want a soft, lived-in feel.
12. Clothespin Display
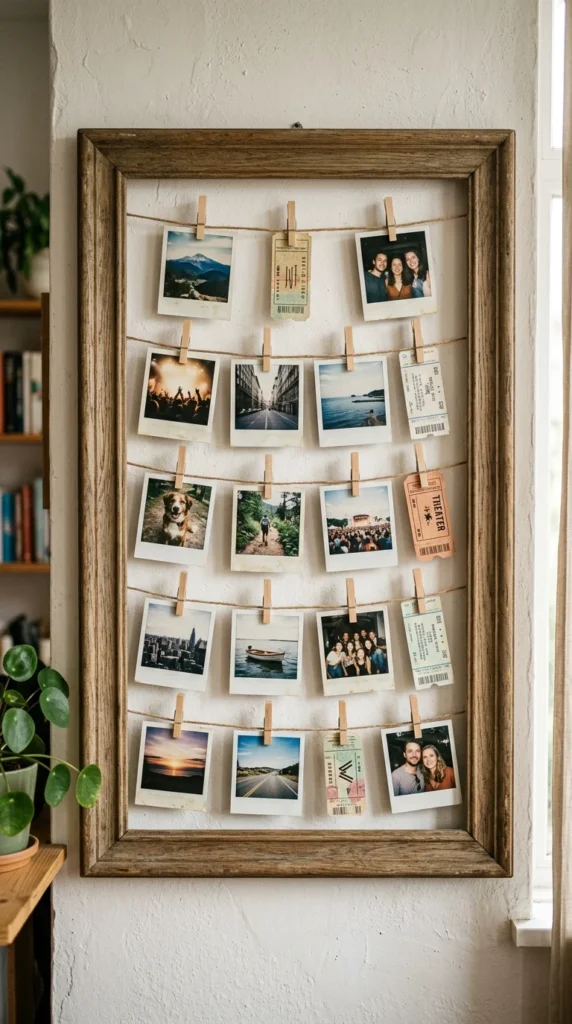
This is a dynamic frame idea for people who like to change their photos frequently. Instead of a single image behind glass, the frame acts as a border for a “clothesline.” You can hang a dozen small photos, notes, or inspirations. It turns the frame into a functional mood board. Using a reclaimed wood frame for this setup adds a nice structural weight to the light strings and pins.
13. Hand Carved
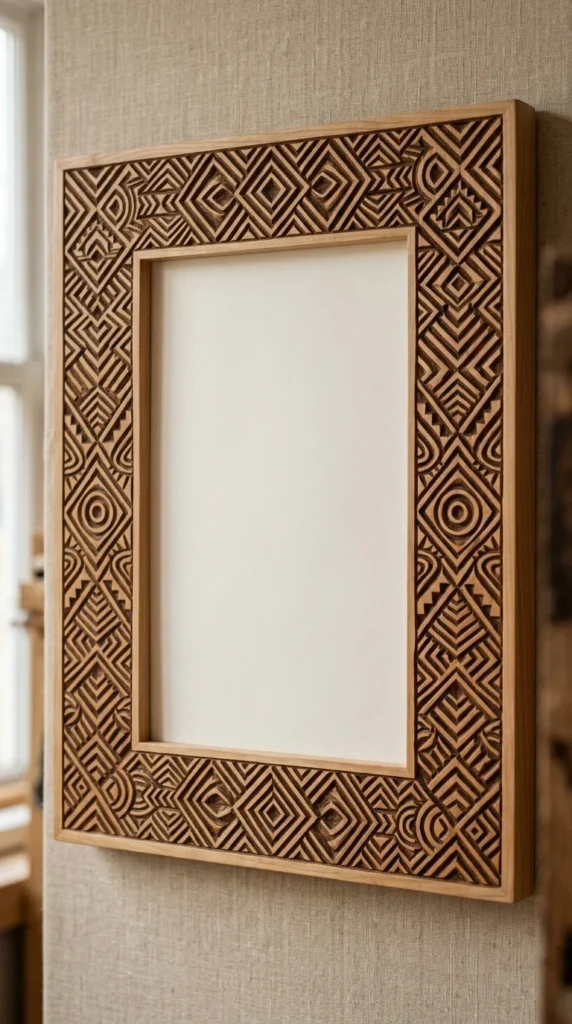
If you enjoy slow crafts, hand-carving a wooden frame is deeply rewarding. Basswood or butternut are excellent choices because they are soft and hold detail well. You can carve simple notches, organic vines, or complex Celtic knots. This transforms the frame from a container into a piece of art itself. Even a simple “chip carved” border can elevate a basic wooden frame into a family heirloom.
14. Layered Molding
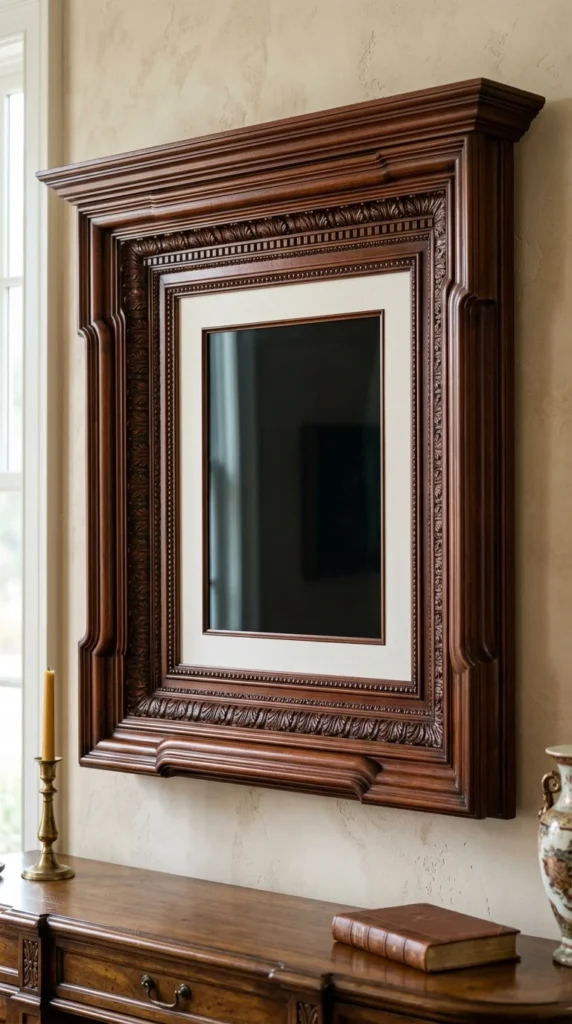
You don’t need a professional woodshop to create an ornate, expensive-looking frame. By visiting the molding aisle at a hardware store, you can select different profiles of trim and stack them on top of one another. Glue and nail the layers together to create a wide, dramatic frame that mimics the expensive versions found in fine art galleries. This technique is particularly effective for large-scale oil paintings.
15. Live Edge
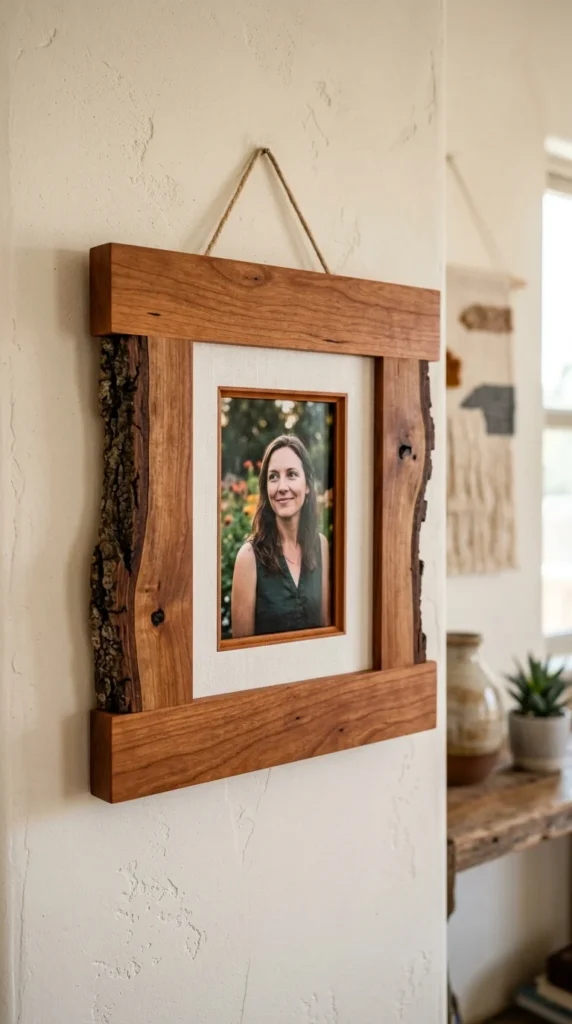
Live edge furniture celebrates the natural silhouette of the tree. To create a live edge frame, you use wood “slabs” that haven’t had the natural edge squared off. This results in a frame with organic, wavy sides that feel raw and powerful. It’s an excellent way to showcase the beauty of the timber itself, making it a perfect match for nature photography or minimalist sketches.
16. Herringbone Inlay
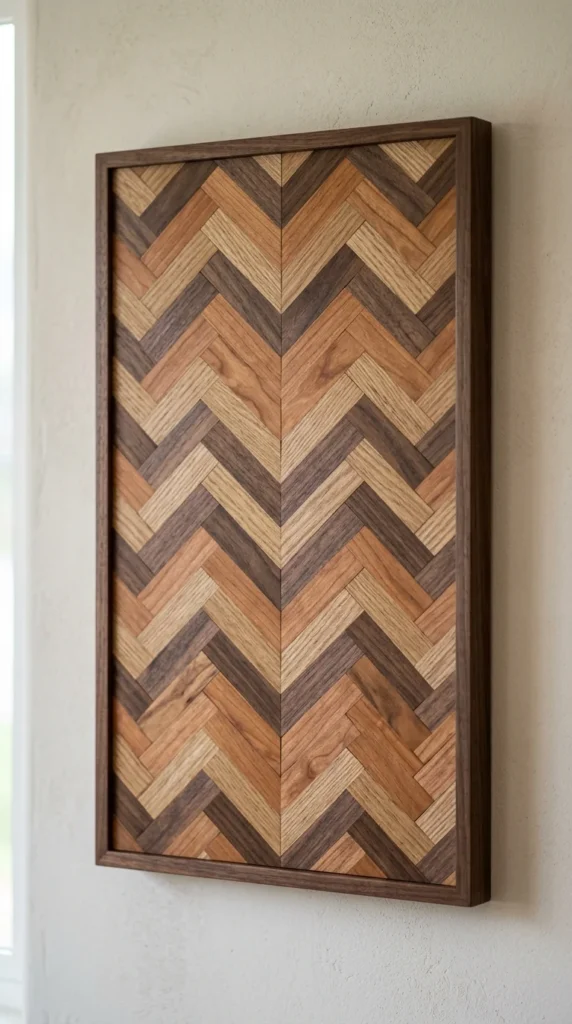
This project is a fantastic way to use up small scraps from other woodworking projects. By cutting thin strips of different colored woods and gluing them in a herringbone or chevron pattern onto a plywood base, you create a stunning mosaic effect. The variation in wood tones—from the light creams of maple to the deep purples of walnut—creates a visually vibrating border that draws the eye directly to the center.
17. Magnetic Hanger
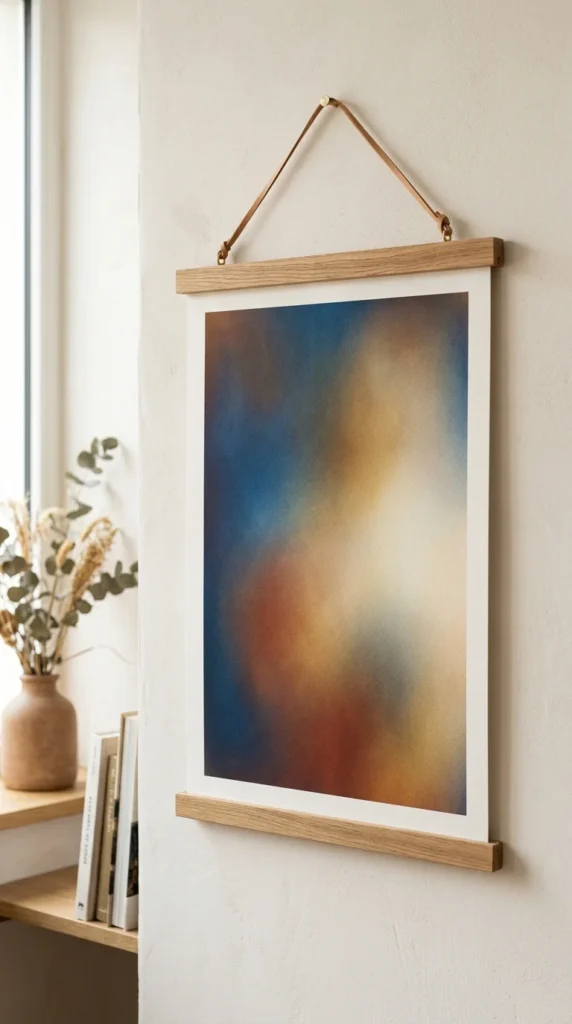
The magnetic hanger is the ultimate “low-profile” frame. It consists of four wooden strips—two for the top and two for the bottom. Small rare-earth magnets are recessed into the wood, allowing the strips to “snap” together over the paper. This is the easiest way to hang large posters or maps without the weight and cost of glass. It has a clean, Scandinavian look that fits perfectly in modern apartments.
18. Chalkboard Inset
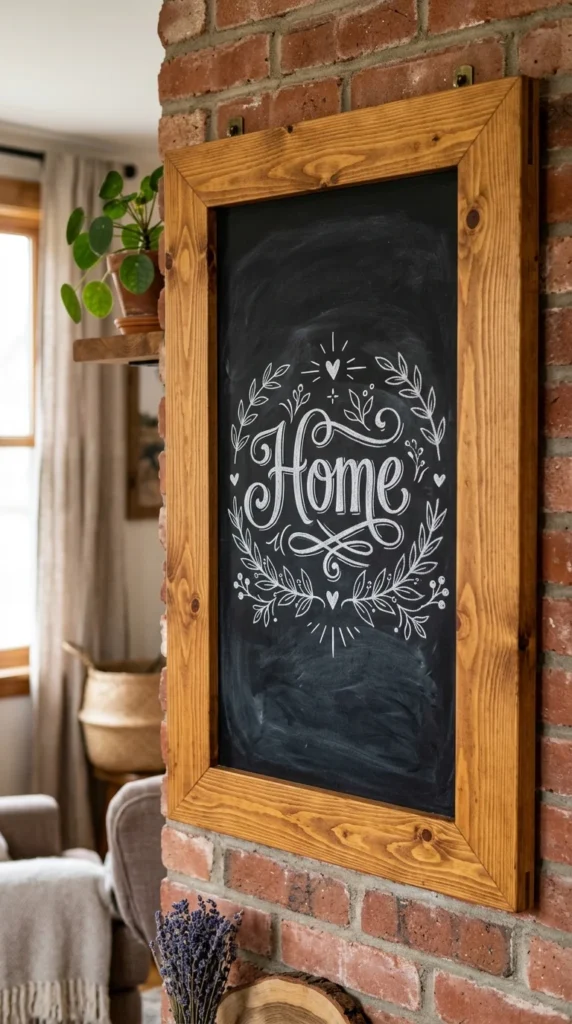
Why limit a frame to just photos? By inserting a piece of plywood painted with chalkboard paint into a wooden frame, you create a stylish organizational tool. This is perfect for entryways, kitchens, or playrooms. The wood frame makes the chalkboard feel like a permanent piece of decor rather than a temporary school supply. You can even add small wooden hooks to the bottom of the frame for keys.
19. Stenciled Designs
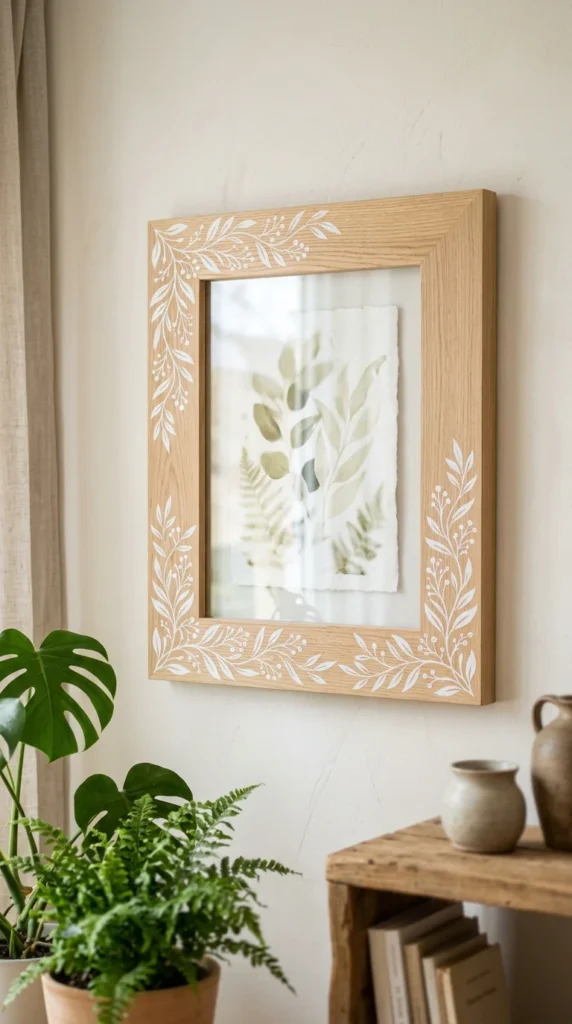
If you aren’t comfortable with carving or complex joinery, stenciling is your best friend. After building or buying a plain wooden frame, use a stencil and acrylic paint to add patterns. You could go for a Moroccan tile look, a simple polka dot, or elegant floral borders. Stenciling allows you to customize the frame to match the patterns in your curtains, rugs, or wallpaper, creating a perfectly coordinated room.
20. Circular Hoop
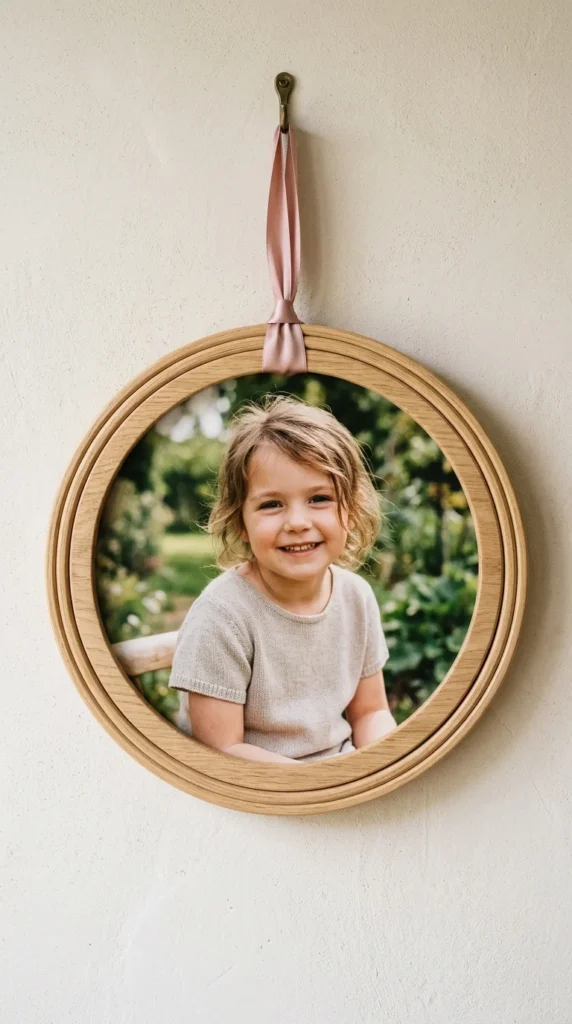
Circular frames break up the monotony of straight lines and sharp angles on a gallery wall. While making a perfectly circular wooden frame from scratch requires specialized tools, you can use high-quality wooden embroidery hoops or steam-bent wood strips to achieve this look. A round frame naturally draws the eye inward, making it an excellent choice for portraits or focal-point illustrations.
21. Driftwood Collage
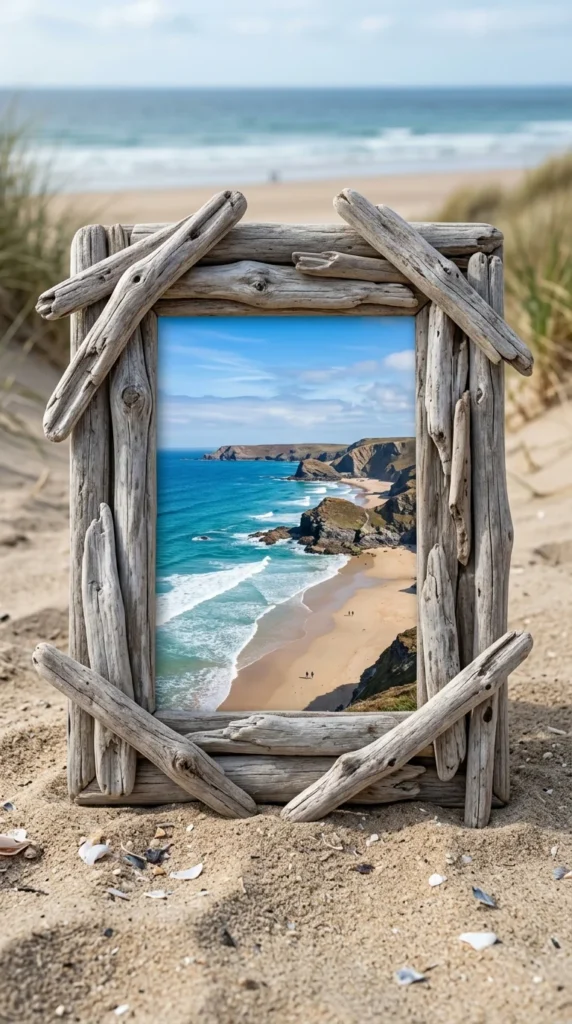
Perfect for a beach house or a bathroom, a driftwood frame carries the essence of the ocean. These frames are usually built by “layering” pieces of found driftwood onto a simple wooden backing. Because no two pieces of driftwood are the same, every frame is a one-of-a-kind sculpture. The soft grays and tans of the wood provide a neutral, calming border for your favorite vacation memories.
Tips for Success with DIY Wooden Frames
- Measure Twice, Cut Once: This old adage is especially true for frames. Even a 1/16th of an inch difference can cause gaps in your corners.
- The Power of Sanding: Don’t skip the sanding process. Start with a coarse grit (80) to level the joints and move up to a fine grit (220) for a buttery-smooth finish.
- Choosing the Right Finish: Use oil-based stains for a traditional look, or wax and oils (like tung or linseed oil) for a natural, matte finish that feels great to the touch.
- Hardware Matters: Don’t forget the back! Use turn buttons or small glazier points to hold your art and glass in place, and ensure you use a sturdy hanging wire for larger, heavier wooden frames.
By exploring these 21 ideas, you can turn your walls into a personal gallery that tells your story through the warmth and beauty of wood. Happy crafting!