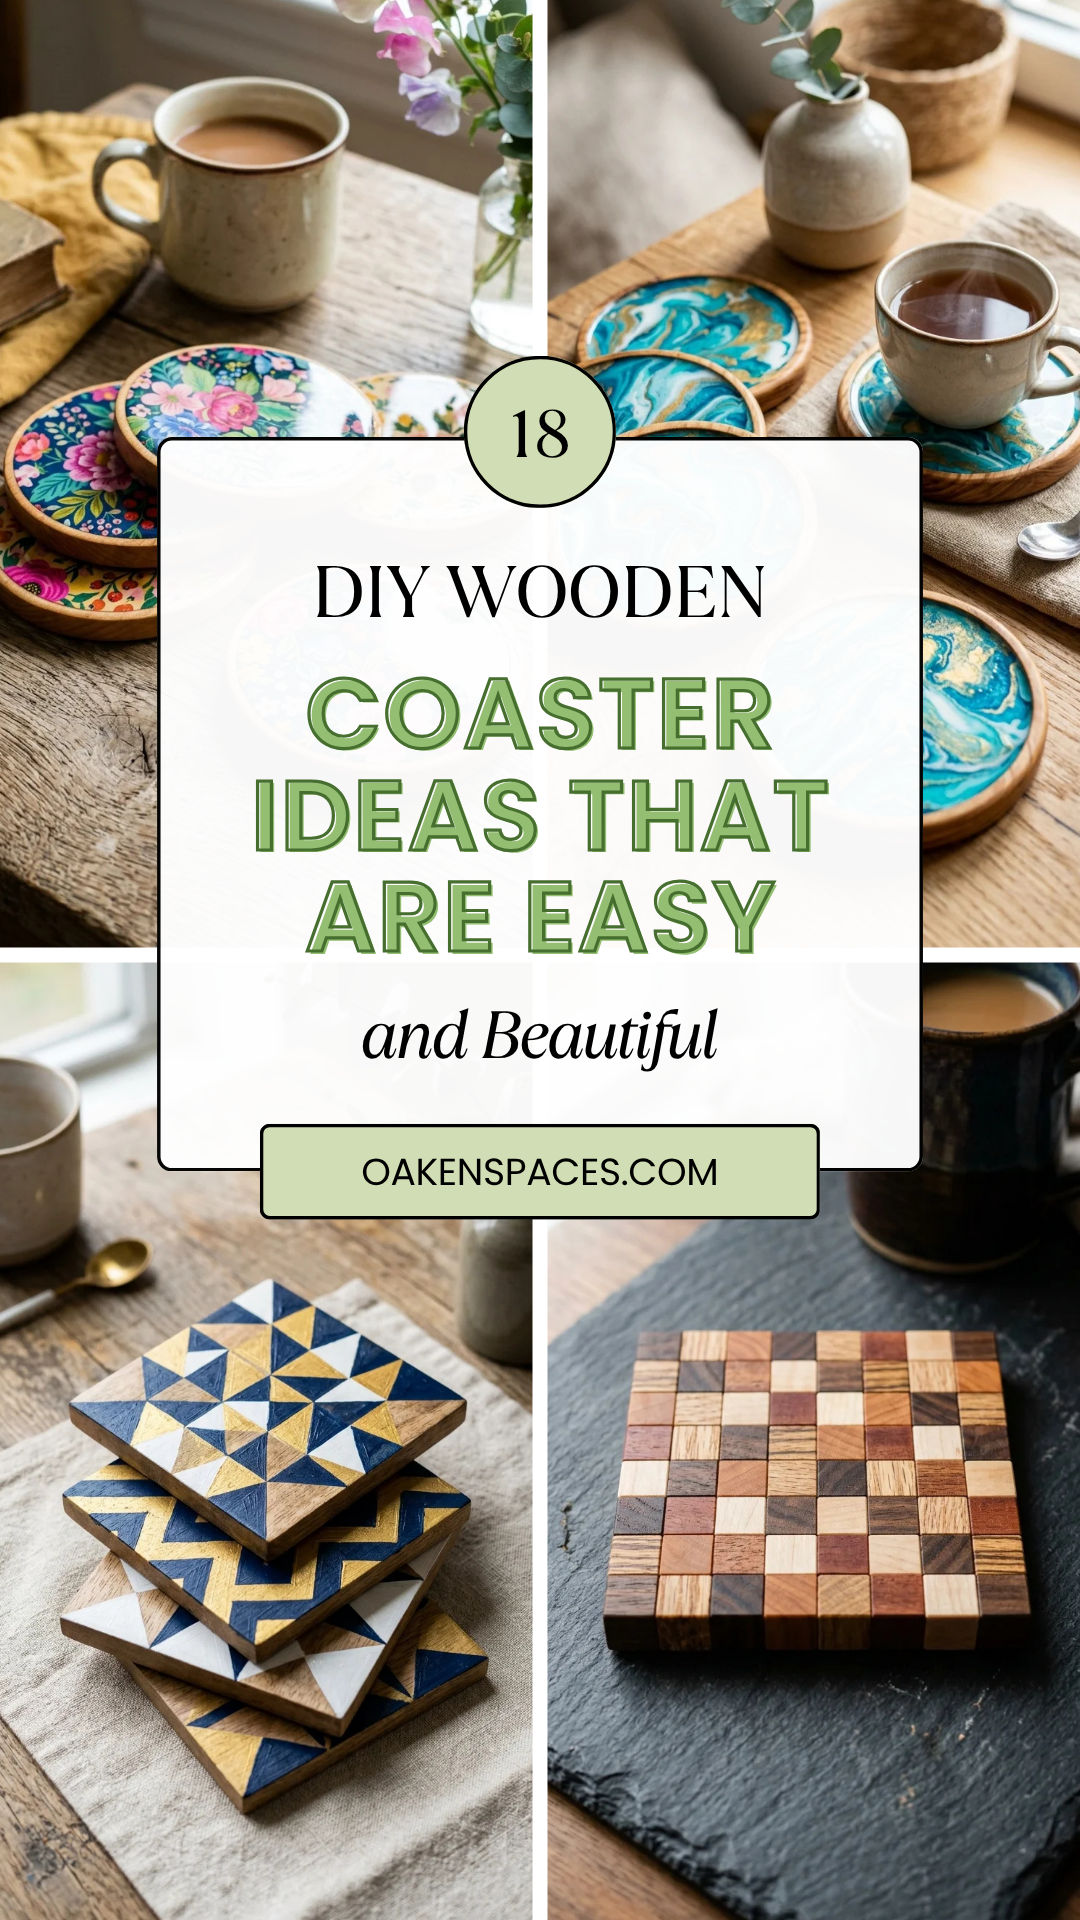
Wooden coasters are the perfect marriage of functionality and aesthetic appeal. They protect your furniture from unsightly water rings while adding a touch of warmth and organic texture to your home decor. Whether you are a seasoned woodworker or a complete novice with a glue gun, these 18 DIY ideas offer something for every skill level.
1. Wood Slices
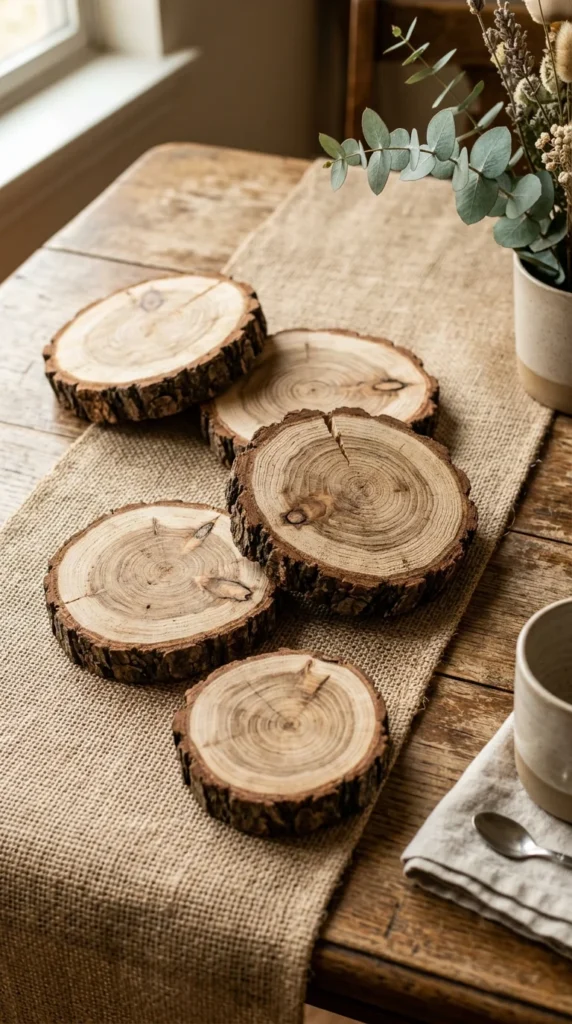
The most classic of all DIY wooden coasters is the natural wood slice. To achieve this look, you can find pre-cut birch or pine slices at a craft store or cut your own from a fallen branch. The key to making these look professional is sanding the surface to a buttery smooth finish. Leave the bark intact for a rugged, woodland feel. A simple clear polyurethane sealant is all you need to highlight the natural rings and protect the wood from moisture.
2. Geometric Paint
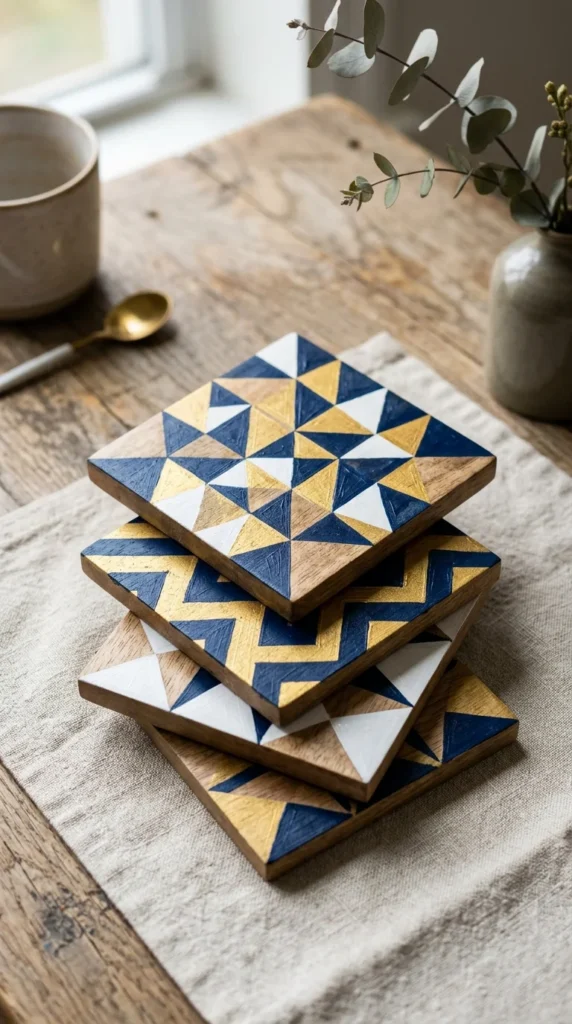
If your style leans more modern than rustic, geometric painted coasters are a fantastic choice. Use painter’s tape to create sharp, crisp lines across square wooden blanks. You can experiment with triangles, chevrons, or abstract polygons. Using a palette of three complementary colors—such as navy, cream, and metallic gold—creates a sophisticated look that fits perfectly in a contemporary living room.
3. Pyrography Art
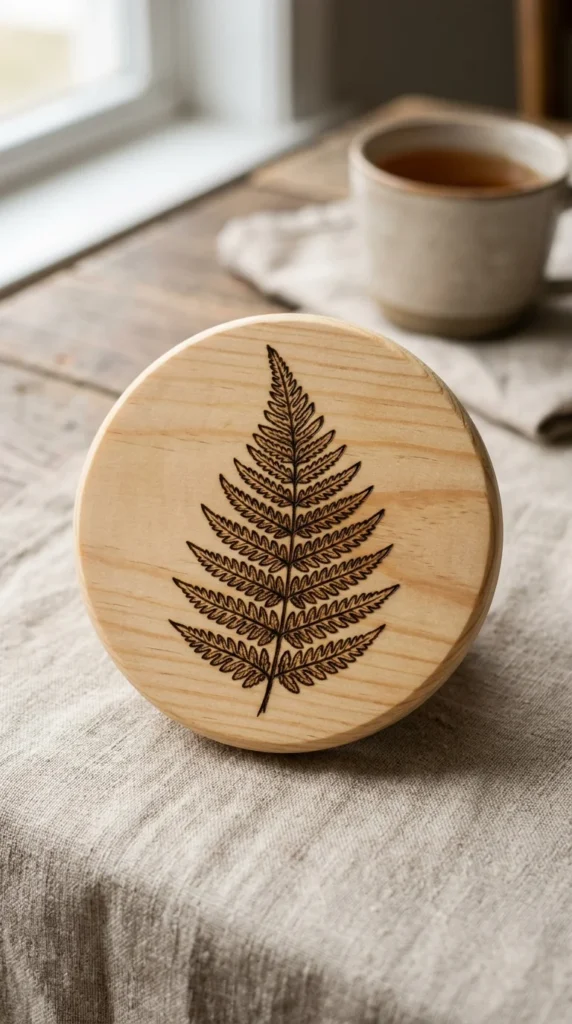
Pyrography, or wood burning, allows you to “draw” on wood using a heated tool. This technique is surprisingly easy to pick up. For coasters, botanical sketches like ferns, lavender, or simple leaves work beautifully. The contrast between the dark, charred lines and the pale wood grain creates a timeless, artisanal appearance. Ensure you seal these well, as the carbon from the burn can sometimes smudge if left unprotected.
4. Scrabble Tiles
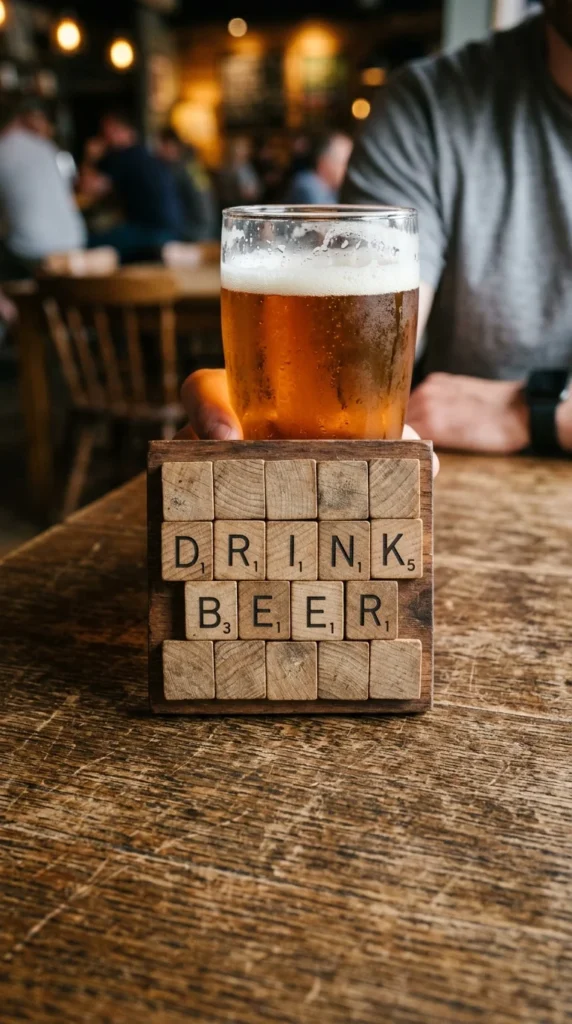
For the board game lover, Scrabble tile coasters are a playful and nostalgic project. Use a small wooden backing or cork square as a base. Arrange the tiles into 4×4 or 5×5 grids, spelling out coffee-themed words or family names. Use a strong wood glue to secure the tiles and finish with a thick coat of high-gloss varnish to fill the gaps between the letters and create a flat surface for your glass.
5. Stenciled Wood
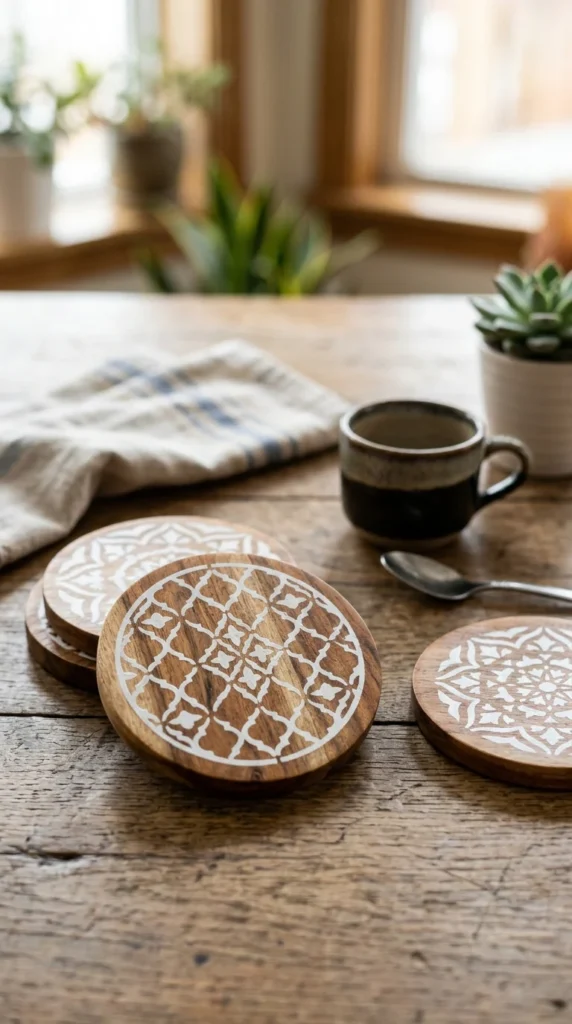
Stenciling is the easiest way to achieve complex patterns without needing a steady hand for painting. Mandala patterns, Moroccan tile designs, or even simple polka dots can be applied using acrylic craft paint. To prevent the paint from bleeding under the stencil, use a “pouncing” motion with a sponge brush rather than a traditional stroking motion. Once dry, these coasters look like expensive boutique finds.
6. Resin Pour
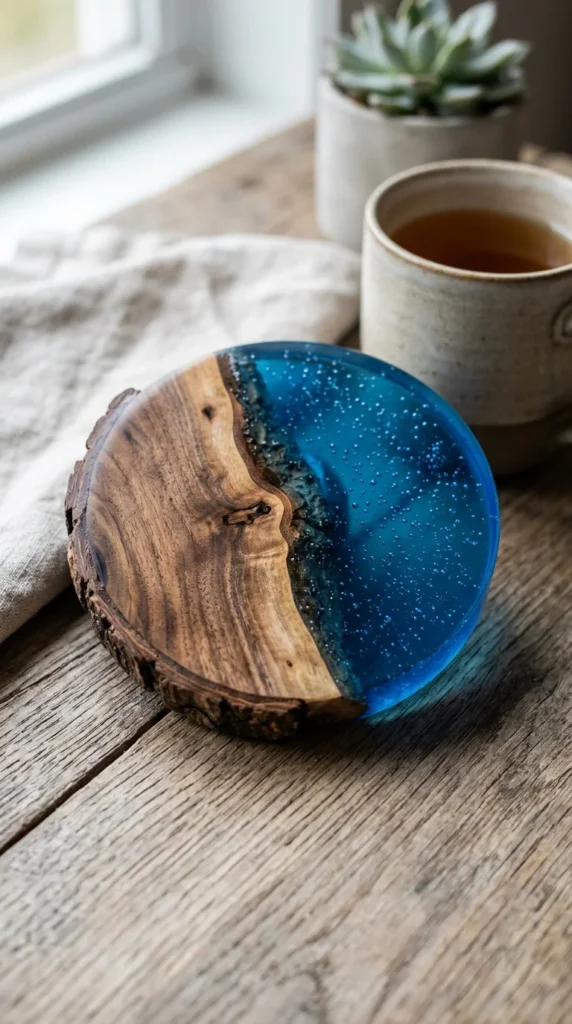
Combining wood with epoxy resin results in a high-end, “river table” effect on a miniature scale. You can use wood scraps with irregular edges and place them inside a silicone mold, then pour dyed resin into the voids. The result is a stunning, glass-like finish that is incredibly durable. Deep blues, emerald greens, or even clear resin with embedded dried flowers are popular choices for this method.
7. Distressed Finish
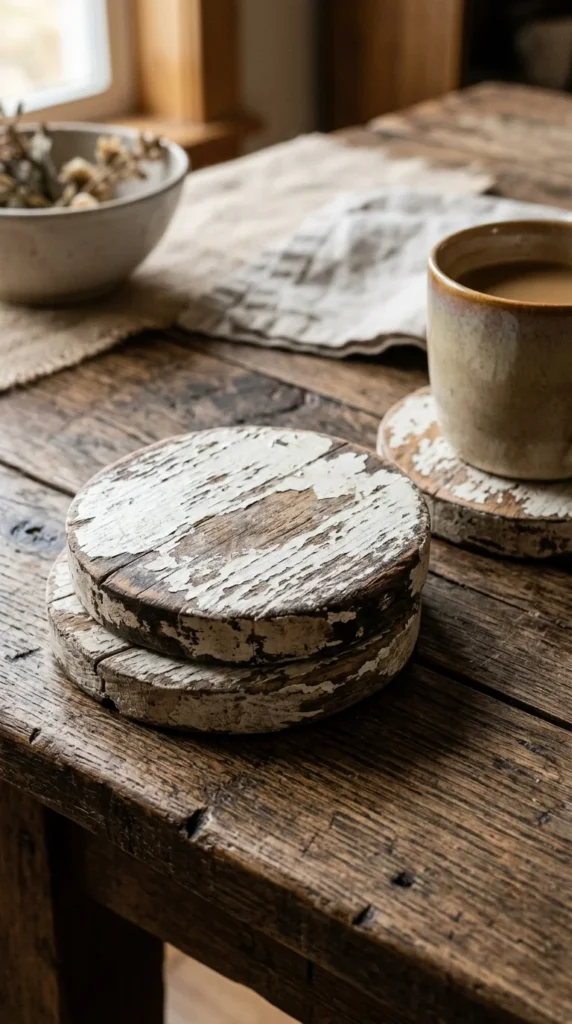
Perfect for a farmhouse or Shabby Chic interior, distressed coasters evoke a sense of history. Paint your wooden squares with a base coat of dark brown or grey, followed by a top coat of white or cream. Once the top coat is dry, use sandpaper to gently rub away the paint on the edges and corners, revealing the “aged” wood beneath. A matte wax finish provides the perfect final touch.
8. Decoupage Paper
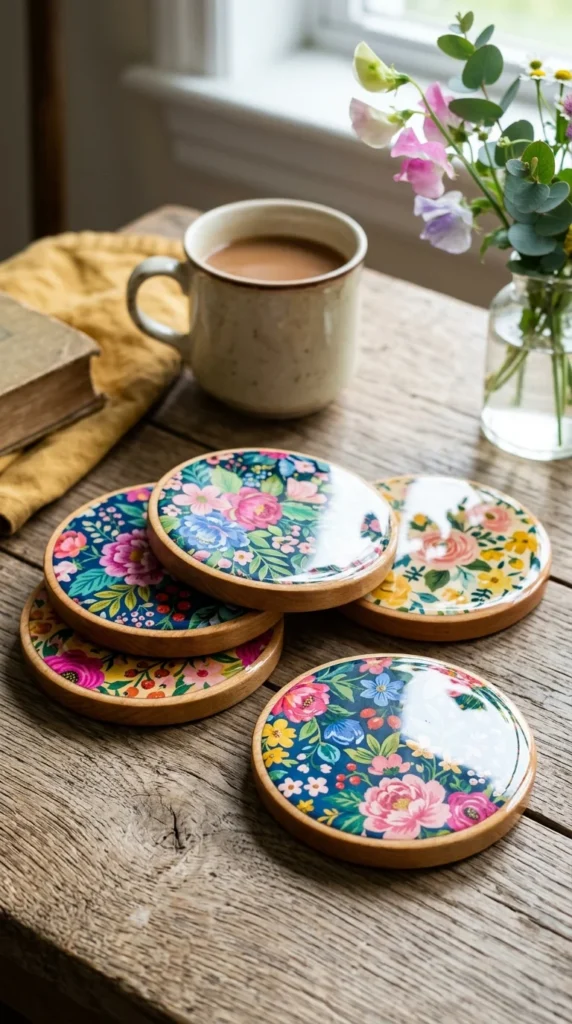
Decoupage allows you to transfer almost any pattern onto wood. Using decorative napkins, scrapbooking paper, or even vintage maps, you can customize your coasters to match your room’s theme. Apply a layer of decoupage medium (like Mod Podge) to the wood, press the paper down firmly to remove air bubbles, and add several top coats to make the surface waterproof.
9. Marbled Paint
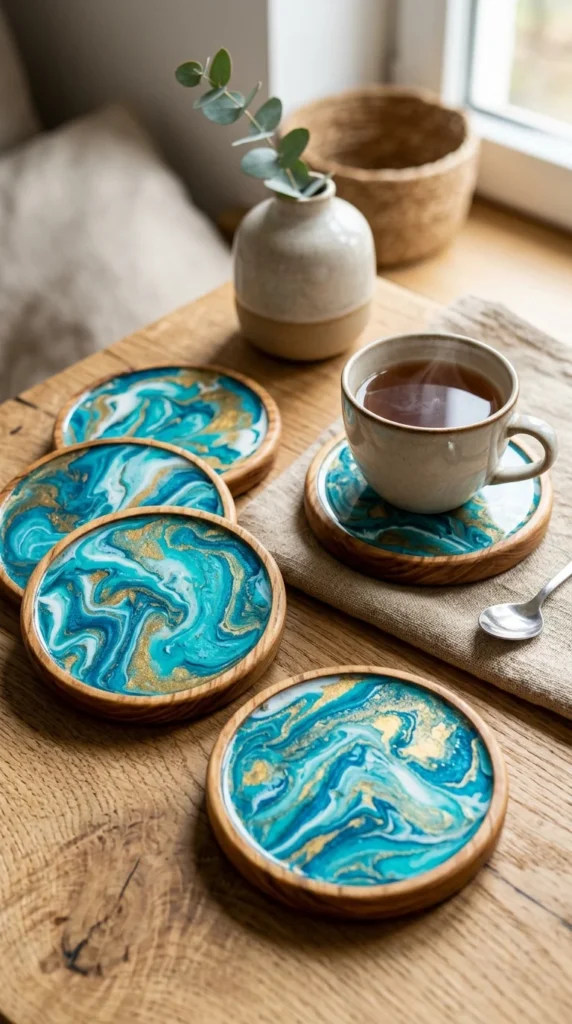
Achieve the look of expensive stone using the “hydro-dipping” or “acrylic pour” method. By dripping different colors of paint into a container of water and swirling them with a toothpick, you create a marble-like film on the surface. Carefully dip your wooden coaster into the paint to pick up the pattern. Every single coaster will be unique, featuring one-of-a-kind swirls and veins.
10. Copper Accents
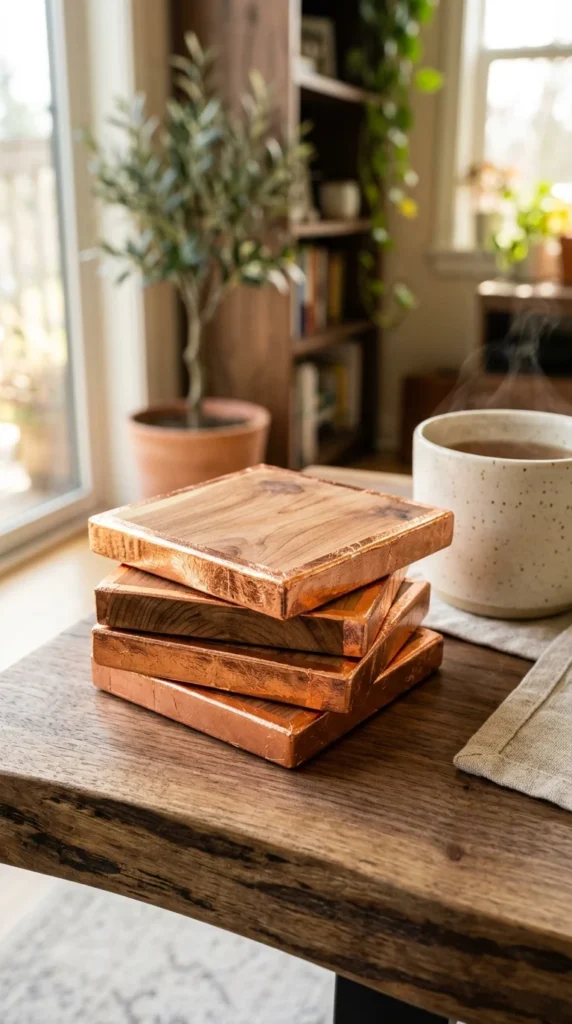
Metallic elements add an instant touch of luxury to plain wood. Use copper liquid leaf or copper spray paint to coat just the edges of a thick wooden coaster. The contrast between the organic grain on the top and the industrial shine on the sides is striking. This look works particularly well with dark woods like walnut or mahogany.
11. Mosaic Squares
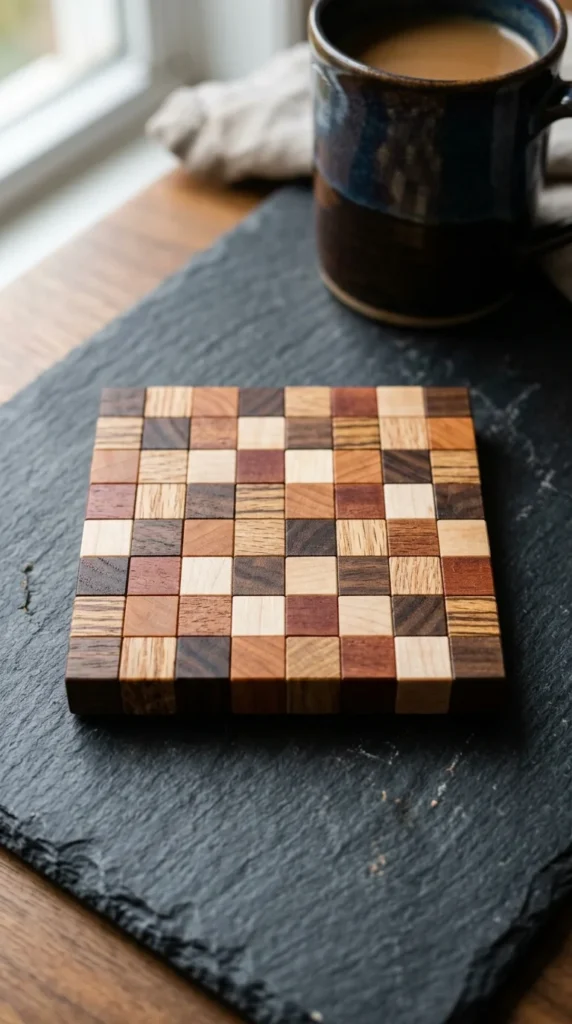
If you have access to a workshop with small wood scraps, a mosaic coaster is a great way to use up “waste” material. Cut small cubes of different wood species—cherry, maple, walnut, and oak—and glue them together into a block. The varying colors and grain directions create a beautiful “pixelated” wood look that highlights the natural diversity of timber.
12. Color Dipped
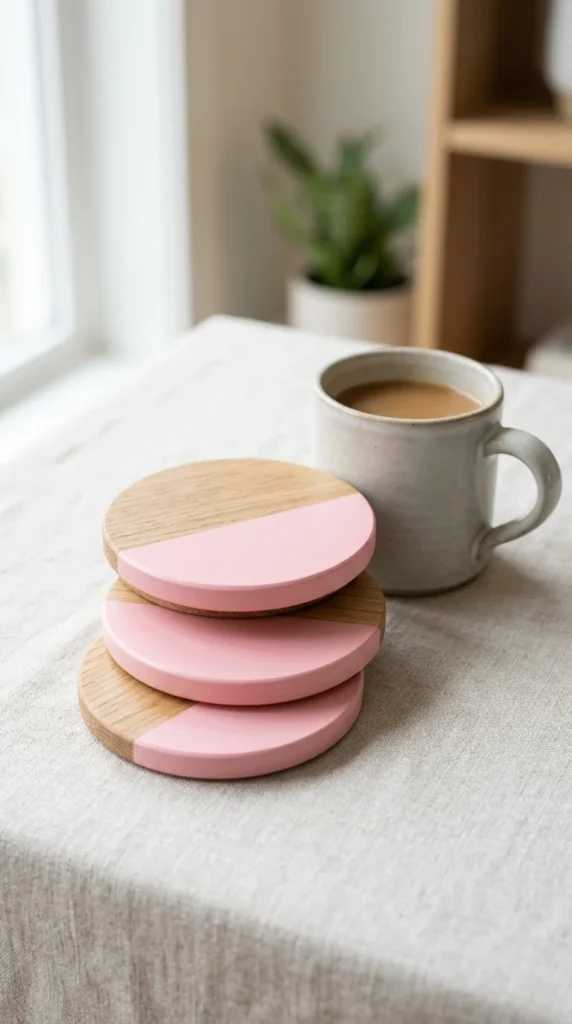
The “dipped” look is a staple of minimalist Scandinavian design. Simply take a round or square wooden coaster and tape off a straight line near the bottom third. Paint the smaller section in a bold, matte color like sage green, terracotta, or charcoal. This leaves the majority of the wood grain visible while providing a pop of modern color.
13. Photo Transfers
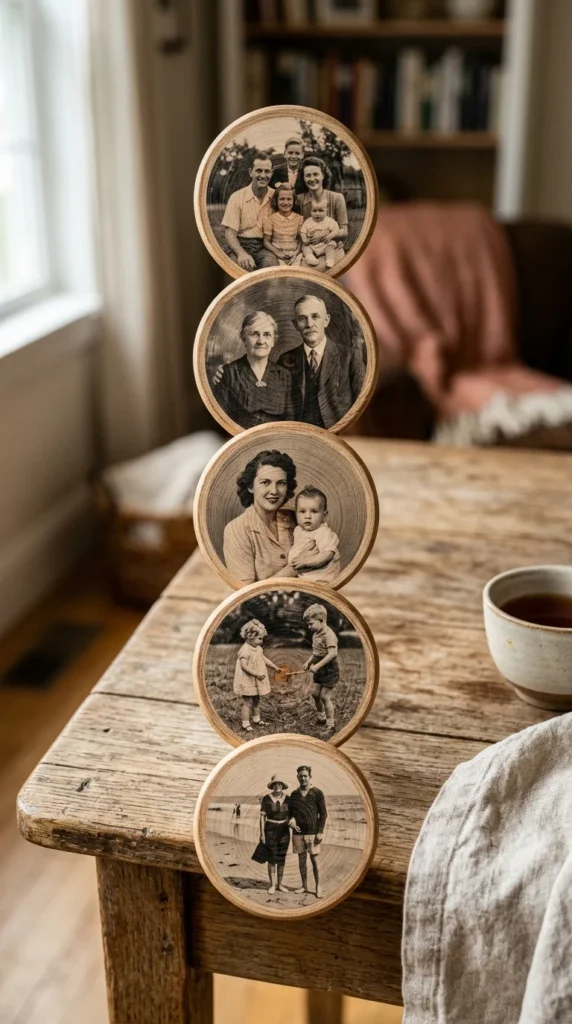
Personalize your living space with photo transfer coasters. By printing images on a laser printer and using a transfer medium, you can “sink” the ink directly into the wood fibers. This creates a slightly rustic, transparent look where the wood grain shows through the image. These make excellent personalized gifts for weddings, anniversaries, or housewarming parties.
14. Chalkboard Tops
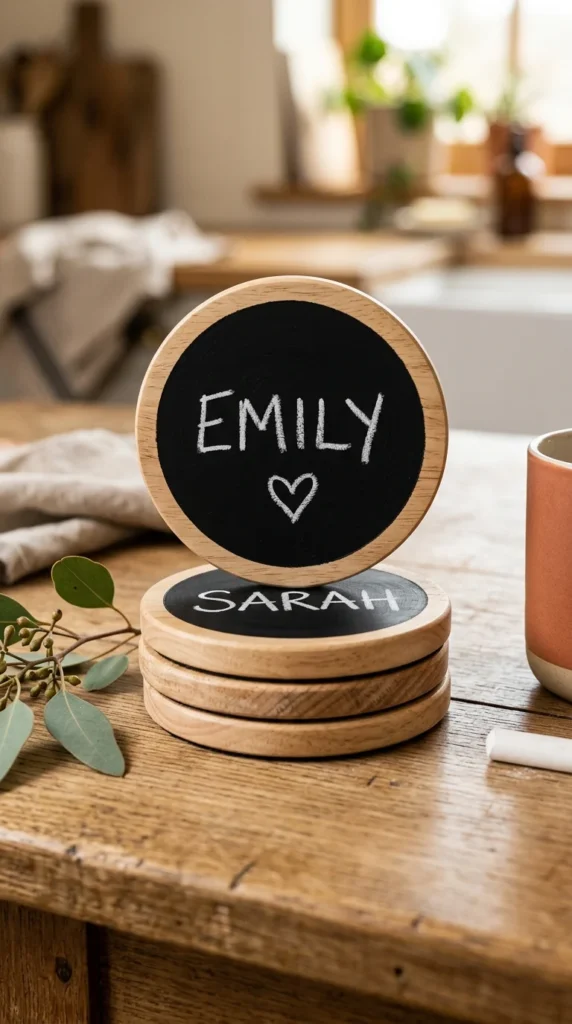
Functional and fun, chalkboard coasters are a hit at parties. Paint the center of a wooden disc with chalkboard paint, leaving a thin border of natural wood showing. Guests can write their names on their coasters so they never lose track of their drinks. It’s a simple DIY that adds a playful, interactive element to your hosting.
15. Geometric Inlay
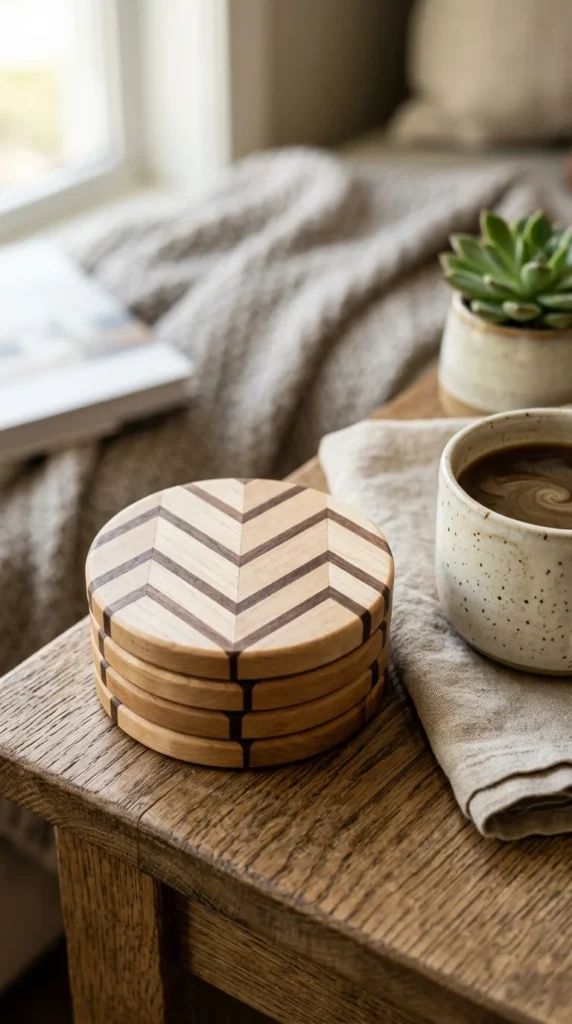
For those with a bit more woodworking experience, creating a wood-on-wood inlay is a rewarding challenge. By cutting thin strips of contrasting wood and fitting them into routed grooves, you can create intricate patterns that are flush with the surface. The result is a seamless, professional-grade piece of functional art that showcases true craftsmanship.
16. Ombre Stain
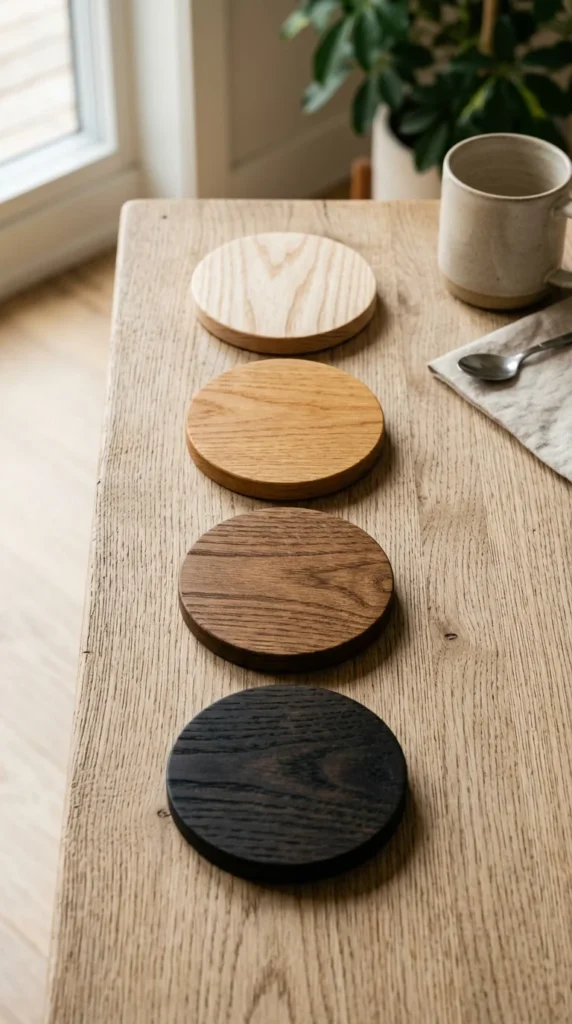
Wood stain doesn’t have to be boring. You can create an ombre effect by applying different shades of stain to a set of coasters. Alternatively, you can use a single stain and water it down in increments to create a gradient from light to dark. This highlights the texture of the wood while adding a subtle, sophisticated color story to your coffee table.
17. Rope Border
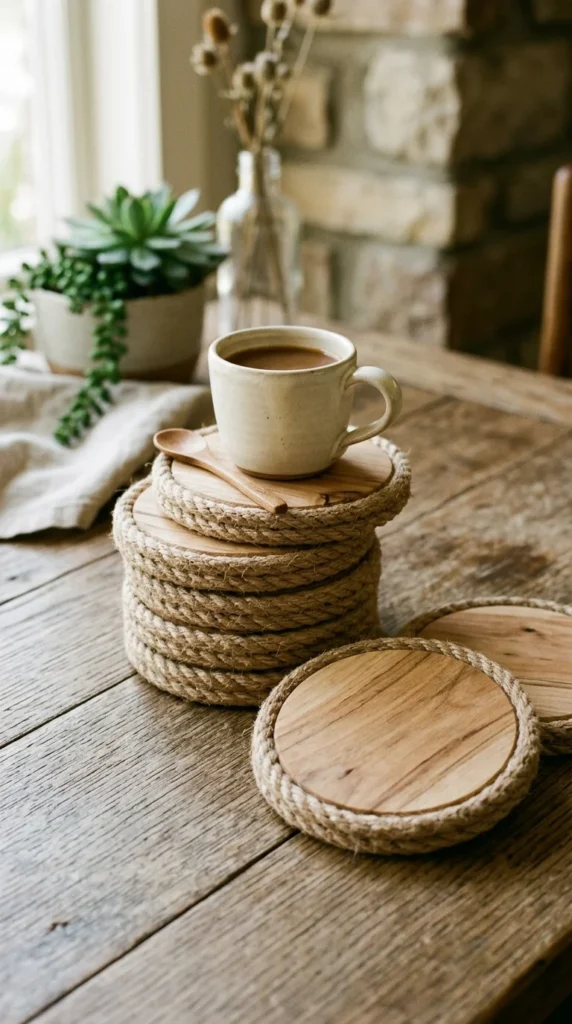
Add a nautical or boho-chic vibe to your wooden coasters by adding a rope border. Take a thin wooden disc and glue a length of natural jute or cotton twine around the edge. You can even coil the rope so it covers the entire side profile. This adds physical texture and a soft contrast to the hard surface of the wood.
18. Gold Leaf
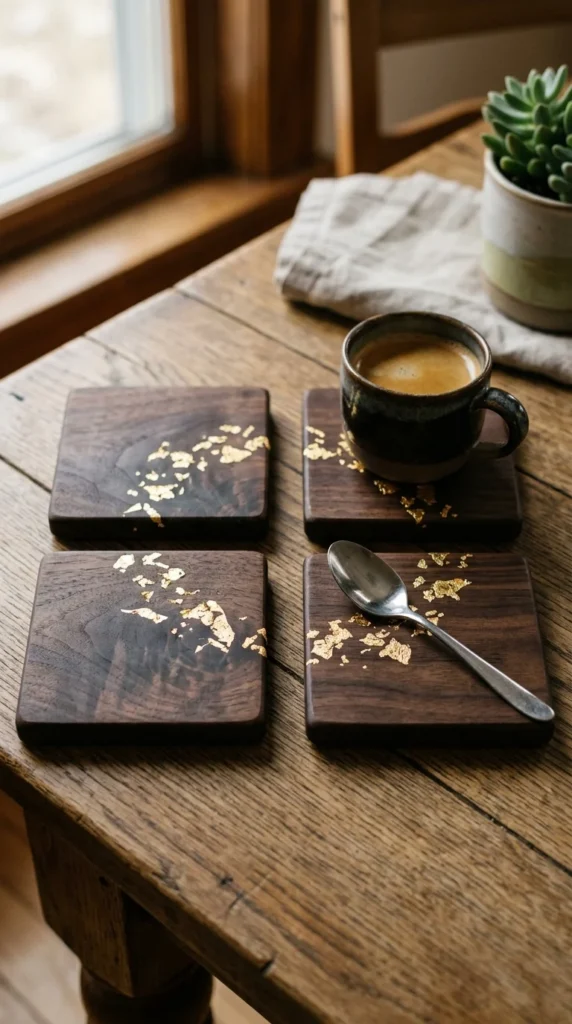
Gold leaf adds an air of opulence that paint simply cannot replicate. Apply a thin layer of gilding size (adhesive) in random spots or a specific pattern on the wood, then press genuine or imitation gold leaf sheets onto it. Once the excess is brushed away, you’re left with a shimmering, metallic finish that catches the light beautifully under a glass of water or a cocktail.