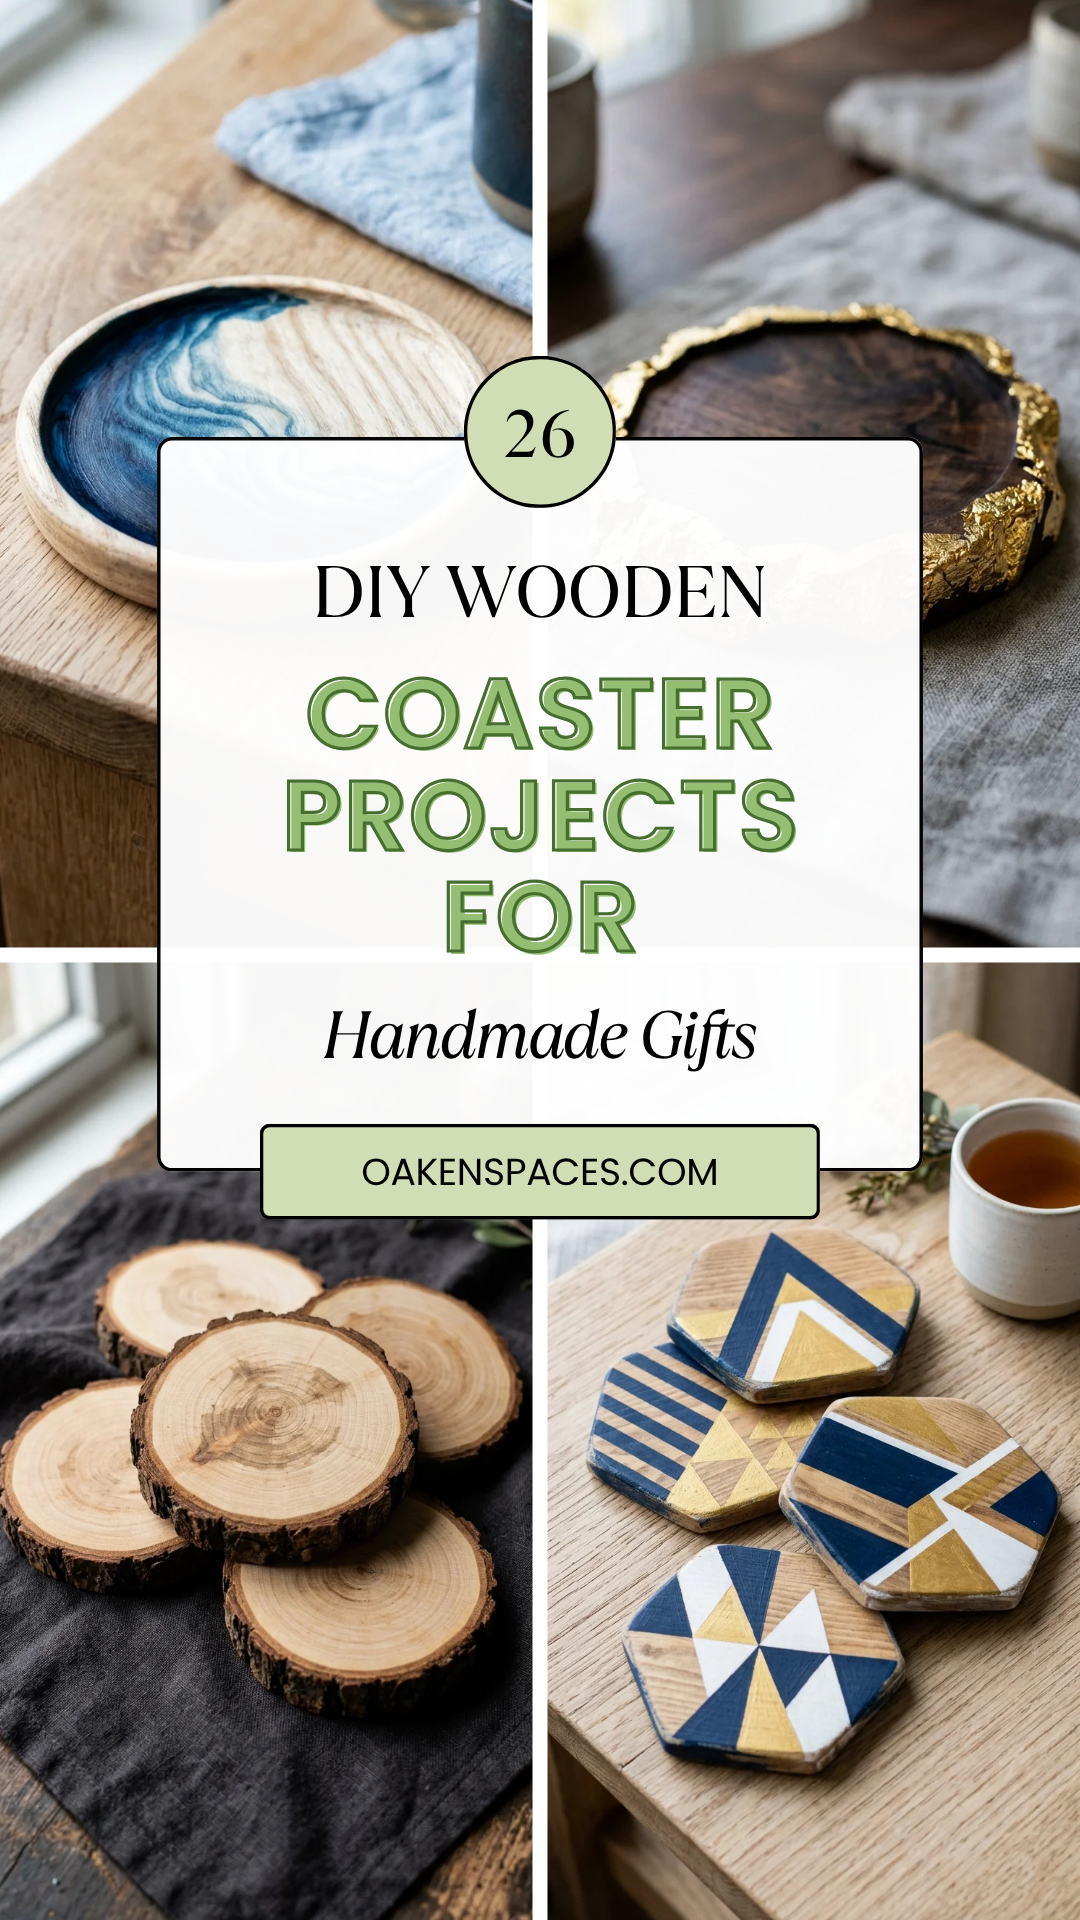
Wooden coasters are more than just functional household items; they are tiny canvases for creativity and the perfect entry point for aspiring woodworkers and crafters alike. Whether you are looking for a housewarming present, a holiday gift, or a “just because” token of appreciation, a set of handmade wooden coasters carries a personal touch that store-bought items simply cannot replicate. From the rustic charm of natural log slices to the modern elegance of resin-inlaid hardwoods, these 26 projects offer something for every aesthetic.
1. Log Slices
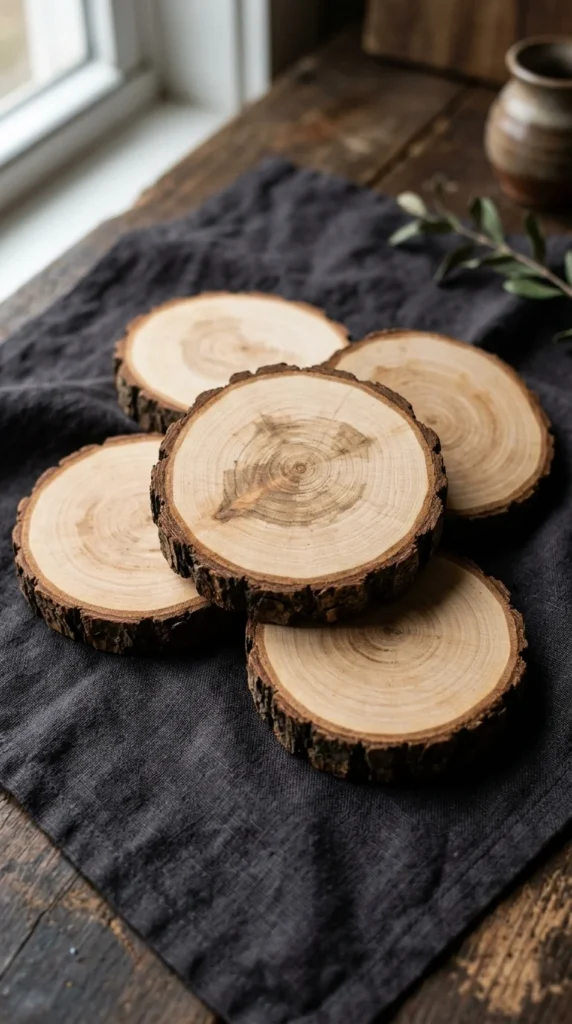
The quintessential rustic coaster starts with a fallen branch or a precut log. This project celebrates the natural beauty of the wood’s rings and bark. To create these, simply slice a branch into half-inch thick rounds, sand them until they are buttery smooth, and seal them with a clear polyurethane or butcher block oil. They bring a cozy, cabin-like feel to any coffee table and are incredibly sturdy.
2. Resin Inlay
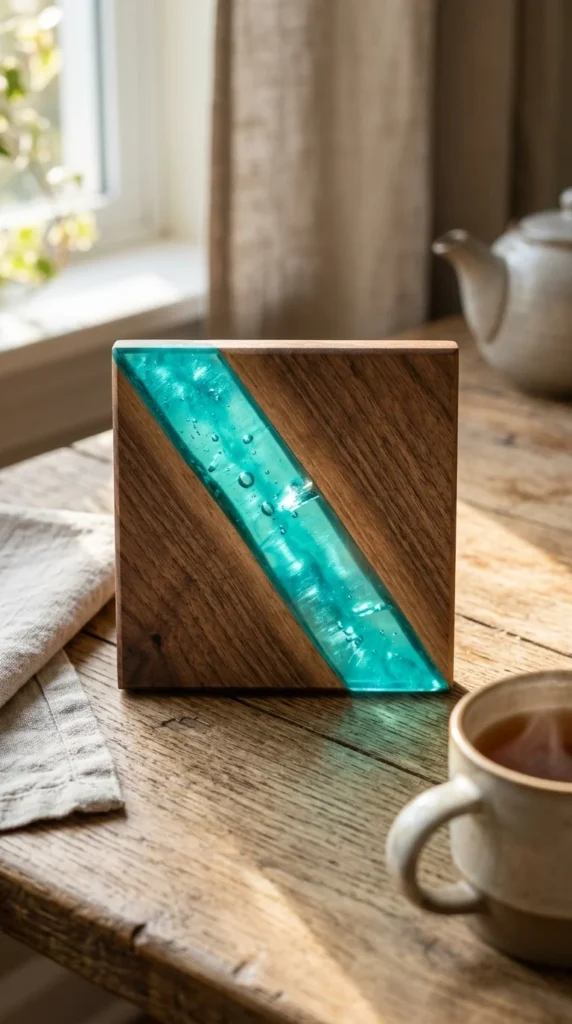
Inspired by the popular “river tables,” these coasters involve carving a small channel or using natural voids in the wood and filling them with colored epoxy resin. Once the resin cures, the entire piece is sanded flat and polished. The contrast between the organic wood grain and the glass-like shimmer of the resin makes for a high-end gift that looks professionally manufactured.
3. Geometric Paint
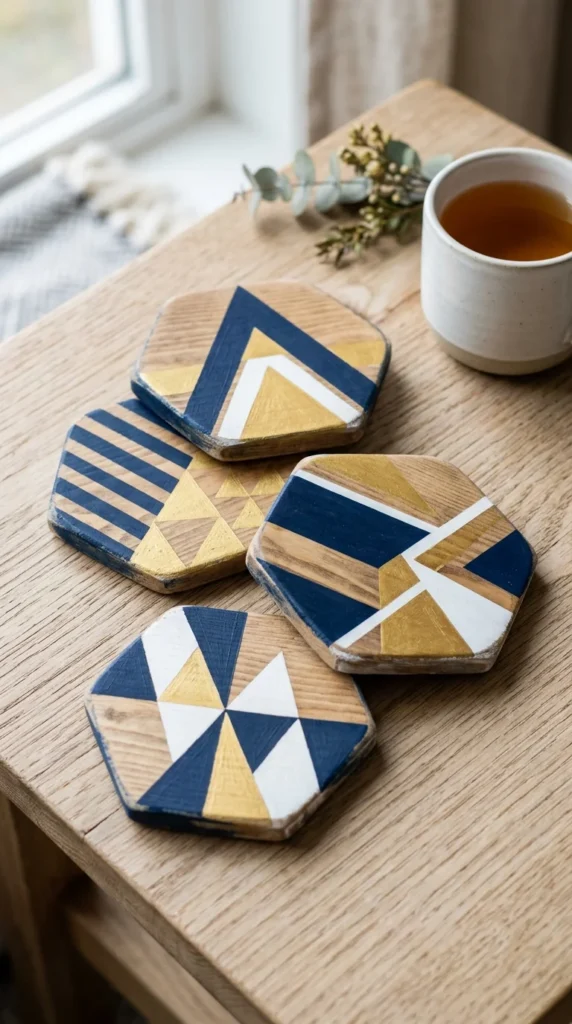
For a modern, Scandinavian-inspired look, use painter’s tape to create crisp geometric shapes on plain wooden squares or hexagons. High-quality acrylic paint in a limited color palette—like navy, cream, and metallic gold—can transform a simple piece of plywood into a work of art. Always finish with a waterproof topcoat to ensure the paint doesn’t peel when it comes into contact with condensation.
4. Wood Burning
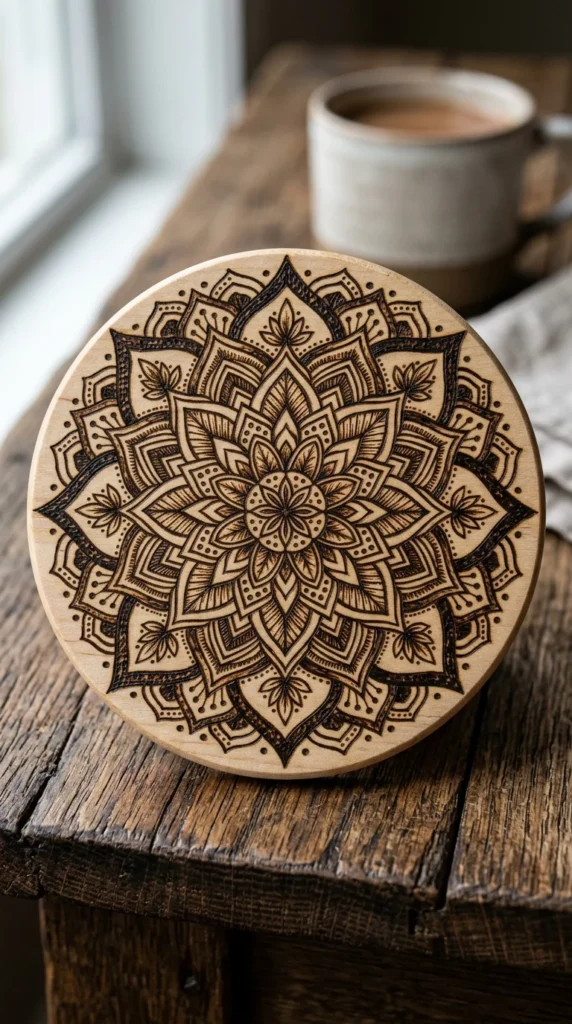
Pyrography, or wood burning, allows you to “draw” directly onto the wood with heat. You can create intricate botanical illustrations, personalized monograms, or simple patterns. This technique is particularly effective on light-colored woods like basswood or birch, where the dark, scorched lines provide a striking contrast. It’s a meditative process that results in a deeply personal gift.
5. Scrap Patchwork
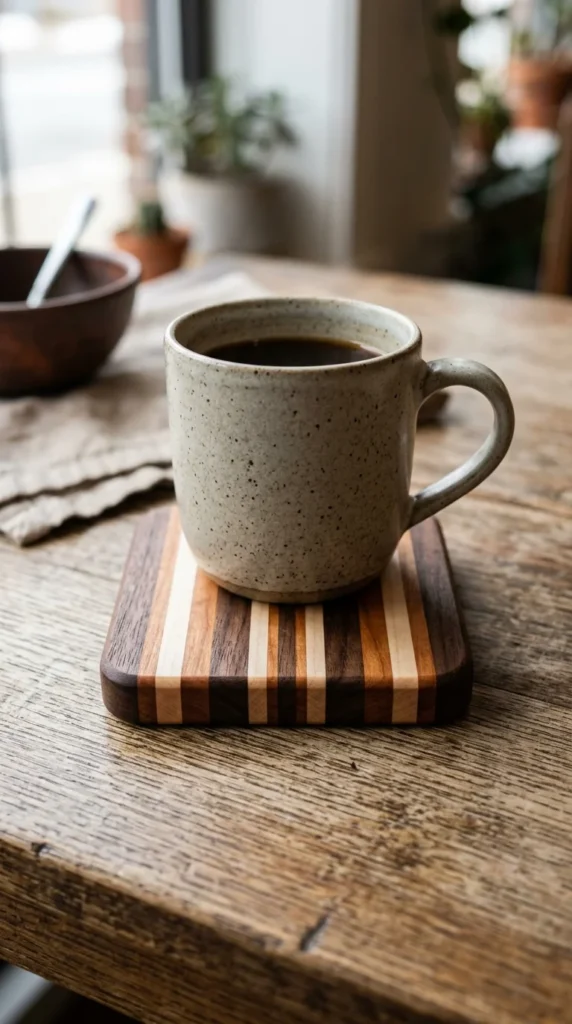
If you have a workshop full of leftover scraps, this project is a fantastic way to upcycle. Glue thin strips of various hardwoods—such as dark walnut, reddish cherry, and light maple—into a “loaf.” Once dry, slice the loaf into squares. The resulting “patchwork” or “butcher block” look highlights the diversity of wood species and looks incredibly sophisticated.
6. Leather Accents
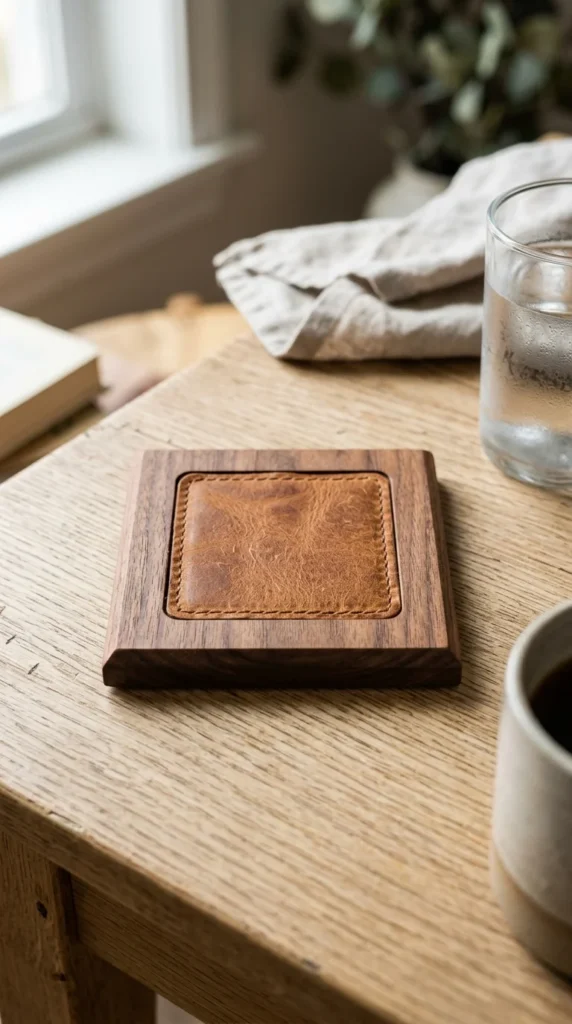
Combining wood and leather creates a tactile, masculine aesthetic that is perfect for a home office or library. You can either glue a thin leather pad to the top of a wooden base or, for a more advanced look, use a router to create a shallow recess for the leather to sit flush with the wood. The leather provides a soft landing for glassware while the wood provides structural elegance.
7. Stenciled Motifs
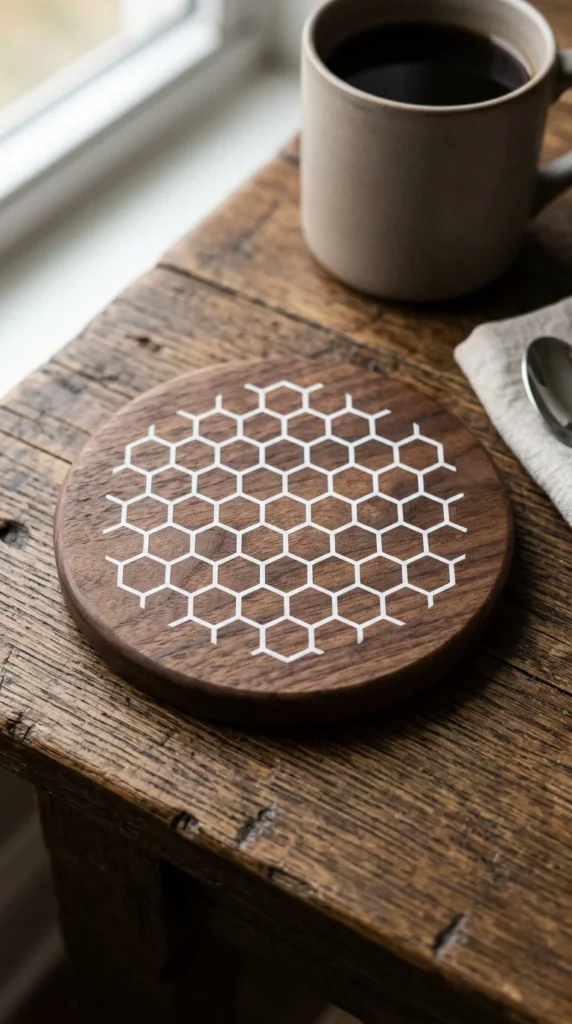
Stencils are a great way to achieve complex patterns even if you don’t have a steady hand for painting. You can find stencils featuring Moroccan tiles, damask patterns, or modern dots. By using a dry brush technique, you can create a slightly weathered, “shabby chic” look that fits beautifully in farmhouse-style interiors.
8. Pressed Flowers
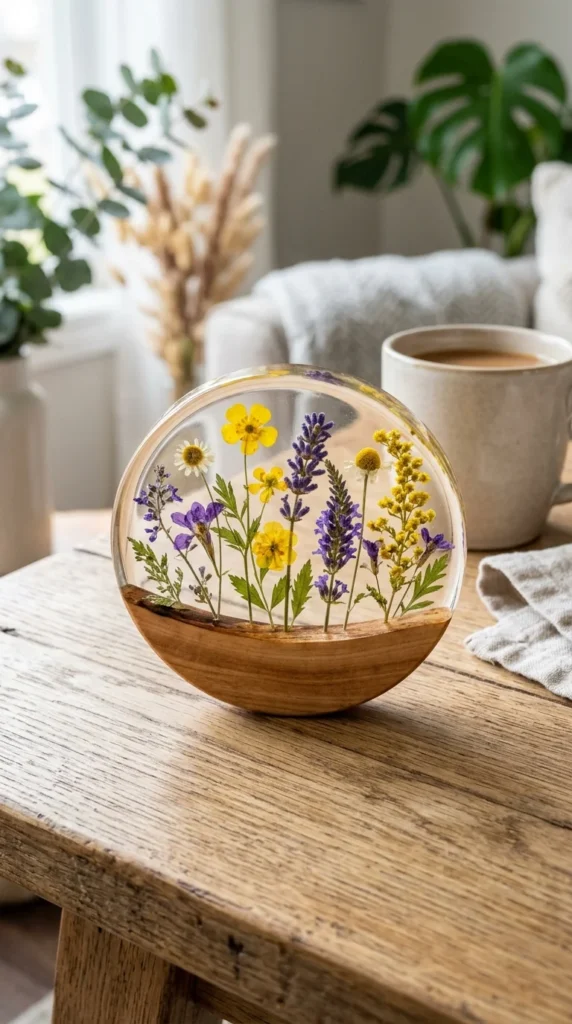
This project captures a bit of nature forever. Place small, flat-pressed flowers or ferns on a wooden disk and pour a thin layer of clear casting resin over the top. The resin acts as a protective lens, magnifying the delicate details of the plants. It is a whimsical and romantic gift that is perfect for spring birthdays or weddings.
9. Shibori Stain
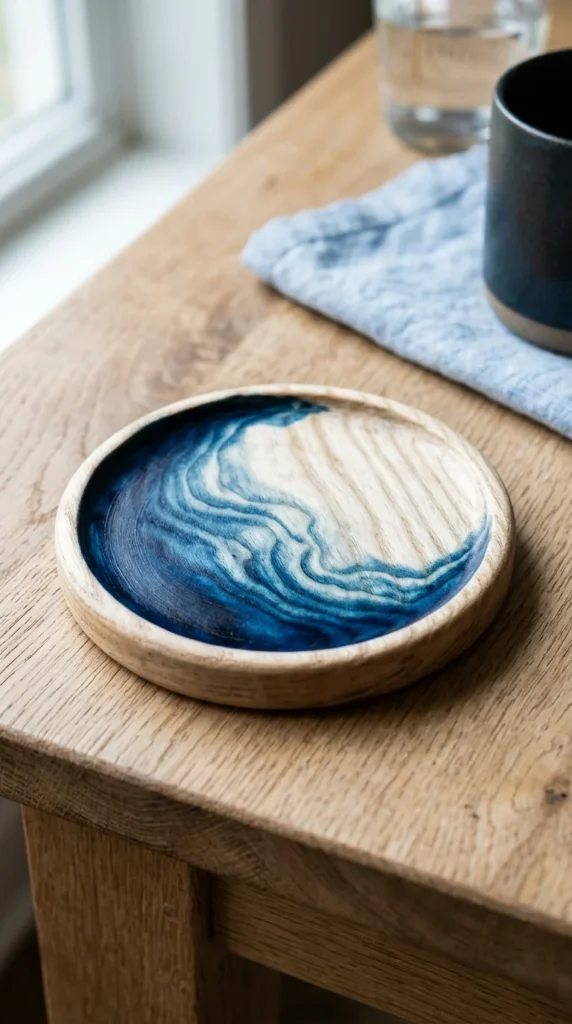
Taking inspiration from Japanese fabric dyeing, you can use wood stains or highly diluted acrylics to create a “bleeding” or ombre effect. By applying the stain to a damp wooden surface, the colors spread naturally, creating soft edges and organic patterns. Indigo blue on light pine or birch creates a stunning, oceanic vibe that is very trendy.
10. Gold Leaf
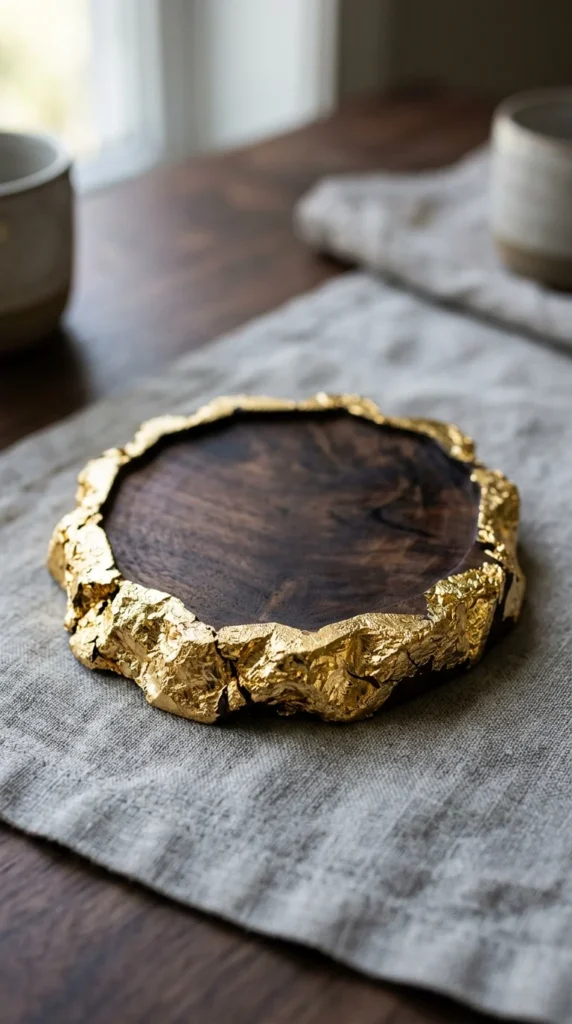
Add a touch of luxury to your DIY gifts with gold leaf. You can apply the leafing to the edges of the coaster or create a “dipped” look by covering exactly half. The crinkled texture of the gold foil against the smooth, dark-stained wood provides a beautiful play of light and shadow, making these coasters look like they belong in a high-end boutique.
11. Chalkboard Paint
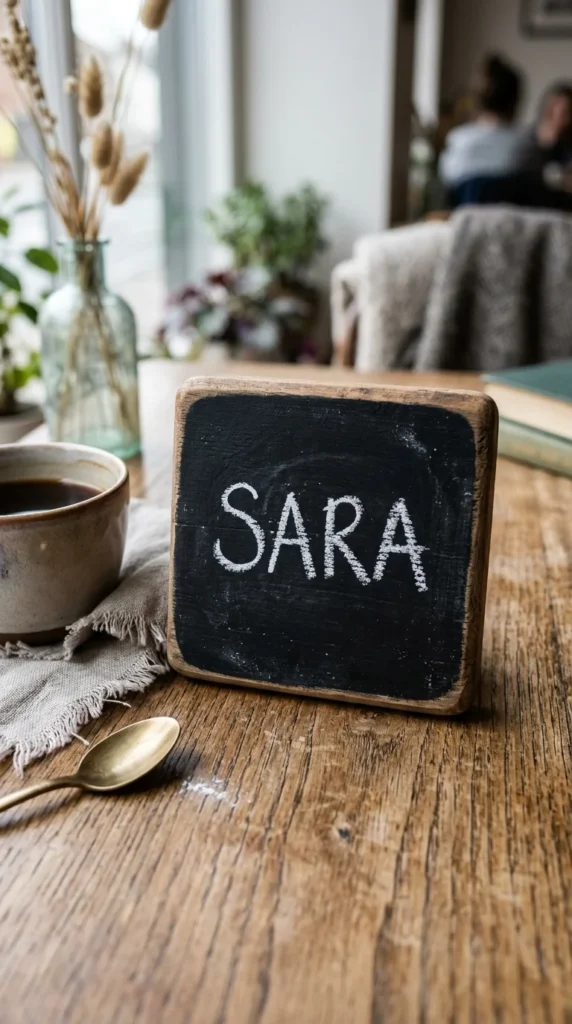
Functional and fun, chalkboard coasters allow guests to write their names directly on their drinks, preventing glass mix-ups at parties. Use a high-quality chalkboard spray paint on sanded wood blocks. These are especially great for casual gatherings or as a gift for someone who loves to host large dinner parties.
12. Hexagon Marble
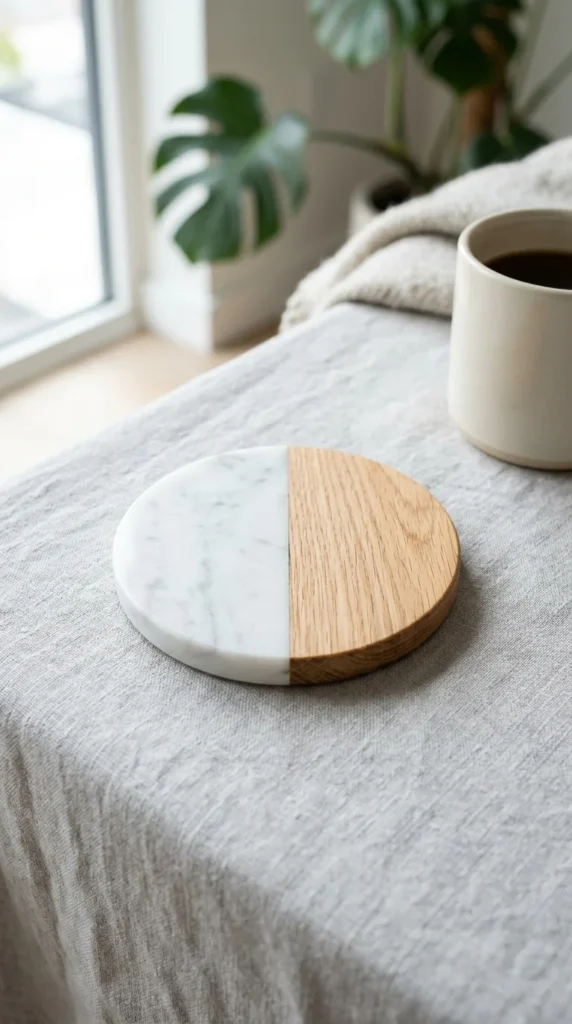
The combination of cold stone and warm wood is a classic interior design staple. While you can buy marble tiles, you can also simulate this look by using “marble” contact paper or paint techniques on one half of a wooden hexagon. If you’re feeling ambitious, you can join a real piece of marble tile to a wooden piece using a strong epoxy for a truly high-end feel.
13. Scrabble Tiles
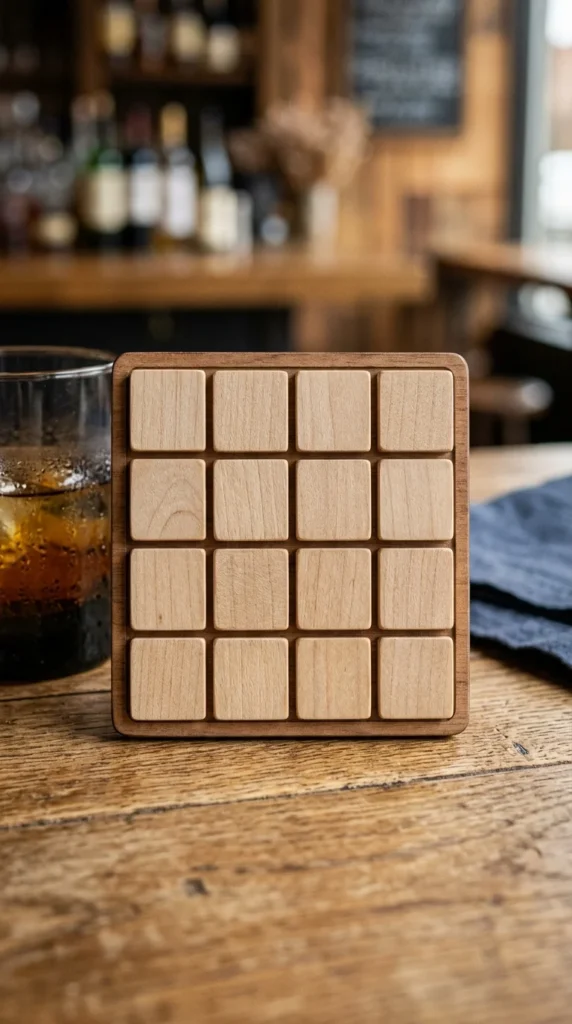
For the wordsmith or board game lover, Scrabble tile coasters are a nostalgic and clever gift. Arrange the tiles to spell out beverage-related words or the recipient’s family name. Glue them onto a thin cork or plywood base and seal them heavily with a clear gloss to protect the wooden tiles from moisture.
14. Nautical Rope
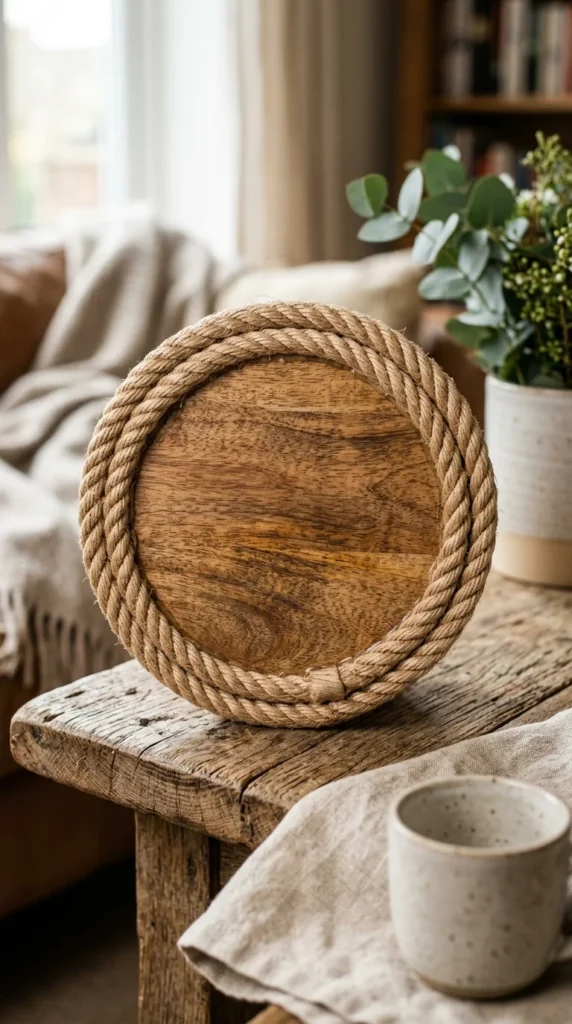
Perfect for a beach house or a nautical-themed room, this project involves taking a simple wooden round and wrapping the perimeter with thin manila or sisal rope. The texture of the rope provides an excellent grip and a rugged, coastal aesthetic. It’s an easy way to add dimension to a flat wooden disk.
15. Fabric Decoupage
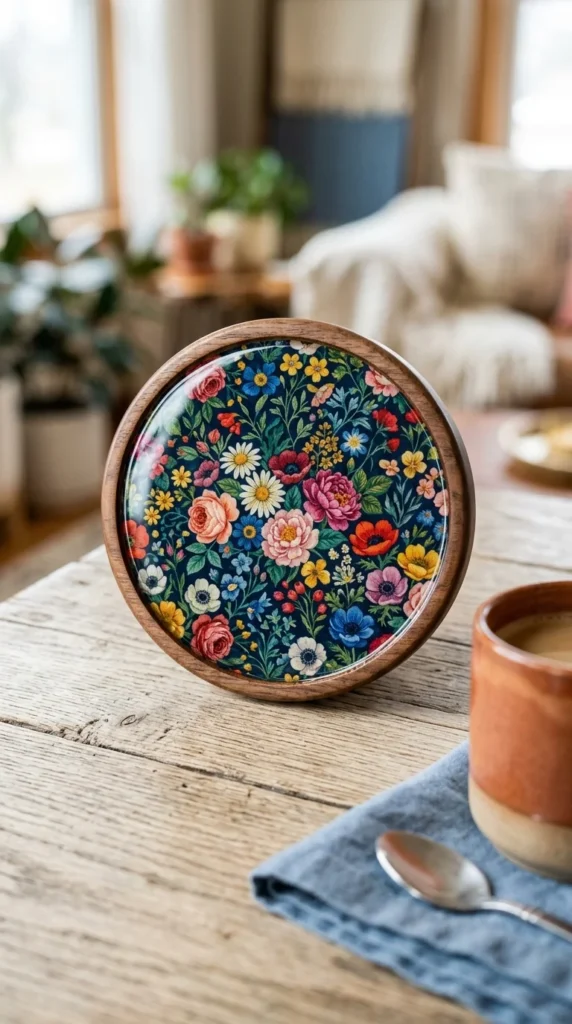
If you have beautiful fabric scraps, you can “glue” them to the surface of a wooden coaster using decoupage medium. This allows you to match the coasters to a specific room’s upholstery or curtains. Once the fabric is set, apply several layers of waterproof sealer to ensure the fabric doesn’t absorb spills.
16. Ombre Stained
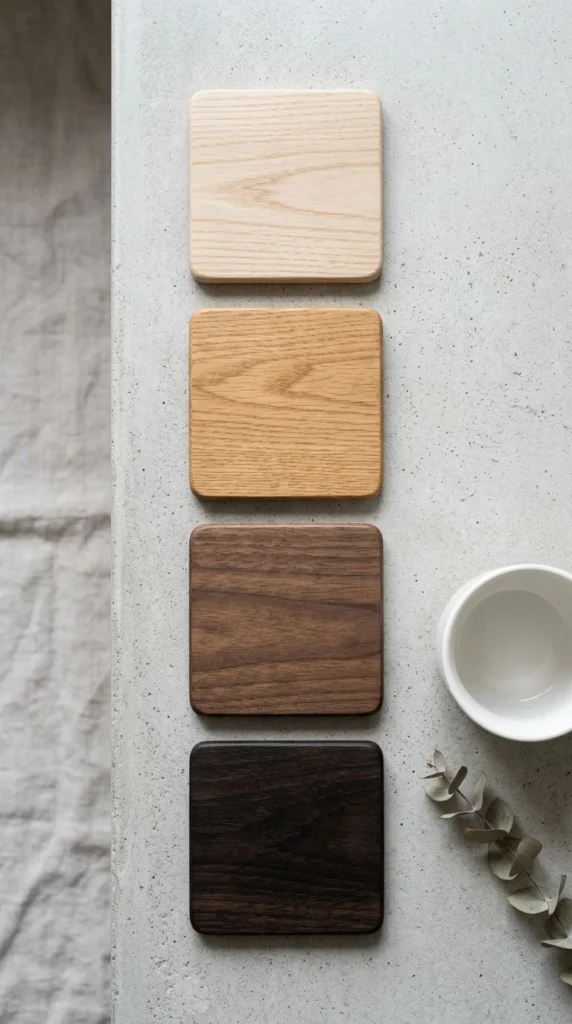
Instead of staining the entire set one color, create a gradient. This works best when the coasters are displayed together. The first coaster is barely stained, the second a medium tone, and the fourth a deep, dark ebony. It creates a sophisticated visual “flow” when they are lined up on a table.
17. Wood Beads
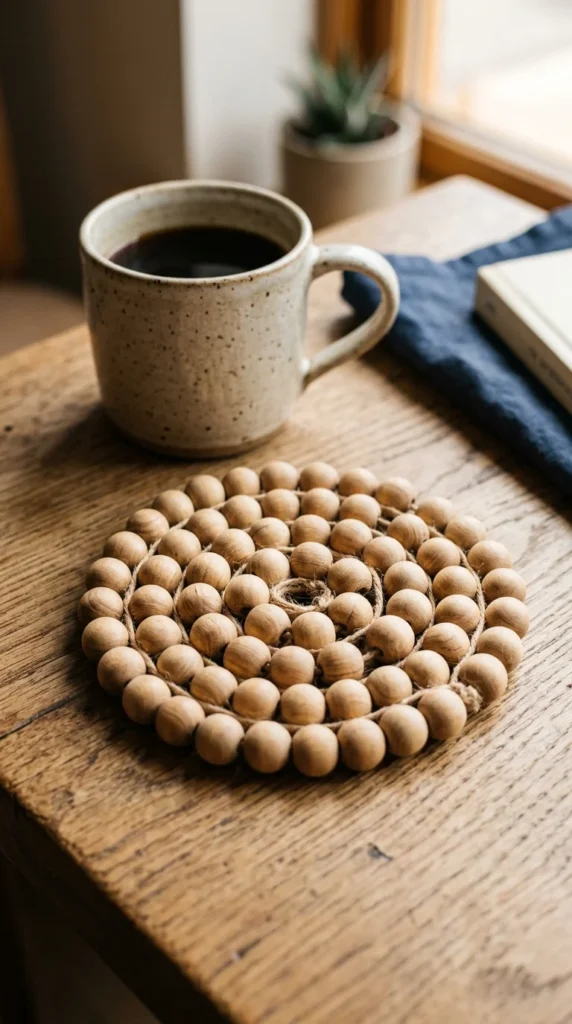
For a boho-chic look, use wooden craft beads. By stringing them on a sturdy wire and coiling them into a flat circle, you create a coaster with a lot of height and texture. Leave the beads raw for a minimalist look or paint them in alternating colors for a more playful, eclectic vibe.
18. Live Edge
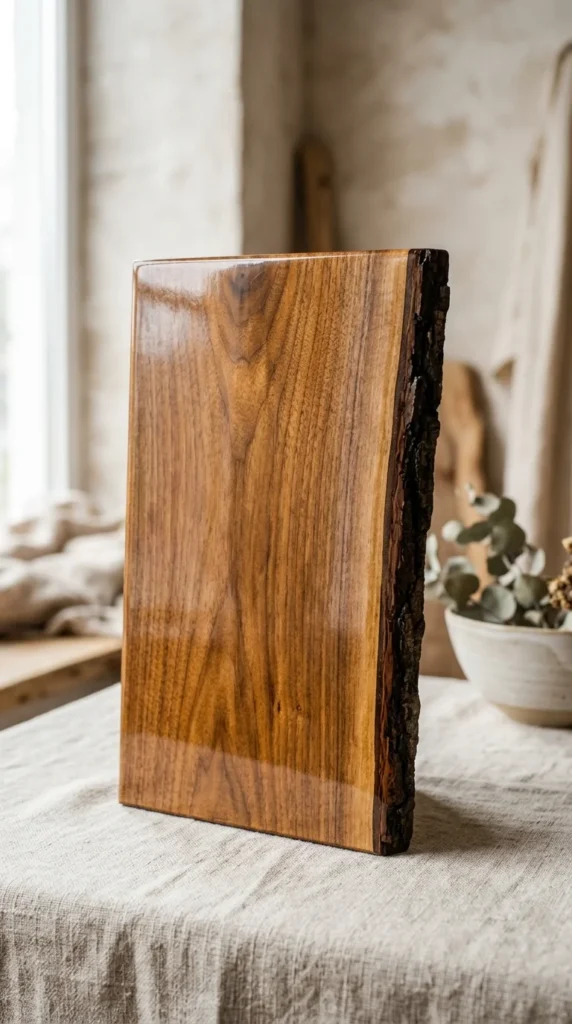
“Live edge” refers to keeping the natural silhouette of the tree on at least one side of the wood. These coasters are usually cut from “shorts” or offcuts from larger live-edge slabs. They feel like miniature pieces of furniture and highlight the raw, untamed beauty of the timber.
19. Photo Transfer
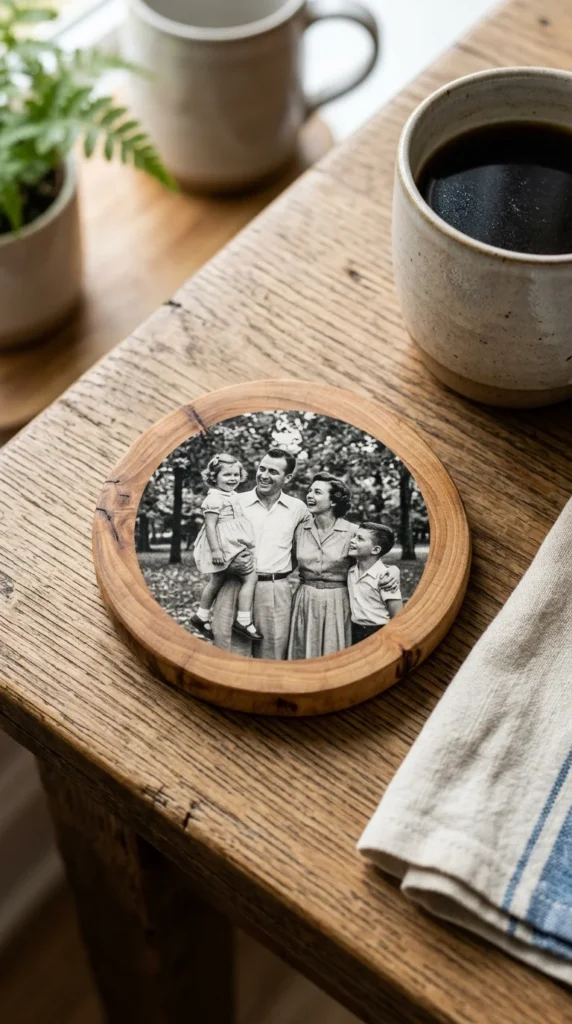
Personalize your gift by transferring photos onto wood using a gel medium. This technique allows the wood grain to peek through the image, giving the photo a vintage, ethereal quality. These are incredibly popular for wedding favors or anniversary gifts, turning a functional item into a cherished keepsake.
20. Color Blocked
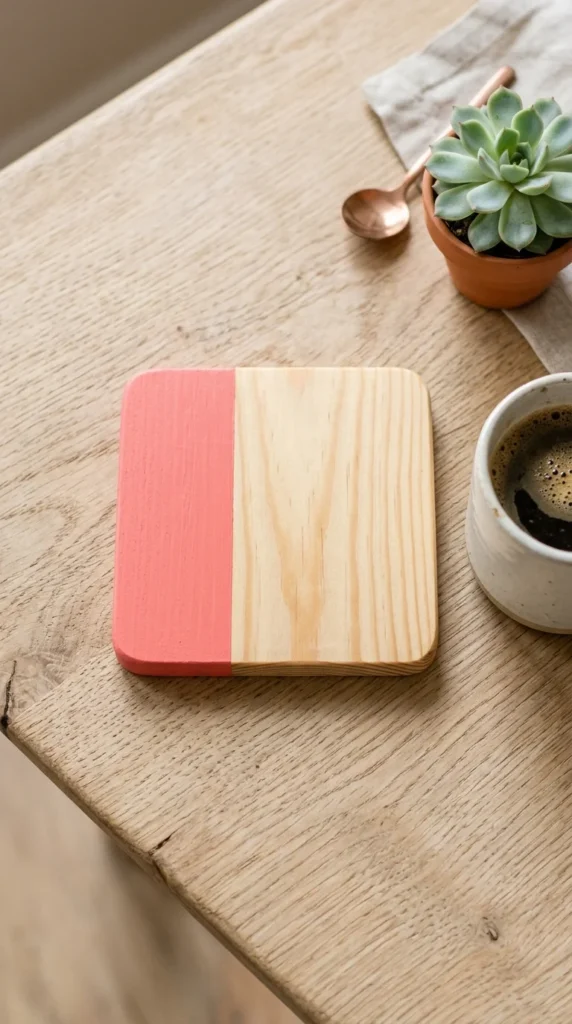
Color blocking is a simple yet high-impact design technique. Choose a single, bold pop of color—like neon yellow, teal, or coral—and paint just one edge or corner of the wood. The juxtaposition of the “unnatural” bright color against the “natural” wood grain is visually striking and very modern.
21. Herringbone Pattern
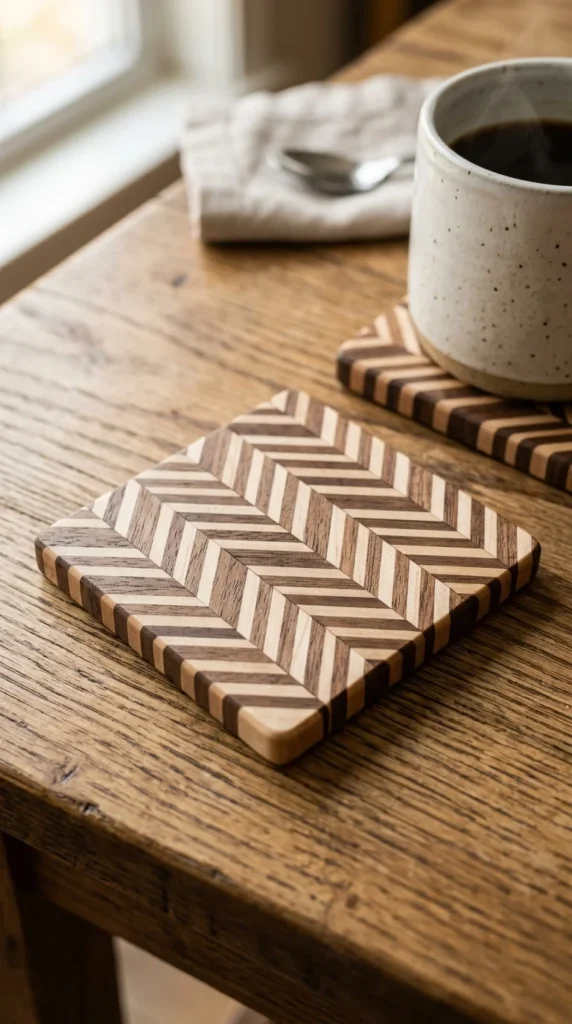
This project requires a bit more precision but the result is stunning. By cutting small, identical rectangular slats and arranging them in a “V” pattern, you create a classic herringbone design. Using contrasting wood species (like balsa and walnut) makes the pattern pop even more.
22. Embedded Objects
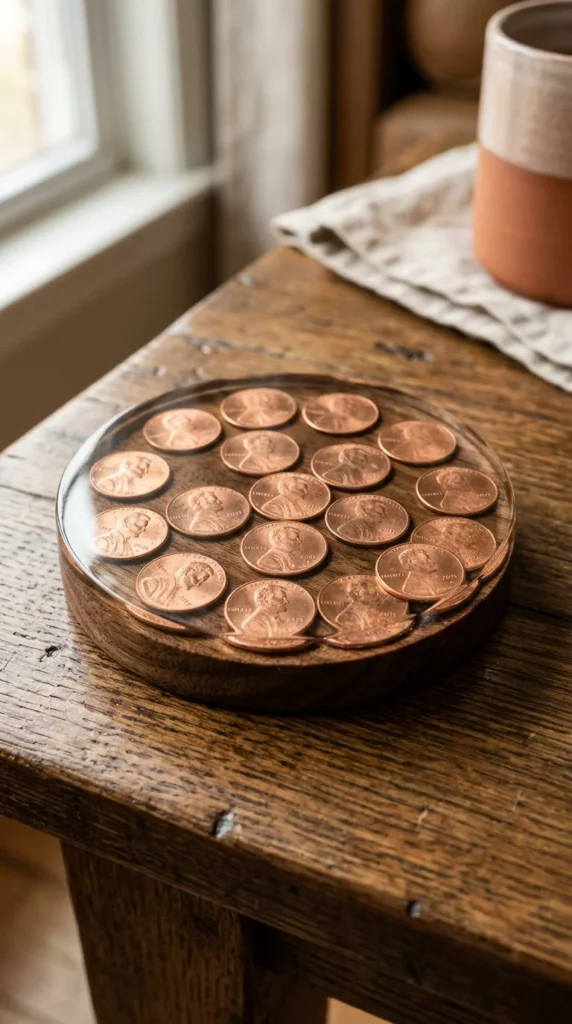
If you have a collection of small mementos—like old coins, beach sea glass, or even coffee beans—you can embed them in the surface of the wood. Use a router to create a deep pocket, arrange your objects, and fill the space with clear epoxy. It’s a great way to create a themed gift based on the recipient’s hobbies.
23. Constellation Drilled
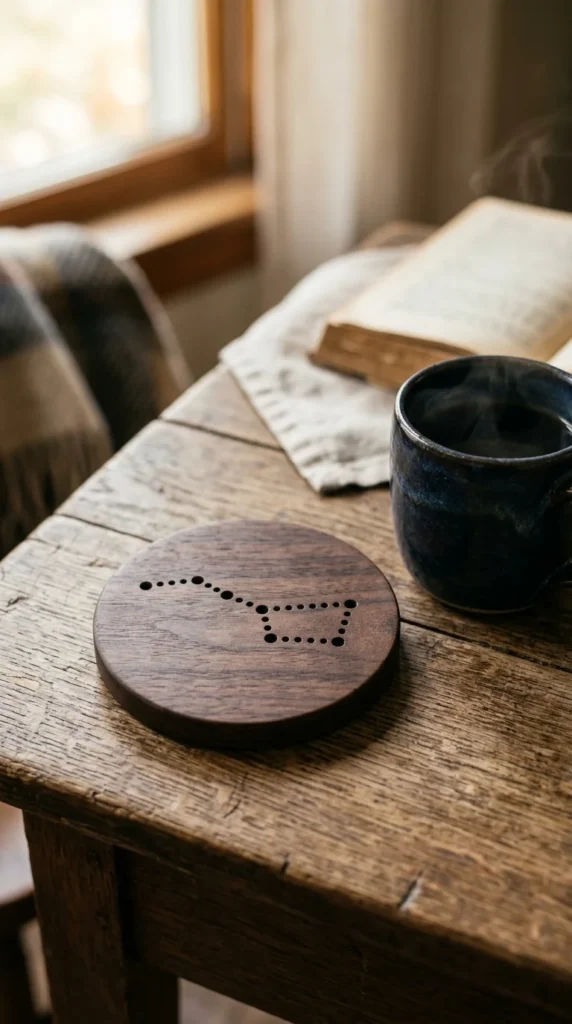
For the stargazer, these coasters feature tiny holes drilled in the patterns of various constellations. When placed on a glass table or near a light source, the light shines through the “stars.” You can even fill the holes with glow-in-the-dark resin for an extra magical touch at night.
24. Braided Veneer
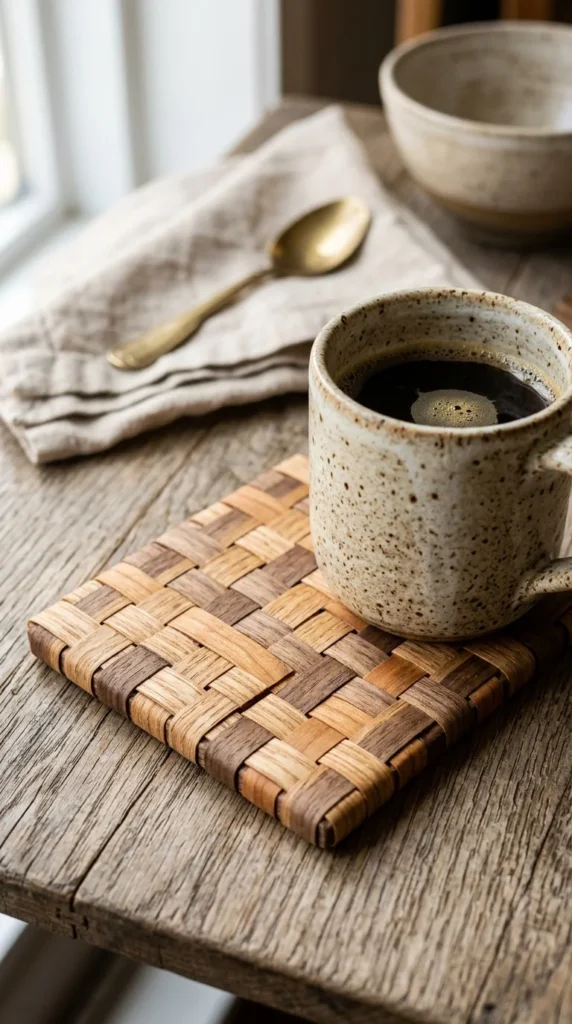
Wood veneer is thin enough to be flexible. By soaking thin strips and weaving them together like a basket, you can create a textured, lightweight coaster. Once the weave is dry and glued to a solid base, it becomes quite rigid and provides a beautiful, artisanal look that looks much more difficult to make than it actually is.
25. Plywood Layering
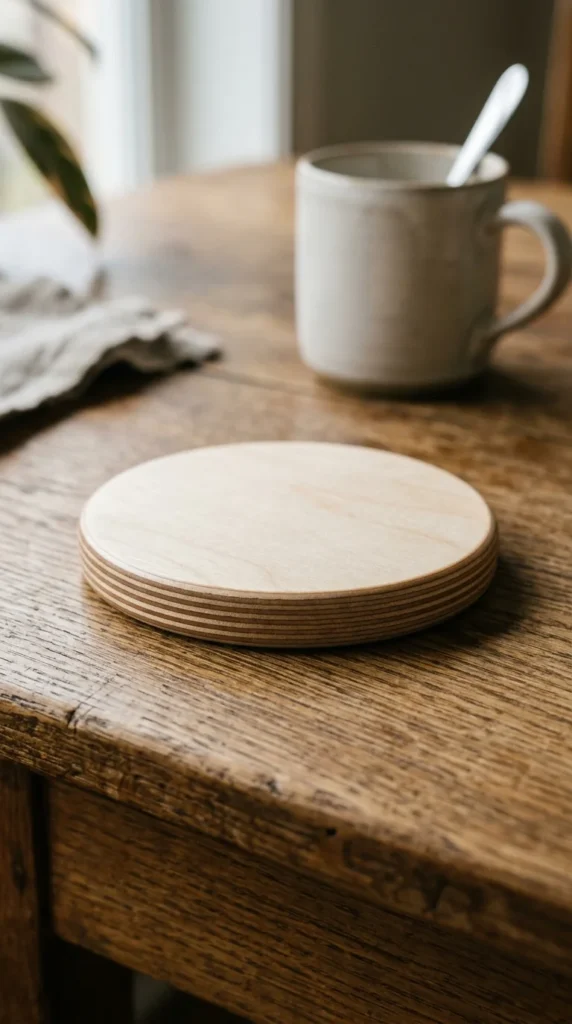
High-grade Baltic birch plywood has beautiful, uniform layers. By cutting the plywood and turning it on its side, you can feature these stripes as the main design element. When sanded and finished, the “ply” look is very architectural and fits perfectly in a modern or industrial-themed home.
26. Bark-On Epoxy
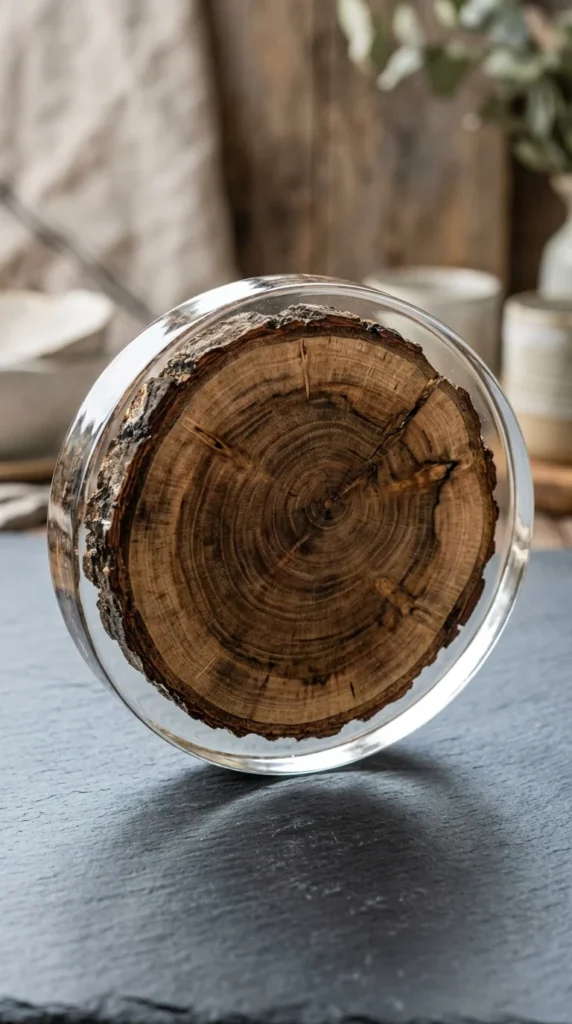
The main struggle with bark-on coasters is that the bark eventually falls off. To solve this, encase the entire edge in a “pour-over” of resin. This preserves the rugged, mossy texture of the bark forever while providing a smooth, easy-to-clean surface. It’s the ultimate combination of raw nature and modern durability.