
There is something inherently soul-soothing about the texture of raw timber paired with the personal touch of a handcrafted design. Rustic wooden signs have become a staple in modern interior design, bridging the gap between traditional farmhouse aesthetics and contemporary minimalist styles. They tell a story, offer a warm welcome, and provide a tactile element that plastic or metal decor simply cannot replicate.
Creating your own wooden signs is not just a budget-friendly way to decorate; it is a therapeutic process that allows you to infuse your personality into your living space. Whether you are a seasoned woodworker or a complete novice with a paintbrush, these eleven DIY ideas will help you transform simple boards into timeless pieces of art.
1. Reclaimed Barnwood
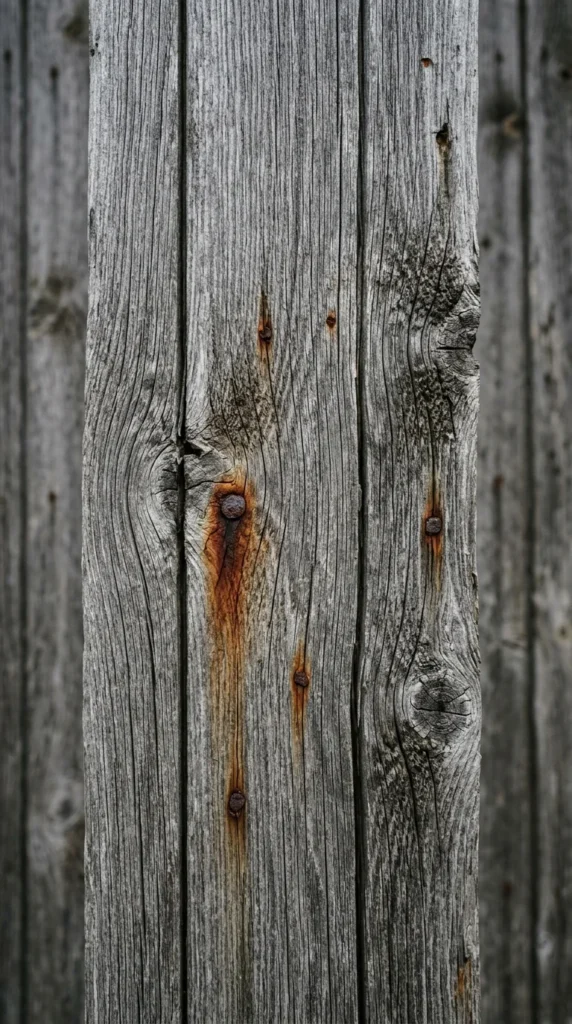
There is no substitute for the character of authentic reclaimed barnwood. This material carries decades of history, featuring a naturally distressed patina that is impossible to perfectly replicate with new lumber. To create a sign using reclaimed wood, focus on preserving its natural imperfections. Instead of heavy sanding, use a wire brush to remove loose debris while keeping the silver-grey “driftwood” look intact. Because barnwood is often porous, it takes paint beautifully, allowing for a “ghosted” lettering effect where the wood grain peeks through the pigment.
2. Pallet Welcome
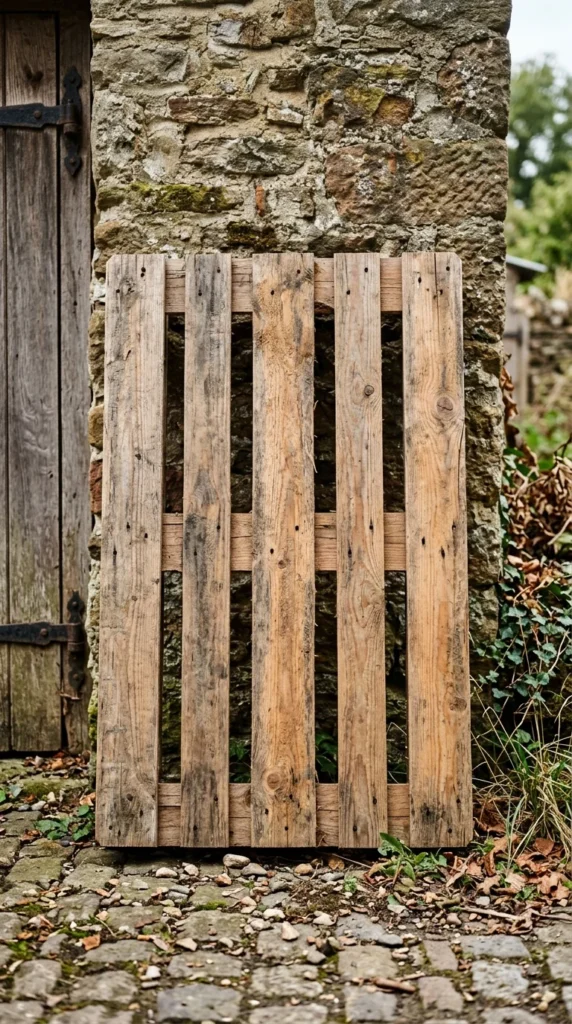
Shipping pallets are the ultimate resource for the budget-conscious DIYer. By dismantling a pallet, you gain several uniform slats that are perfect for creating “slatted” signs. A popular choice is the “Welcome” sign for the front porch. You can join three or four slats together using cross-braces on the back to create a large rectangular canvas. The rough texture of pallet wood is ideal for dry-brushing techniques, which highlight the ridges and splinters to emphasize that sought-after rustic vibe.
3. Hand-Painted Quote
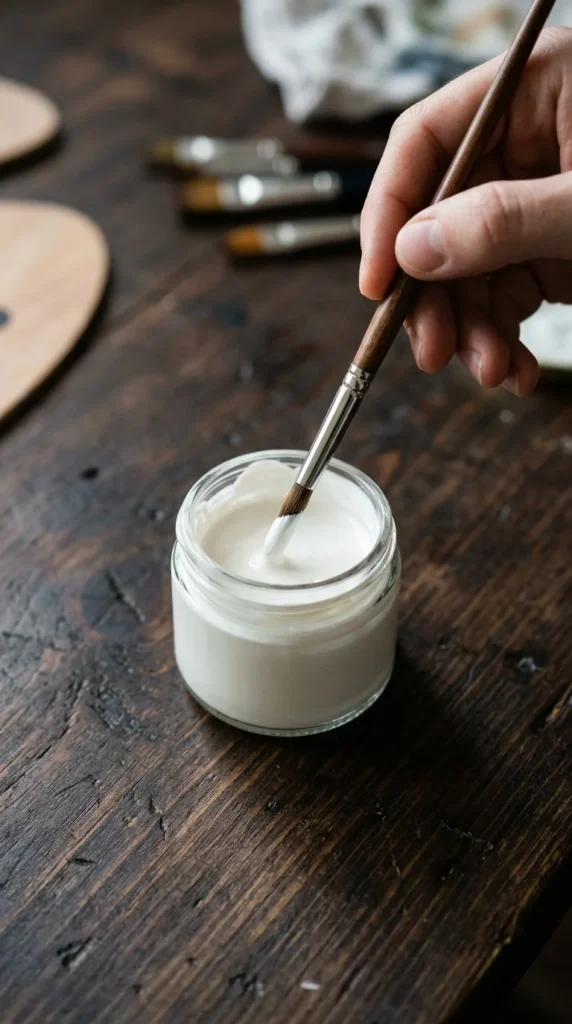
If you have steady hands or a love for calligraphy, a hand-painted quote sign is the most personal project you can undertake. Choose a quote that resonates with your family—perhaps a favorite lyric, a meaningful date, or a simple “Gather.” To achieve professional results, trace your design using graphite paper before committing with paint. The slight variations in line thickness that come from hand-painting add an artisanal quality that mass-produced signs lack.
4. Stenciled Farmhouse
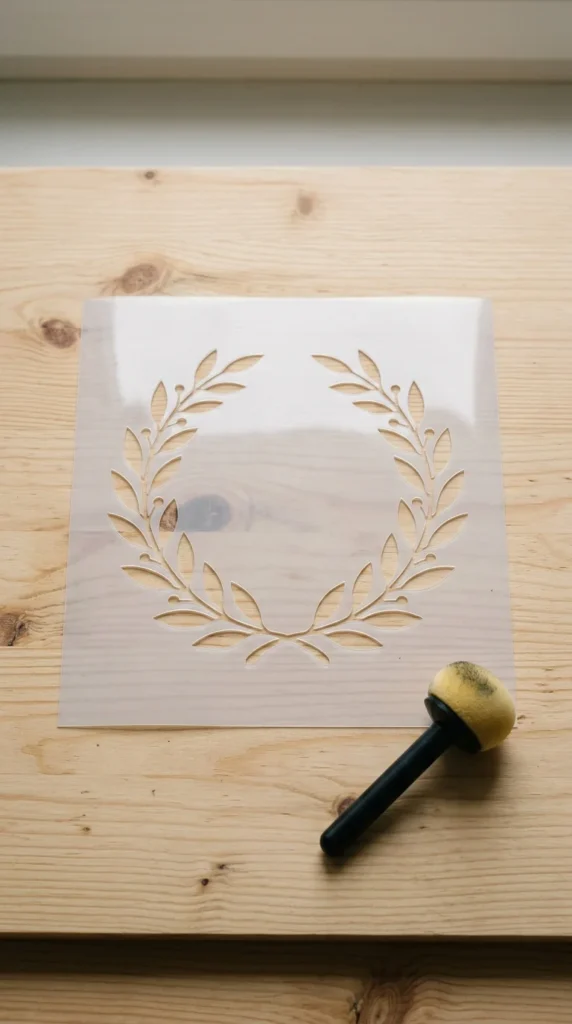
For those who want the look of perfect typography without the stress of freehand drawing, stencils are your best friend. Farmhouse-style signs often feature clean, bold lettering in black or navy against a white-washed background. The secret to a crisp stenciled sign is the “dry sponge” method: dip your foam brush in paint, then dab most of it off onto a paper towel until the brush is nearly dry. This prevents paint from bleeding under the edges of the stencil, ensuring sharp, clean lines.
5. Burned Pyrography
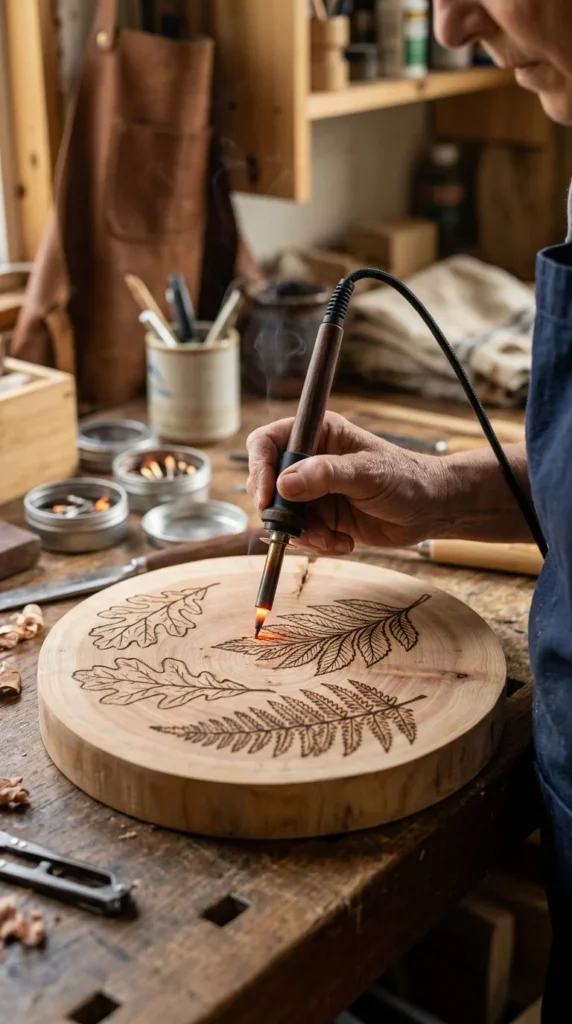
Pyrography, or wood-burning, is the art of “drawing with fire.” This technique creates a deep, permanent, and textured design that feels incredibly grounded and organic. Using a wood-burning pen, you can sear designs directly into the fibers of the wood. This works best on light-colored, fine-grained woods like basswood or birch. The smell of burning wood during the process only adds to the rustic experience, and the finished product has a beautiful sepia-toned finish that glows under a coat of linseed oil.
6. Round Door-Hanger
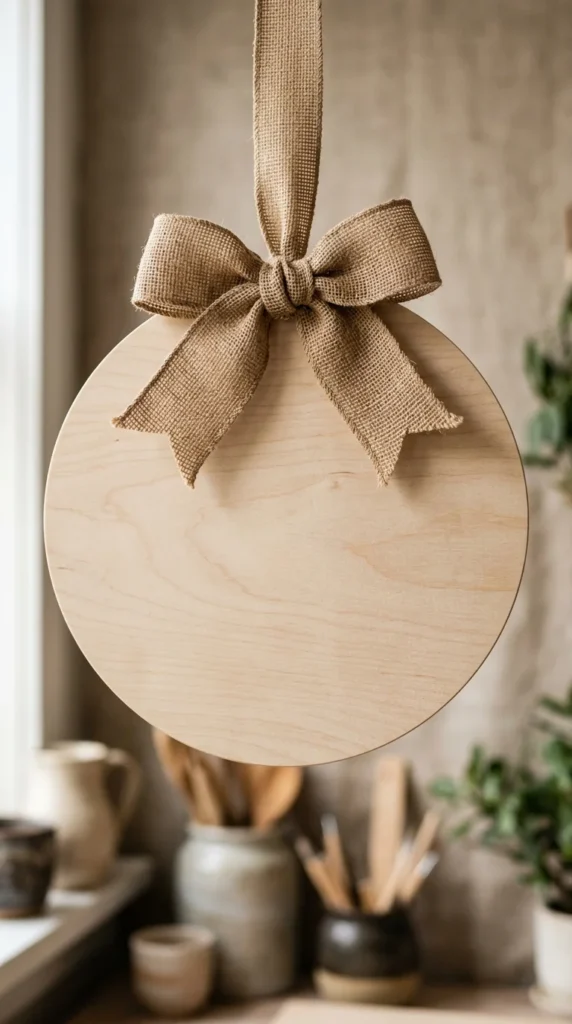
Move over, traditional wreaths. The round wooden door-hanger is the new gold standard for curb appeal. These signs are typically cut from 1/2-inch birch plywood and can be decorated with a mix of paint, greenery, and 3D wooden cutouts. Because they are exposed to the elements, it is crucial to seal these signs with an exterior-grade polyurethane. Adding a “3D” element, such as laser-cut wooden letters glued onto the base, gives the sign depth and a high-end look.
7. Distressed Scrabble
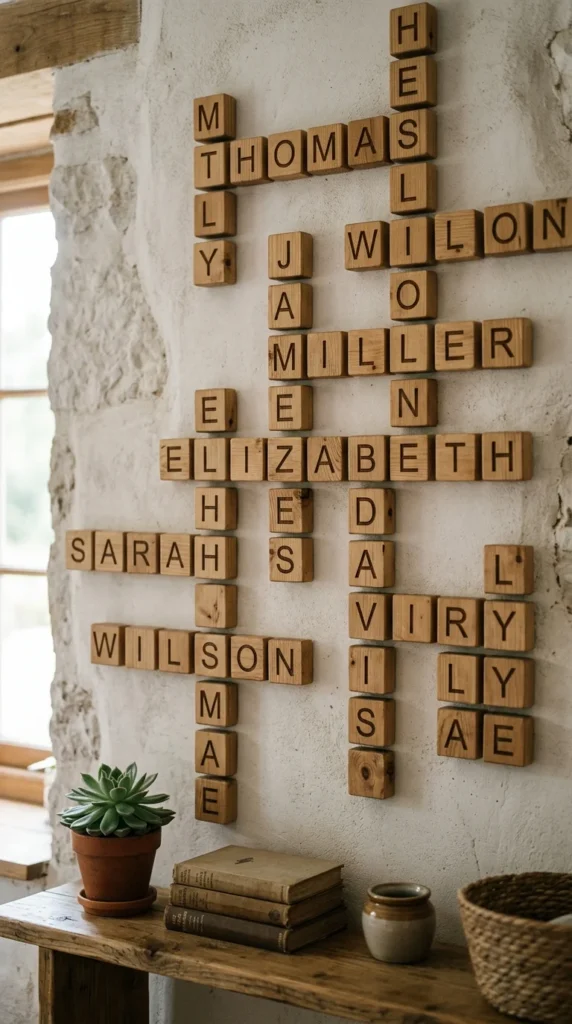
For a playful take on rustic decor, oversized Scrabble tiles are a fantastic DIY project. These consist of small square blocks of wood (usually 5×5 inches) with a single letter and its corresponding point value. By staining the blocks a warm honey hue and stenciling the letters in a crisp black, you can create a crossword-style display of your family members’ names. This modular design allows you to add new “tiles” as your family grows.
8. Vertical Porch
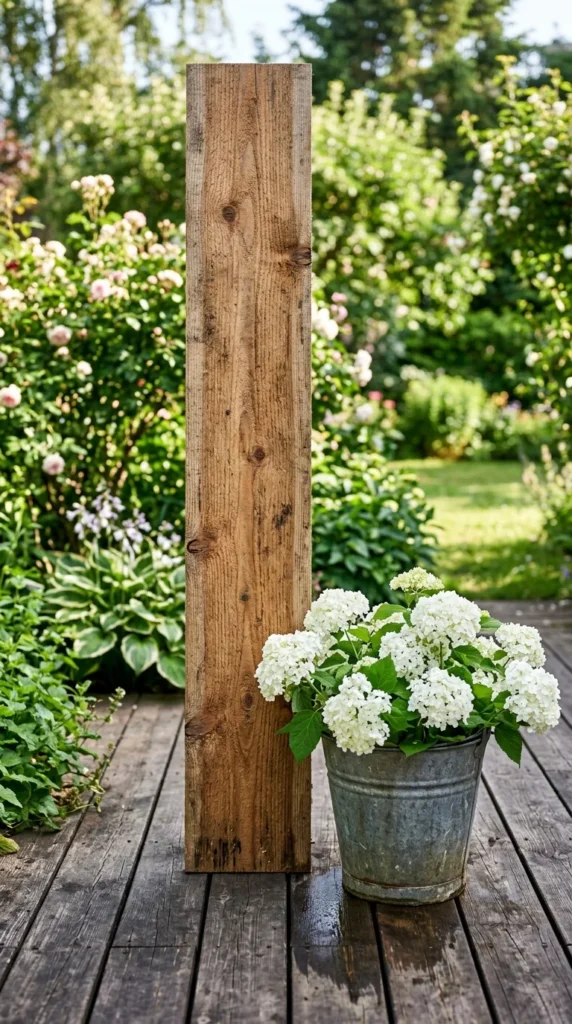
A vertical porch sign is a statement piece that adds height to your entryway decor. These signs usually stand between four and five feet tall. Because they are so large, they offer a great opportunity to experiment with bold, oversized lettering. You can make these reversible—”Welcome” on one side and “Merry Christmas” or “Happy Harvest” on the other—to maximize their utility throughout the seasons. Using a dark stain with white lettering creates a classic contrast that is visible from the street.
9. Framed Chalkboard
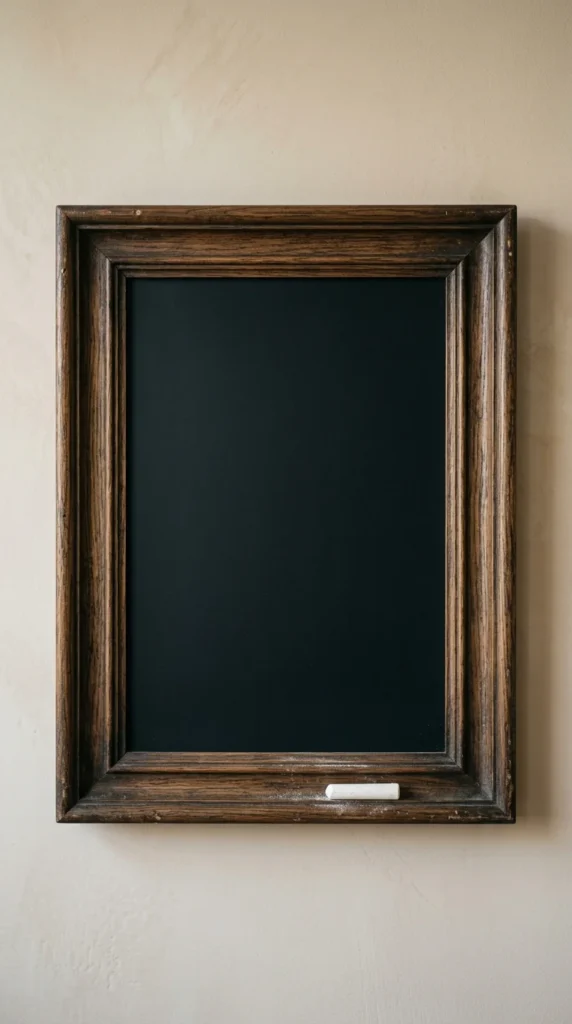
Combining wood with chalkboard paint creates a functional piece of rustic decor. By building a chunky “mitered” frame out of 1×3 pine boards and fitting it with a piece of plywood painted in chalkboard finish, you create a versatile sign. Use it for weekly menus in the kitchen, inspirational quotes in the hallway, or a countdown to a special event. The dusty texture of the chalk against the stained wood frame perfectly encapsulates the farmhouse aesthetic.
10. String Art
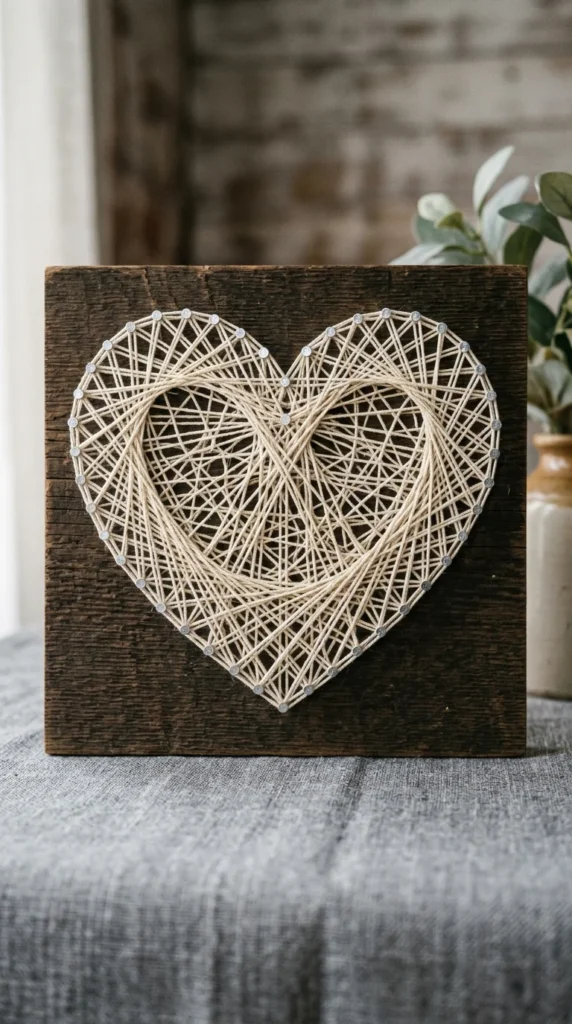
String art adds a three-dimensional, tactile element to your wooden signs. The process involves hammering small finish nails into a pattern and then weaving embroidery floss or twine between them. For a rustic look, use a dark walnut stain on the wood base and a natural cream or jute twine for the string. This technique is particularly effective for silhouettes, like the shape of a state, a heart, or a simple mountain range.
11. Driftwood Coastal
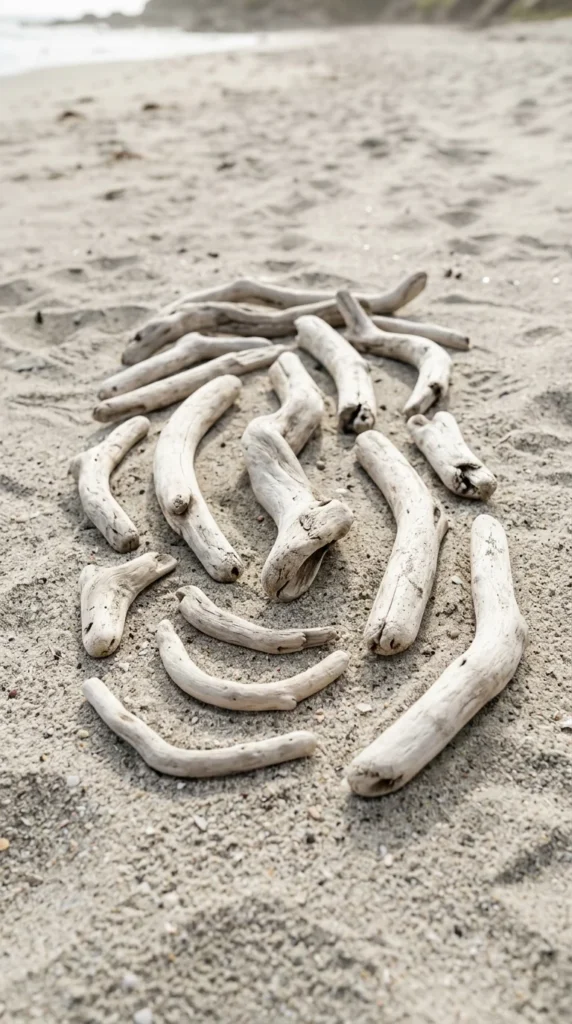
If your version of rustic leans more toward “coastal farmhouse,” driftwood signs are a must. Found wood from the beach has been naturally tumbled by the waves and bleached by the sun, giving it a unique, soft texture. Because driftwood is often irregular in shape, these signs work best with short, simple words like “Beach,” “Surf,” or “Relax.” Use a light blue or sea-foam green paint to complement the natural tones of the wood.
Essential Materials for DIY Wood Signs
Before you begin your project, gather these basic supplies to ensure a smooth crafting experience:
- Wood Base: Pine, cedar, plywood, or reclaimed pallet wood.
- Sandpaper: Various grits (80 for rough shaping, 220 for a smooth finish).
- Stain or Paint: Wood stains for a natural look; acrylic or chalk paint for lettering.
- Brushes: Synthetic for paint, foam for stencils, and natural bristle for stains.
- Sealant: Polycrylic (for indoor) or Spar Urethane (for outdoor) signs.
- Hanging Hardware: D-rings, sawtooth hangers, or thick jute twine.
Tips for a Professional Finish
- Prep is Everything: Never skip sanding. Even “rustic” signs should be free of dangerous splinters. Start with a coarse grit and work your way up to a fine grit for a surface that’s easy to paint on.
- Bleed Prevention: If you are painting on stained wood, apply a thin coat of clear sealer over the stain before painting your letters. This “locks” the wood grain and prevents the paint from creeping into the fibers.
- Distressing Techniques: To make a new sign look old, lightly sand the edges and corners where natural wear would occur. You can also use a “dark wax” over white paint to give it an aged, antique appearance.
- Font Choice: For a rustic look, pair a “serif” font (like Times New Roman style) or a “script” font with a “sans-serif” font (like Arial style). This contrast creates visual interest and a modern-farmhouse feel.
By following these ideas and techniques, you can create custom wooden signs that not only enhance your home’s aesthetic but also serve as a proud reminder of your own creativity. Happy crafting!