
The leap from “crafty hobbyist” to “skilled woodworker” often feels like it requires a garage full of expensive machinery and years of apprenticeship. However, the secret to professional-looking DIY wood projects isn’t just about the tools—it’s about choosing the right designs, focusing on the finish, and mastering a few fundamental joins. You don’t need a table saw or a jointer to create pieces that look like they were plucked from a high-end furniture boutique.
Whether you are looking to spruce up your home decor or build functional furniture, these fifteen projects are designed specifically for beginners. They utilize standard lumber sizes, basic power tools like a drill and a miter saw, and clever finishing techniques to ensure the end result is something you’ll be proud to show off.
1. Floating Shelves
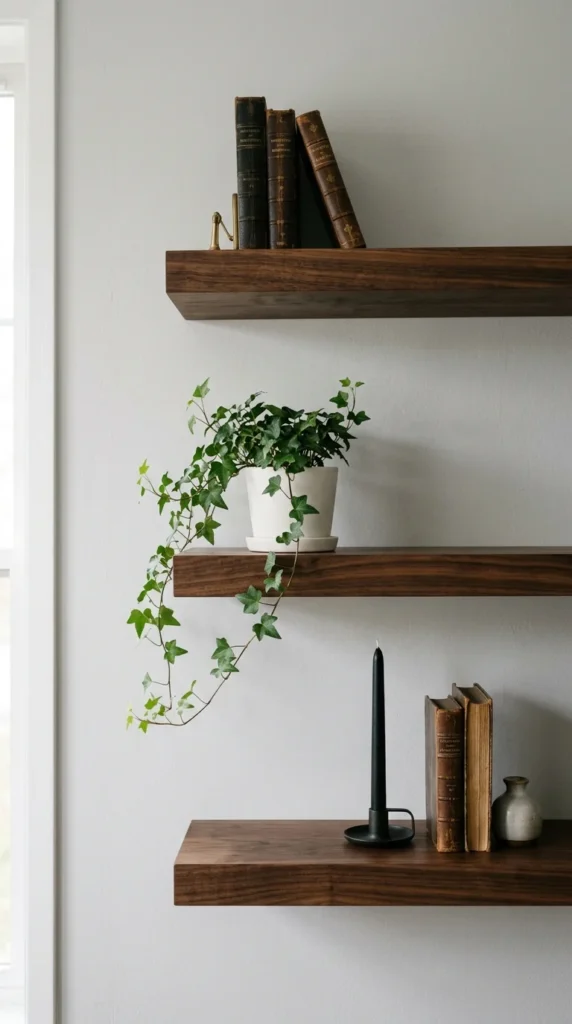
Floating shelves are the ultimate “high-impact, low-effort” project. The professional look comes from the lack of visible brackets, giving the illusion that the wood is growing directly out of the wall. To achieve this, beginners can build a “box” sleeve that slides over a hidden wooden cleat screwed into the wall studs. Using high-quality plywood with iron-on wood veneer edging makes the shelves look like solid, expensive slabs of timber.
2. Blanket Ladder
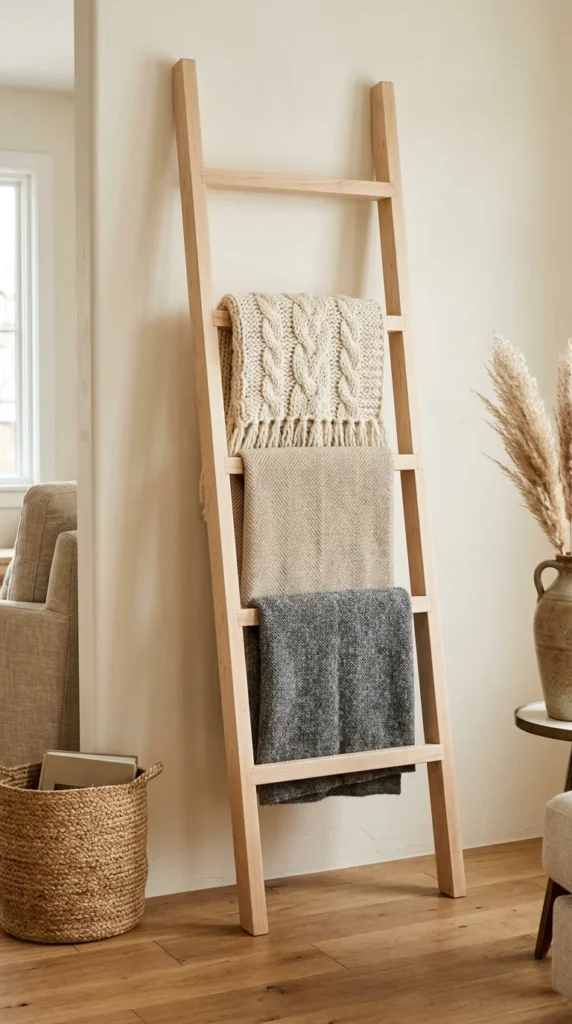
A blanket ladder is a vertical storage solution that adds instant warmth to a living room or bedroom. Because it’s a non-weight-bearing decorative piece, the joinery doesn’t need to be overly complex. By using a simple drill and wood screws (hidden with wood filler or decorative plugs), you can assemble this in an afternoon. The key to a professional finish here is sanding—start with 80-grit and work your way up to 220-grit until the wood feels like silk.
3. Serving Tray
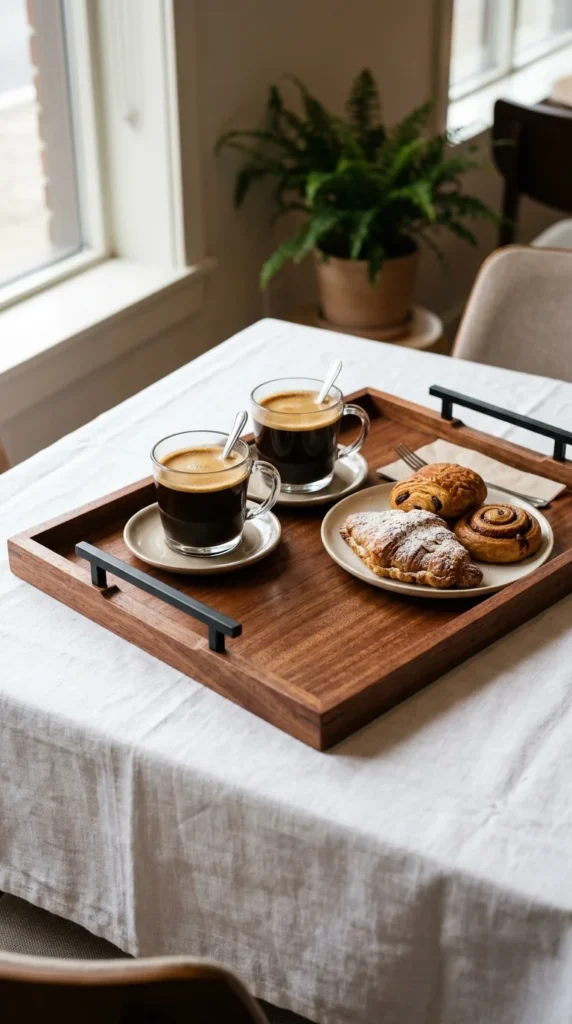
Small projects allow you to focus on the fine details. A serving tray is an excellent way to practice working with hardwoods like maple, walnut, or cherry. Instead of complex joinery, a beginner can use simple butt joints reinforced with glue and finish nails. Adding high-quality hardware—like brushed gold or matte black handles—elevates the piece from a basic box to a designer home accessory.
4. Farmhouse Bench
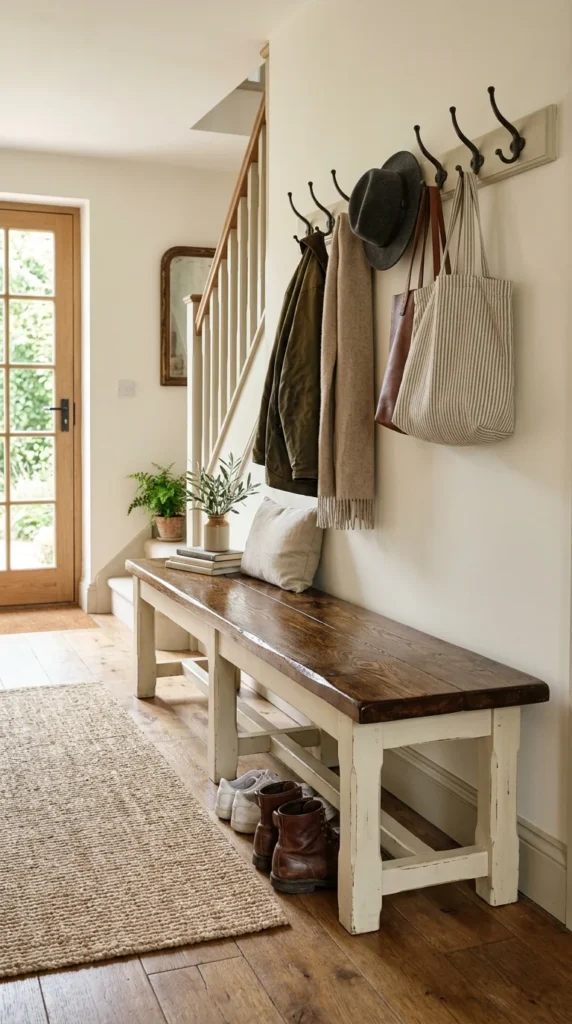
A bench is a fantastic introduction to furniture weight and balance. By using standard 2×4 and 2×12 lumber from a local hardware store, you can create a piece that feels substantial and “built-in.” To make it look professional, focus on the “breadboard ends”—the pieces of wood that run perpendicular to the main seat. This hides the end grain and gives the bench a polished, finished appearance often found in expensive farmhouse decor.
5. Raised Planter
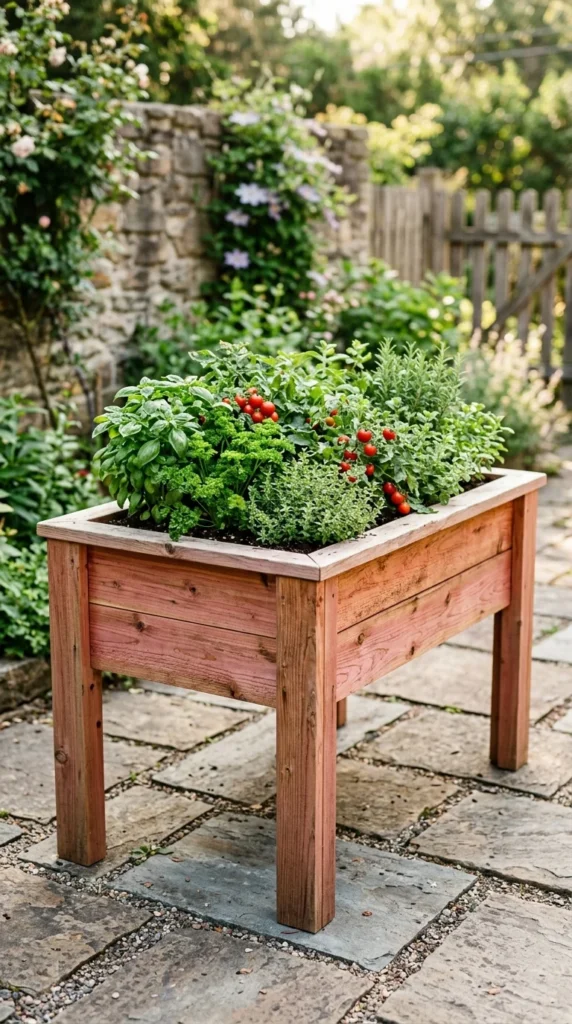
Outdoor projects are forgiving for beginners because a slightly rustic look is often desired. However, using cedar or redwood instead of pressure-treated pine immediately boosts the professional aesthetic. These woods are naturally rot-resistant and age beautifully to a silvery gray, or they can be sealed to maintain their vibrant natural tones. Using a pocket-hole jig (like a Kreg Jig) ensures that all your screws are hidden on the inside of the planter.
6. Monitor Stand
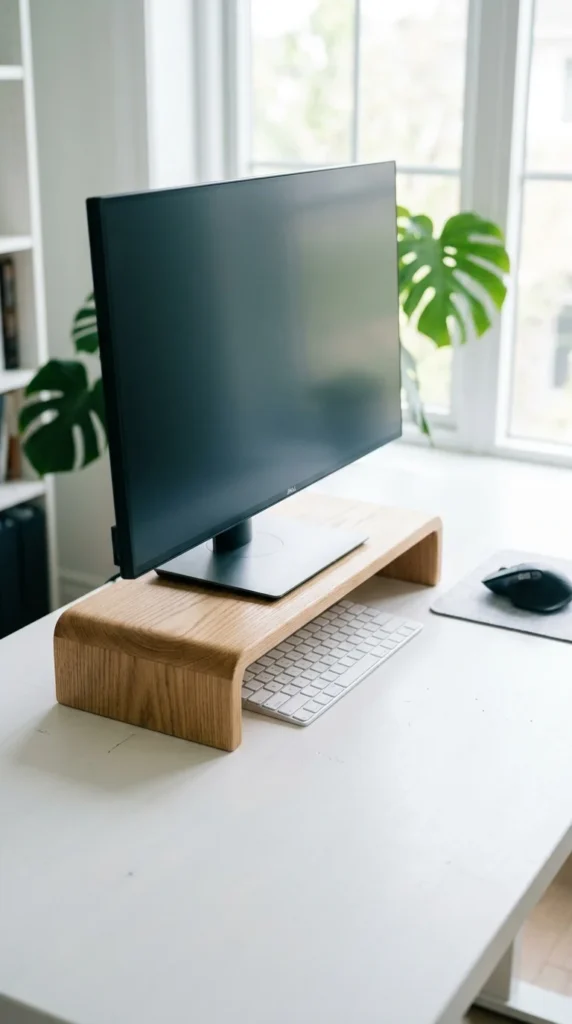
As more people move to home offices, the demand for ergonomic and aesthetic desk accessories has skyrocketed. A monitor stand is essentially a small bridge. To make it look professional, use a single plank of wood and “mitered” corners (45-degree angles) so the wood grain appears to wrap continuously around the sides. This “waterfall” effect is a hallmark of high-end modern furniture.
7. Wine Rack
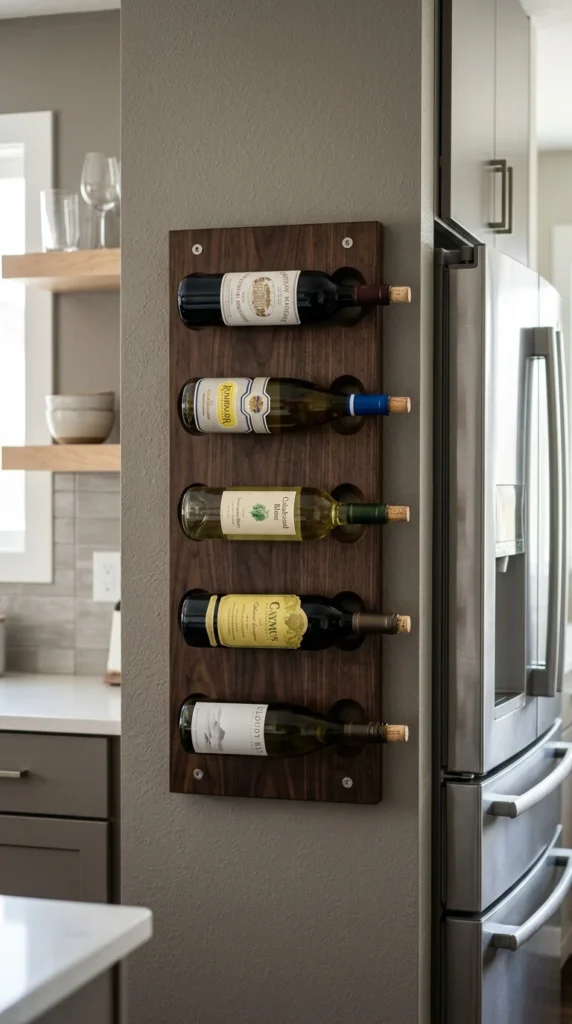
A wine rack is a geometric puzzle that looks much harder to build than it actually is. For a professional look, focus on symmetry. Using a hole saw attachment on your drill allows you to create perfect, uniform circles for the bottle necks. Choose a stain that matches your kitchen cabinetry to make the piece look like a custom architectural feature rather than an afterthought.
8. Bathtub Caddy
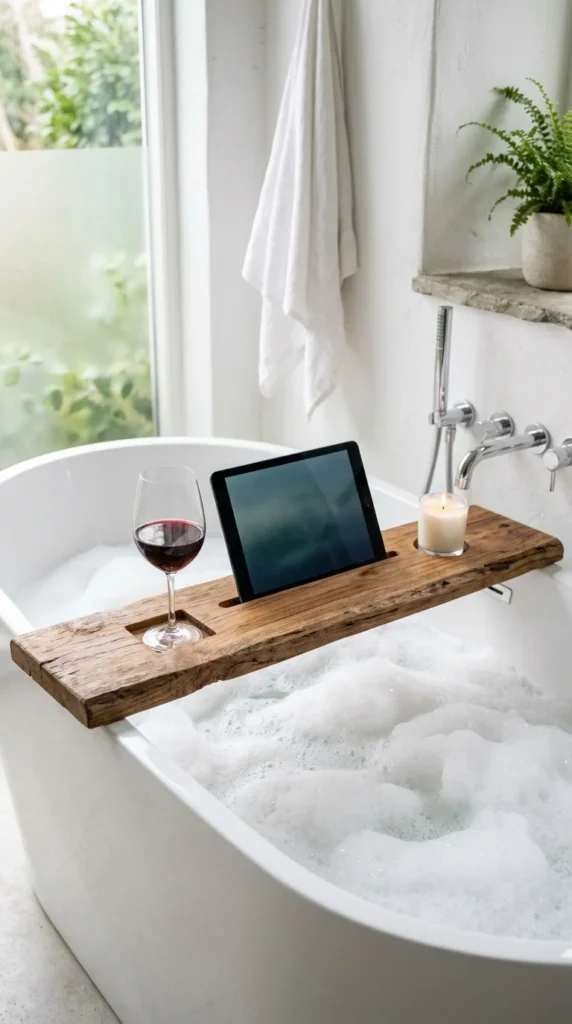
The bathtub caddy is the epitome of “spa-at-home” luxury. Because this item will be exposed to high moisture, the choice of wood and sealant is crucial. Using woods like teak or cedar and finishing them with a waterproof spar urethane will prevent warping. Adding small features like a routed groove for a tablet or a “keyhole” slot for a wine glass makes the project look highly customized and expensive.
9. Modern Coasters
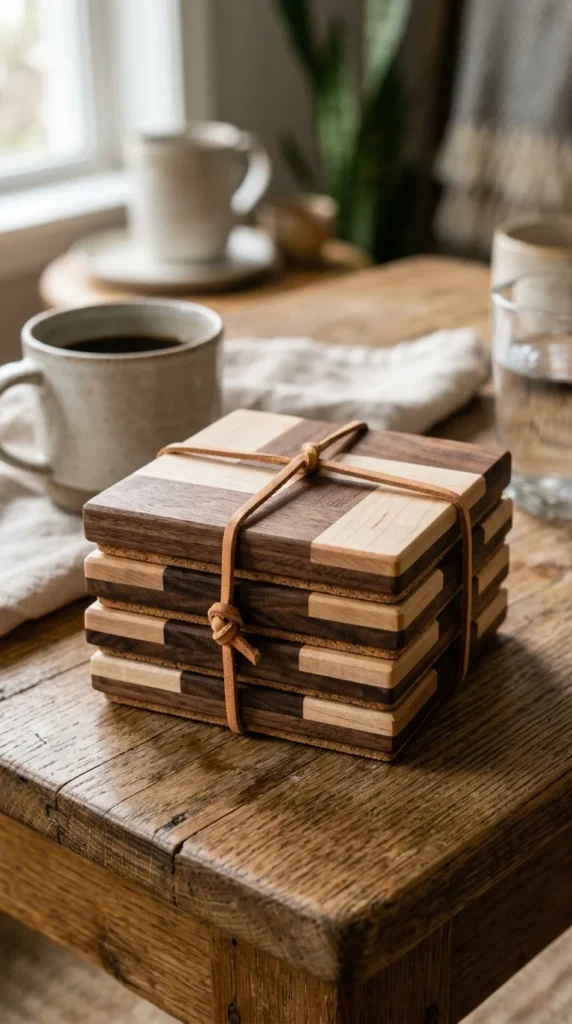
If you have scrap wood lying around, coasters are the perfect way to use it. The “professional” secret here is the use of contrasting wood species. By gluing a thin strip of light wood between two pieces of dark wood, you create a high-end striped effect. Sanding the edges to a slight bevel and applying a food-safe oil finish makes them feel like items found in a boutique gift shop.
10. Bedside Table
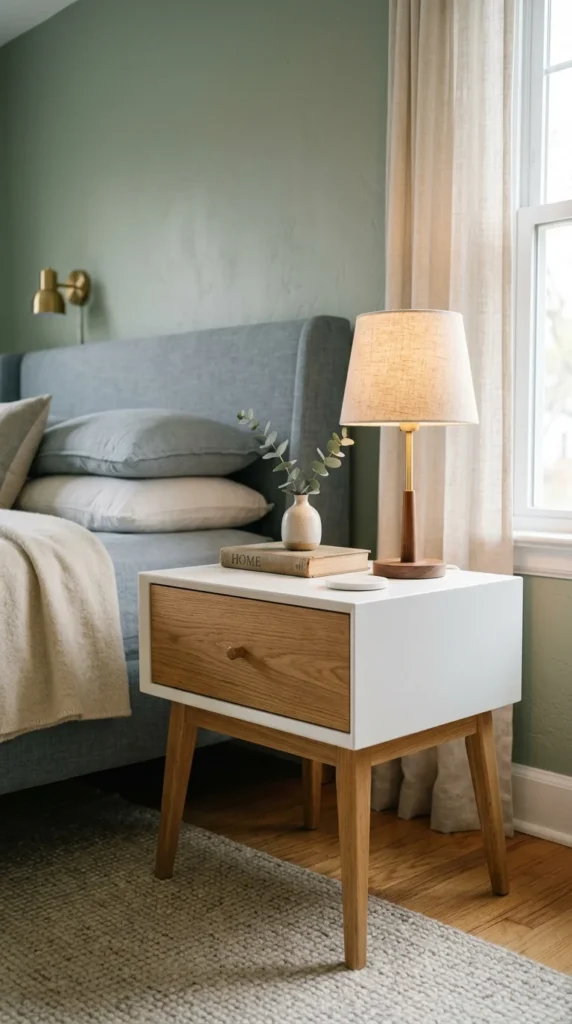
Building a full nightstand might be intimidating, but a “box” style table is very accessible. You can buy pre-made “mid-century modern” legs online and simply screw them into a wooden box you’ve built. This project teaches you how to create a basic carcass (the frame of a piece of furniture) and how to install basic drawer slides or a simple pull-out shelf.
11. Key Organizer

Entryways are often cluttered, and a custom organizer is both functional and stylish. To ensure a professional look, pay close attention to your hardware. Instead of cheap plastic hooks, opt for heavy-duty brass, copper, or wrought iron. Use “keyhole” slots on the back for mounting so the organizer sits flush against the wall with no visible screws.
12. Cutting Board
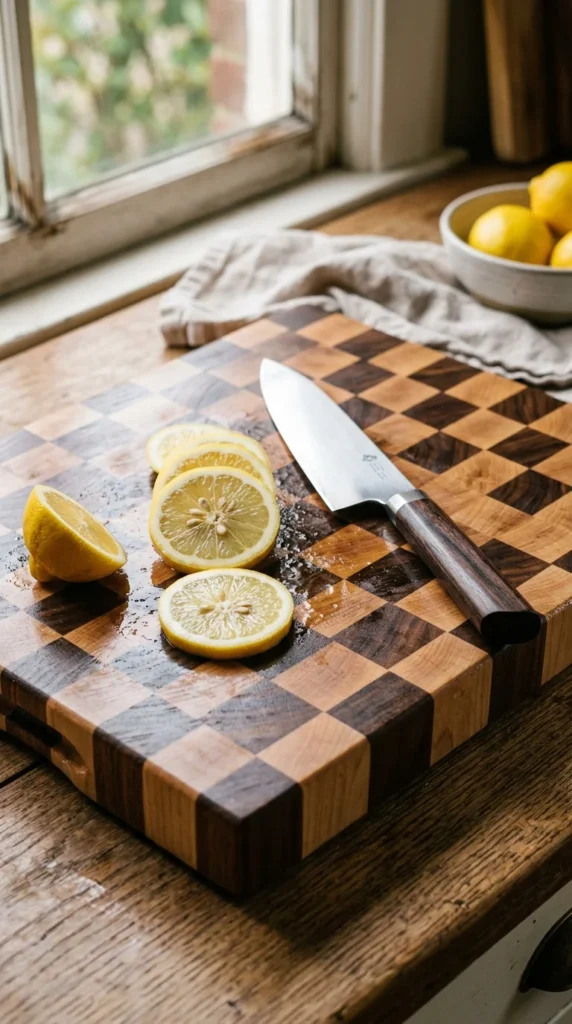
While a basic flat board is easy, an “end-grain” cutting board is where beginners can truly show off. By cutting strips of wood, gluing them together, flipping them on their end, and gluing them again, you create a surface that is both beautiful and better for your knives. The professional touch comes from the “juice groove”—a recessed track around the perimeter—which can be easily made with a router.
13. Picture Frames
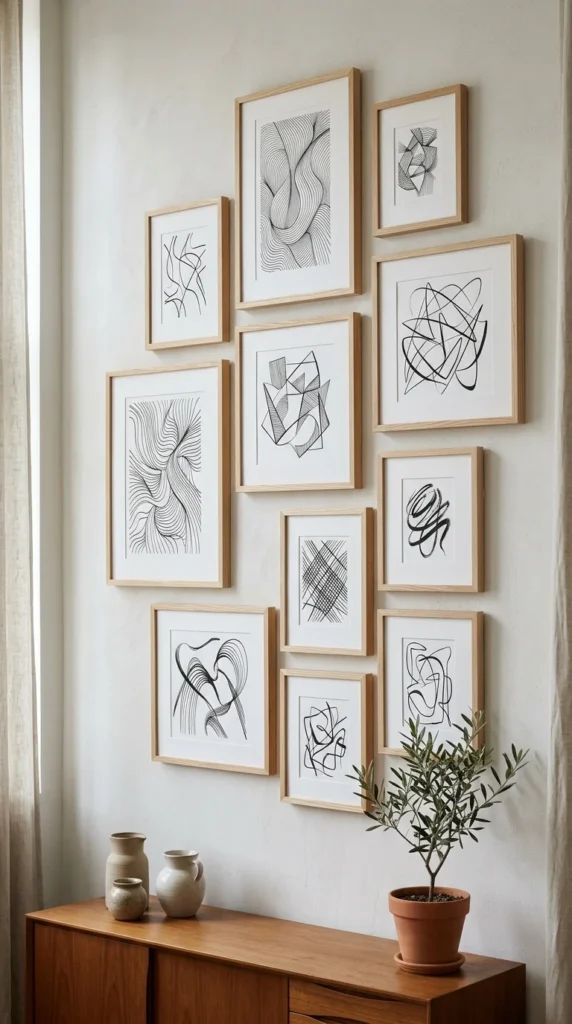
The challenge of a picture frame is the miter joint. If your 45-degree angles are even a fraction of a degree off, the corner won’t close. The “pro” trick is to use a miter trimmer or a simple sanding block to fine-tune the angles. Using real glass and a custom mat board from a craft store will make your DIY frame indistinguishable from a professional framing shop’s work.
14. Console Table
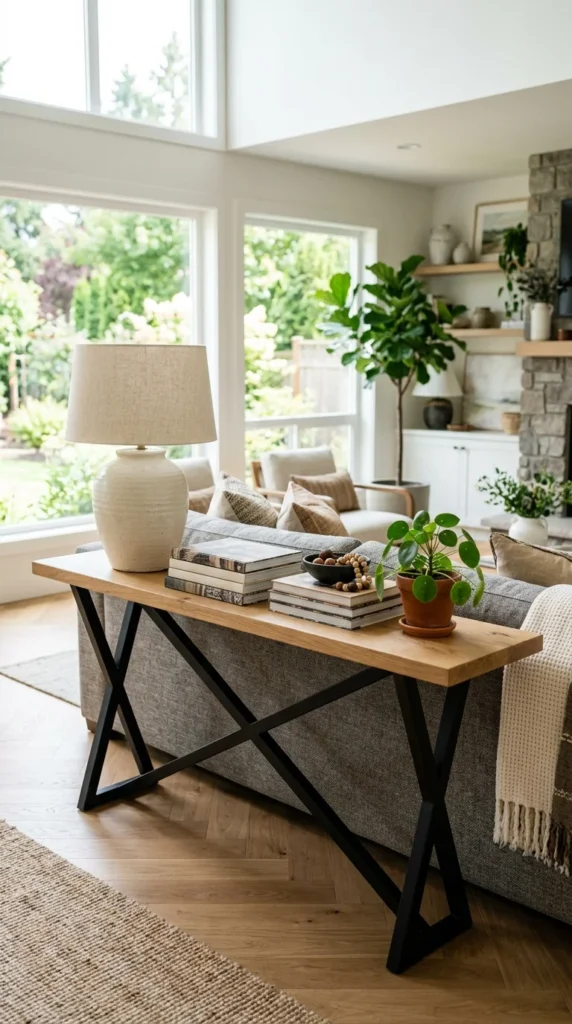
A console table is the perfect “big” project for a beginner because it’s narrow and simple. Many beginners choose to build a wooden top and pair it with “industrial” metal legs purchased separately. This “mixed media” approach is very trendy and hides the most difficult part of furniture building—the legs—while allowing you to focus on creating a stunning, perfectly stained wood top.
15. Wall Art
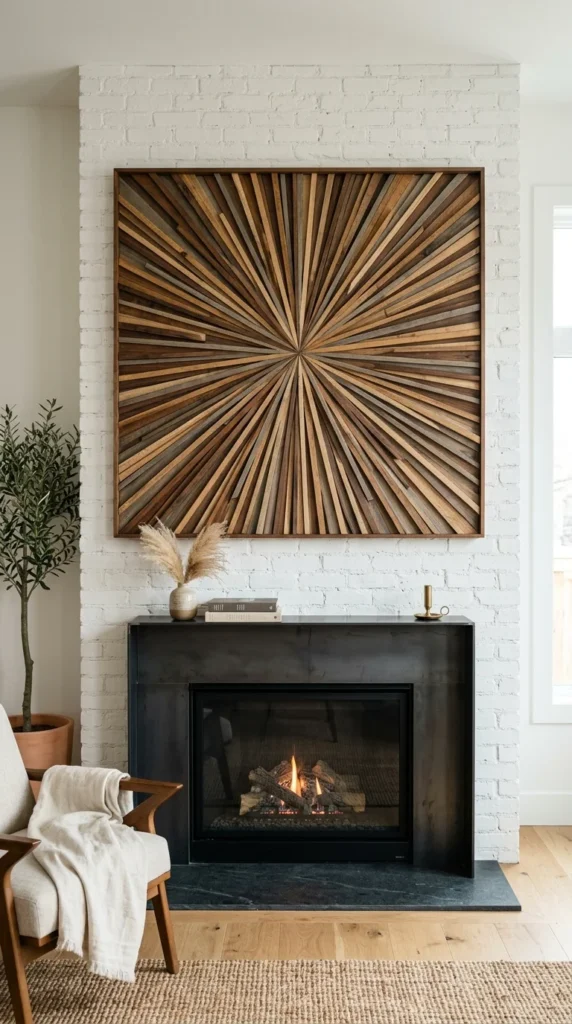
Wood art is the ultimate way to use up every last scrap in your shop. By cutting small pieces of wood at different angles and thicknesses, you can create a 3D mosaic. The professional look is achieved through a cohesive color palette. Use three or four different stain colors that complement each other to create depth and visual interest without making the piece look cluttered.