
There is something inherently magical about the scent of fresh pine and the rustic charm of natural wood during the holiday season. Moving away from plastic, mass-produced baubles and toward handmade wooden ornaments not only adds a personal touch to your tree but also creates lasting memories through the process of crafting. Whether you are an experienced woodworker or a novice crafter, these 28 ideas will help you transform simple timber into festive treasures.
1. Wood Slices
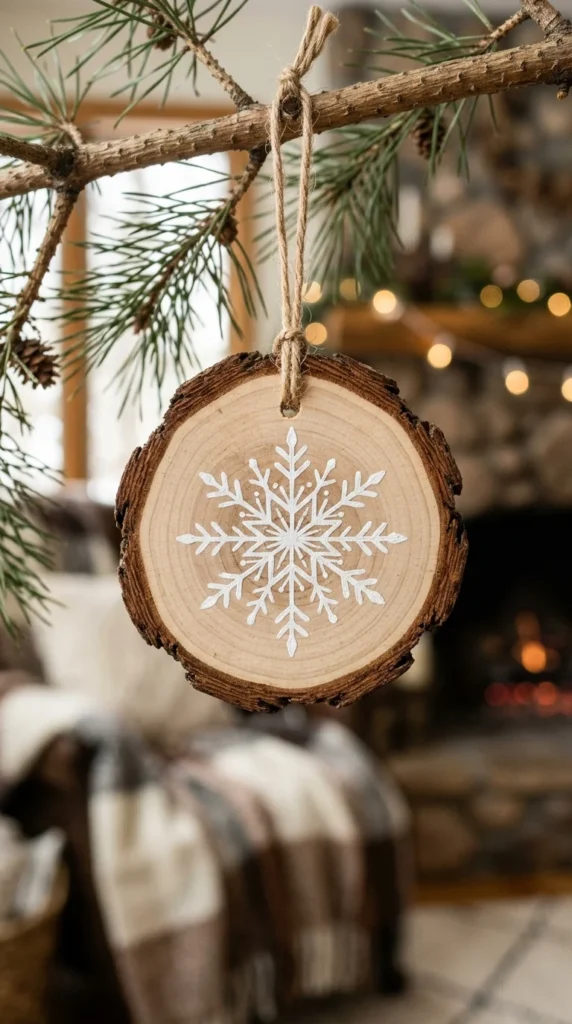
Wood slices are the quintessential base for rustic ornaments. You can harvest small branches from your own backyard or buy pre-cut kiln-dried slices from a craft store. To make these, simply drill a small hole at the top for hanging. You can leave them natural, sand them for a smooth finish, or apply a light wood stain to make the grain pop. These are incredibly versatile and serve as a blank canvas for almost any design.
2. Wood Beads
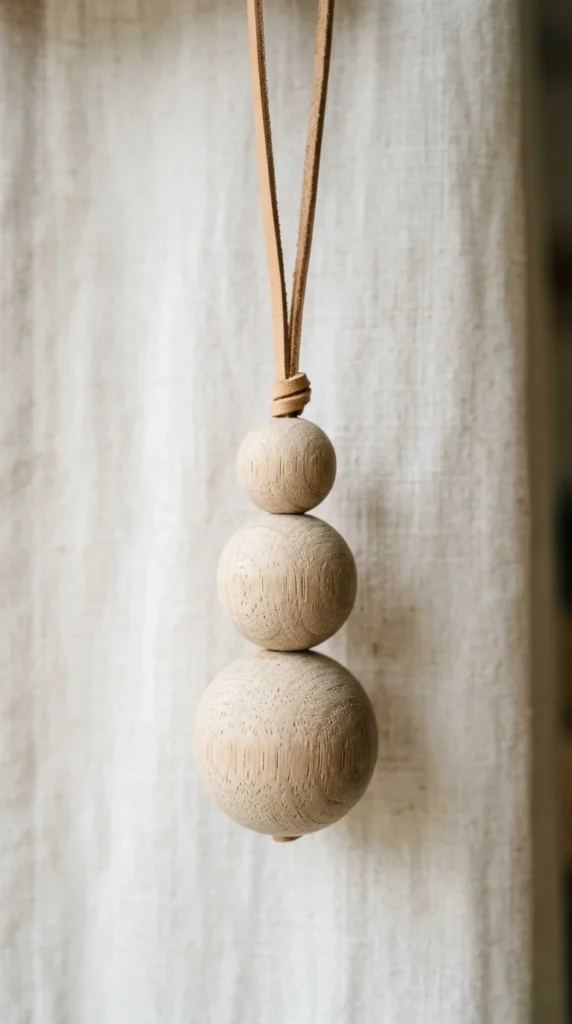
For a Scandinavian or boho-chic look, wooden beads are your best friend. You can string together beads of different sizes to create “snowmen” or “icicles.” Use raw, unfinished beads for a clean aesthetic, or paint a few beads in metallic gold or silver for a bit of holiday shimmer. Finish the look with a tassel made of embroidery floss or yarn at the bottom for added texture.
3. Clothespin Stars
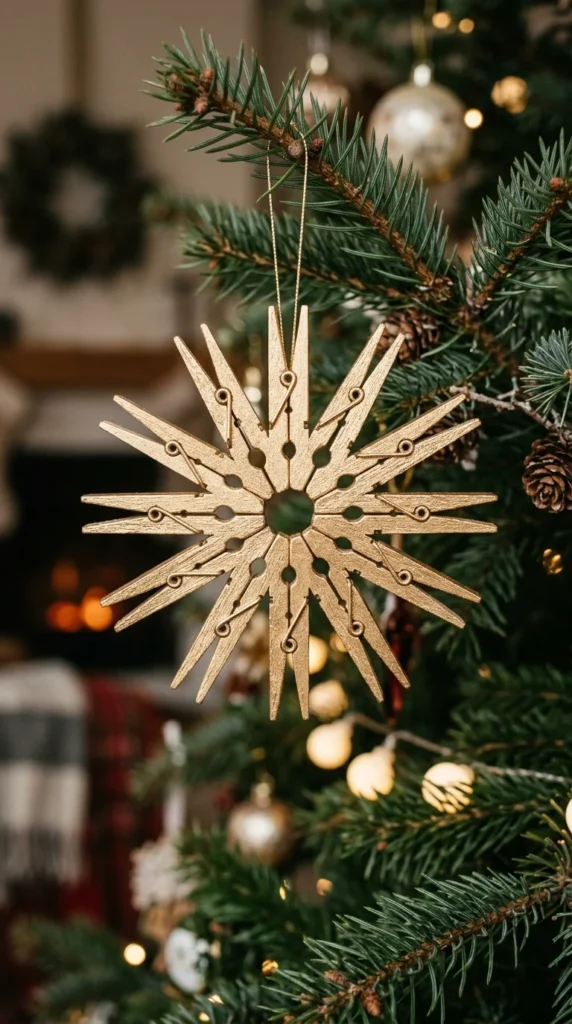
Traditional wooden clothespins can be disassembled and glued together in a starburst pattern to create intricate-looking snowflakes or stars. This is an affordable way to make many ornaments at once. Once the glue is dry, you can spray paint them white, silver, or gold, or even dip the tips in glue and glitter for a frosted effect that catches the light beautifully.
4. Scrabble Tiles
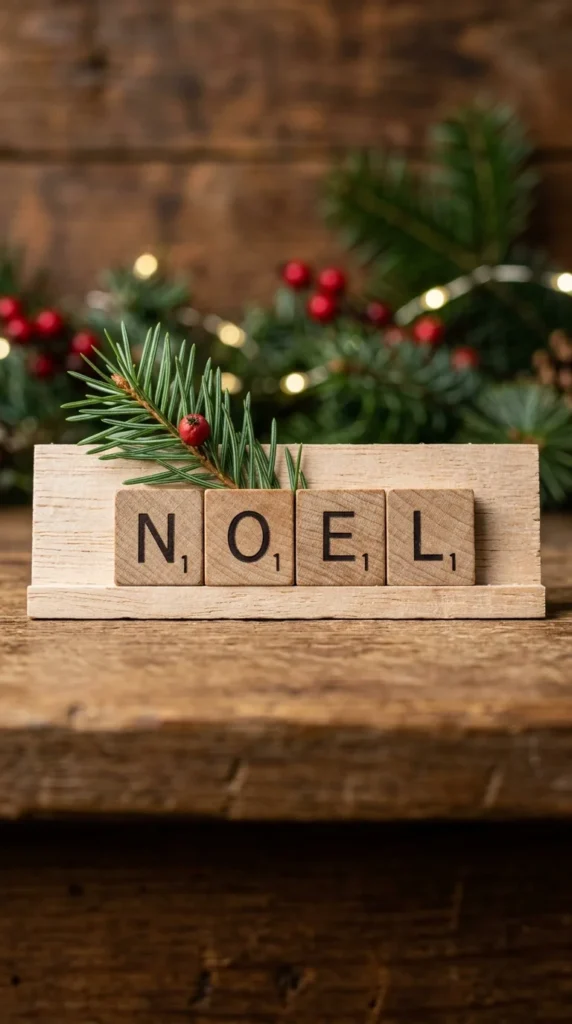
Repurpose old game pieces to spell out festive words like “JOY,” “PEACE,” “SNOW,” or family names. Glue the tiles onto a small backing of craft wood or even a cinnamon stick for an extra sensory experience. These are wonderful for adding a personalized, vintage feel to your tree and make excellent stocking stuffers or gift toppers.
5. Twig Bundles
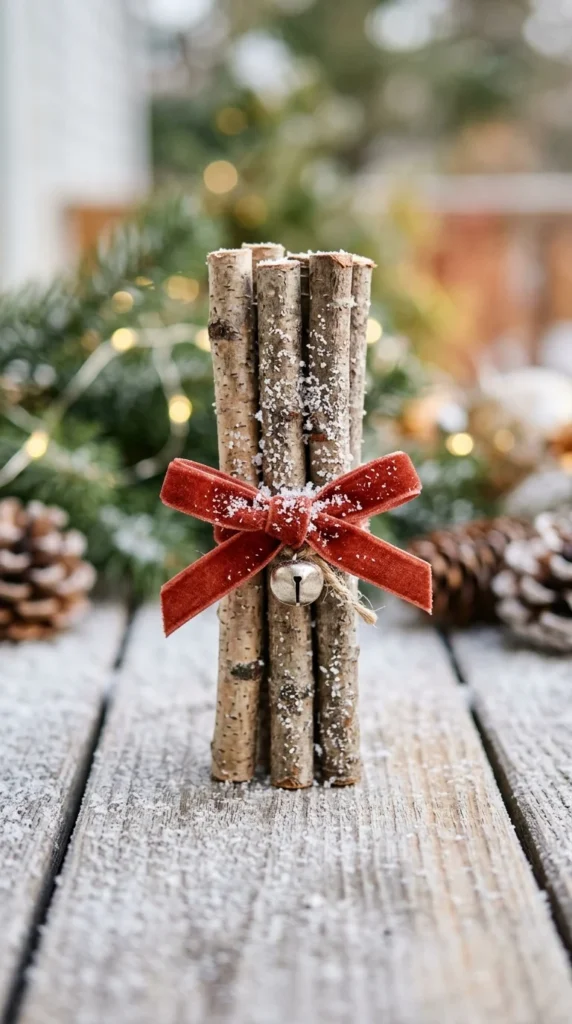
Sometimes the most beautiful decor comes directly from nature. Gather small, straight twigs and tie them together with colorful ribbon or rustic twine. You can arrange them in a “raft” shape or a simple bundle. To elevate the look, brush the ends with white acrylic paint to mimic the look of freshly fallen snow, or glue on a tiny sprig of holly.
6. Wood Blocks
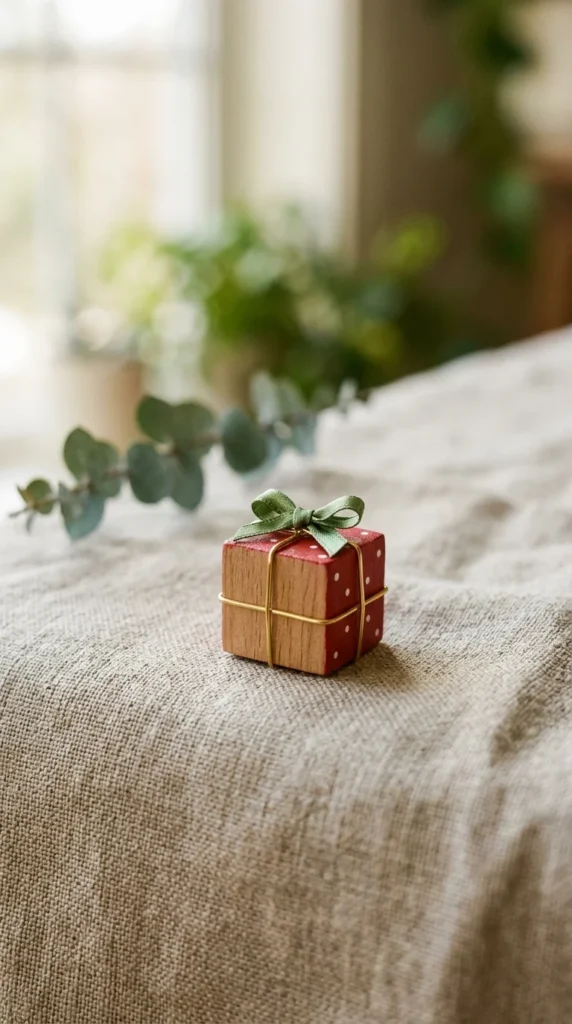
Small wooden craft blocks can be transformed into tiny presents. Paint them in traditional reds and greens or modern pastels. You can use thin ribbon or even Washi tape to create the “wrapping” lines. These add a 3D element to your tree and are sturdy enough to last for decades, becoming heirlooms that your family will look forward to seeing every year.
7. Cinnamon Sticks
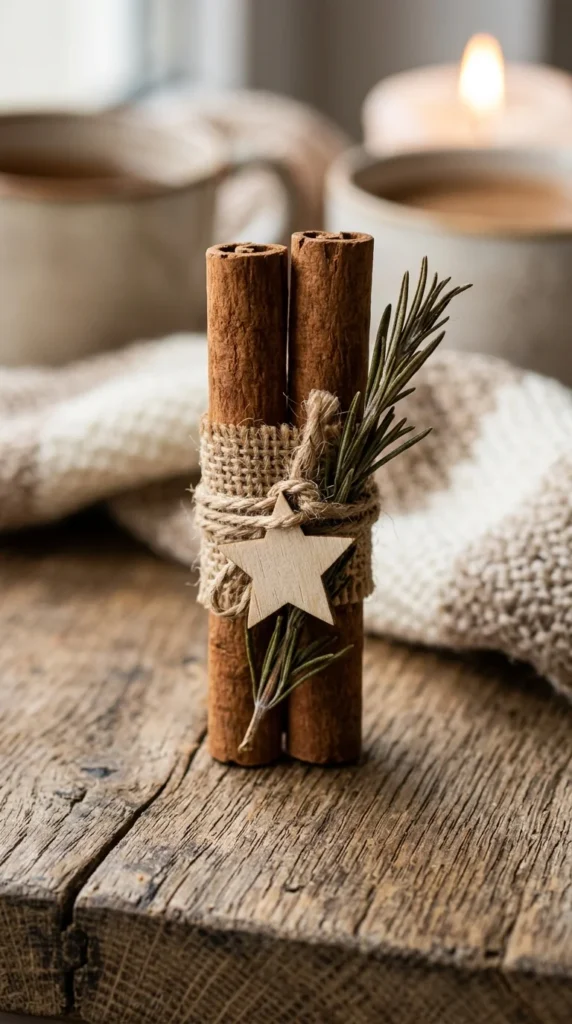
While not strictly timber, cinnamon sticks offer a woody texture and a heavenly scent. Use them as the “trunk” for a tree made of fabric scraps or tied greenery. You can also glue three sticks together in a triangle shape to create a minimalist tree frame, then hang a small wooden bead or bell in the center.
8. Plywood Cutouts
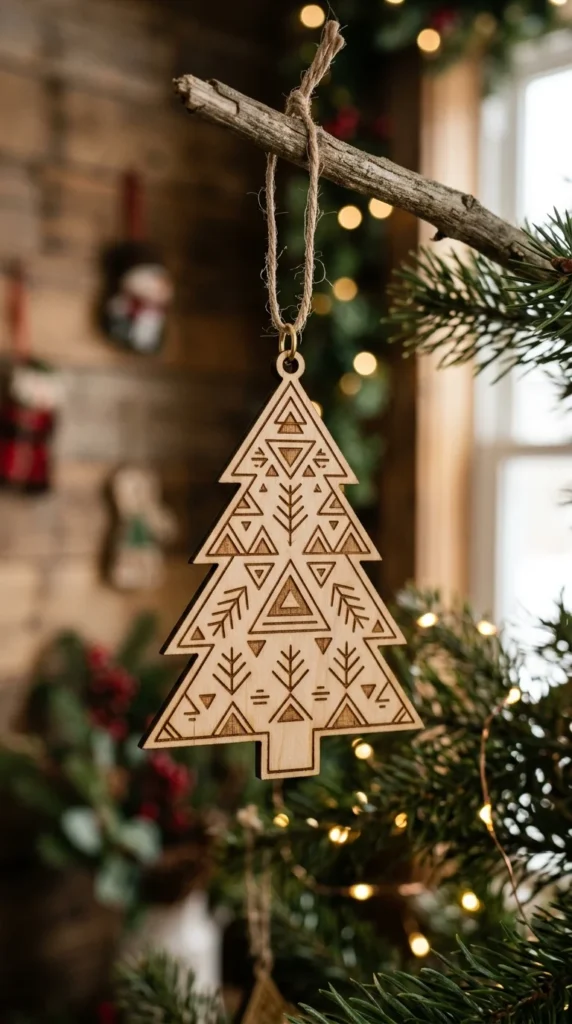
If you have a scroll saw or a steady hand with a coping saw, thin plywood can be cut into classic shapes like stars, hearts, or reindeer. These flat ornaments are lightweight and perfect for mailing in holiday cards. For a professional finish, sand the edges thoroughly and apply a clear coat of polyurethane to protect the wood and enhance its natural color.
9. Chalkboard Rounds

Apply a couple of coats of chalkboard paint to the center of a wood slice. This allows you to change the design every year or use them as reusable place cards for your holiday dinner table before hanging them on the tree. You can write the year, a special wish, or draw a tiny winter scene.
10. Pyrography Slices
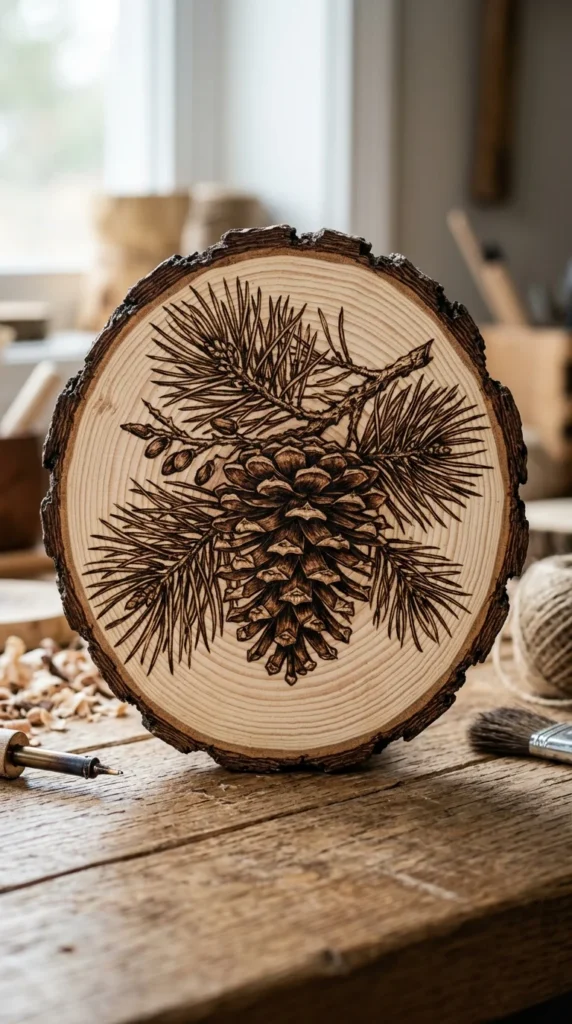
Wood burning, or pyrography, is a fantastic way to add permanent, detailed designs to wooden ornaments. You can burn intricate forest scenes, family initials, or traditional folk patterns. The charred wood creates a beautiful contrast against the natural grain, and the process of burning the wood adds a nostalgic, campfire-like aroma to your crafting session.
11. Embroidery Hoops
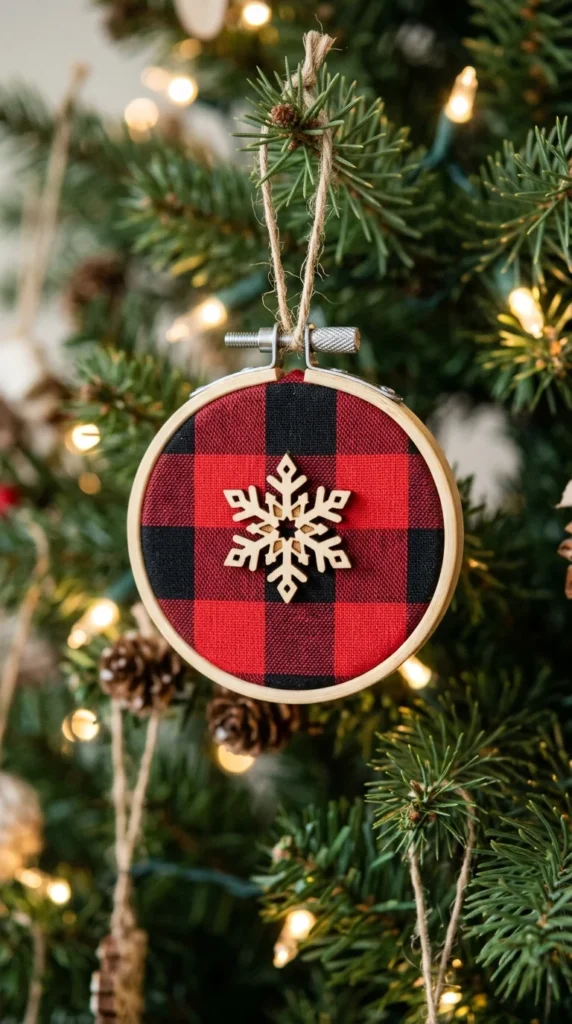
Miniature wooden embroidery hoops are perfect for creating “window” ornaments. Instead of fabric, you can use them to frame thin sheets of wood or even heavy cardstock. They provide a clean, circular border that looks very high-end. Decorate the top of the hoop with a small bow and a bit of greenery to hide the metal adjustment screw.
12. Driftwood Trees
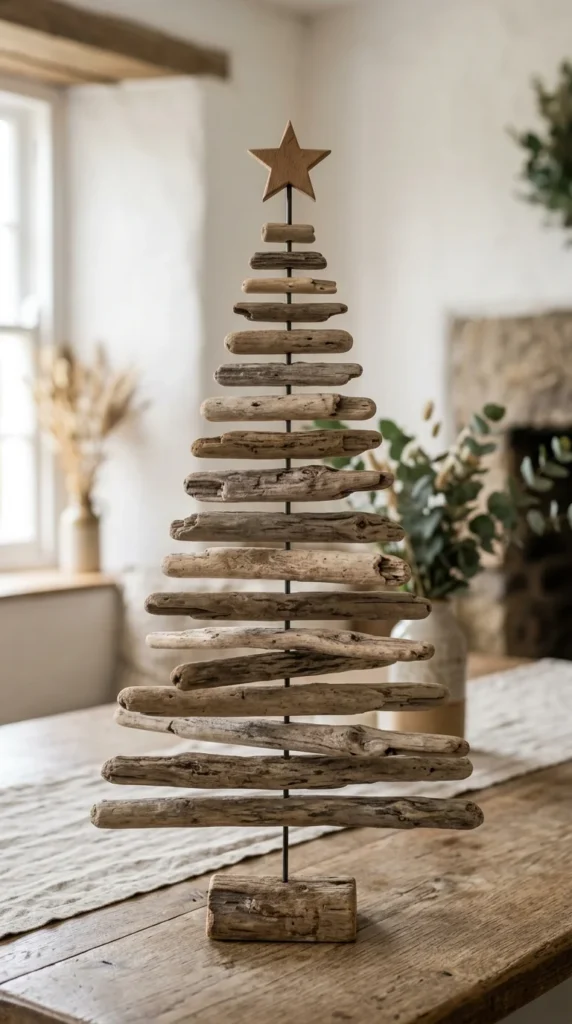
For those who live near the coast or love a beachy Christmas, driftwood ornaments are a must. The weathered, grey-toned wood looks stunning against green pine needles. Drill holes in the center of several pieces of driftwood of varying lengths and stack them on a wire or sturdy thread to create a 3D tree shape that swivels and catches the light.
13. Log Reindeer
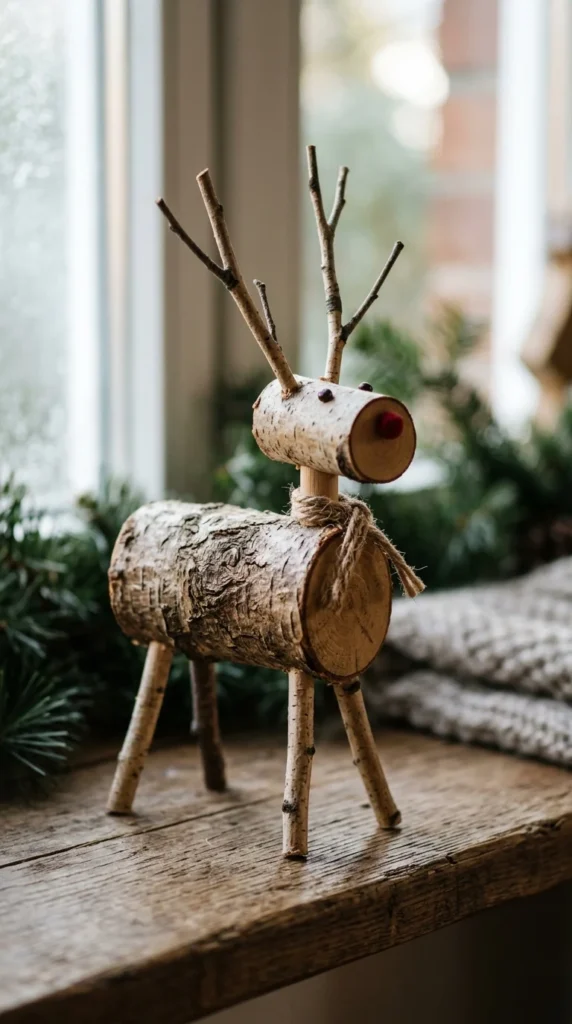
Channel your inner carpenter by creating 3D reindeer from small logs and branches. A thicker piece of wood serves as the body, while a smaller piece becomes the head. Use tiny twigs for the legs and antlers. Glue on a red wooden bead for a nose, and you have a charming, rustic “Rudolph” that stands out on any branch.
14. Painted Pegs

Wooden peg dolls aren’t just for kids. Paint them to look like snowmen, nutcrackers, santas, or even members of your own family in their winter gear. Glue a small eye hook into the top of the head to turn them into ornaments. These add a whimsical, toy-like quality to the tree that children especially love.
15. Geometric Gems
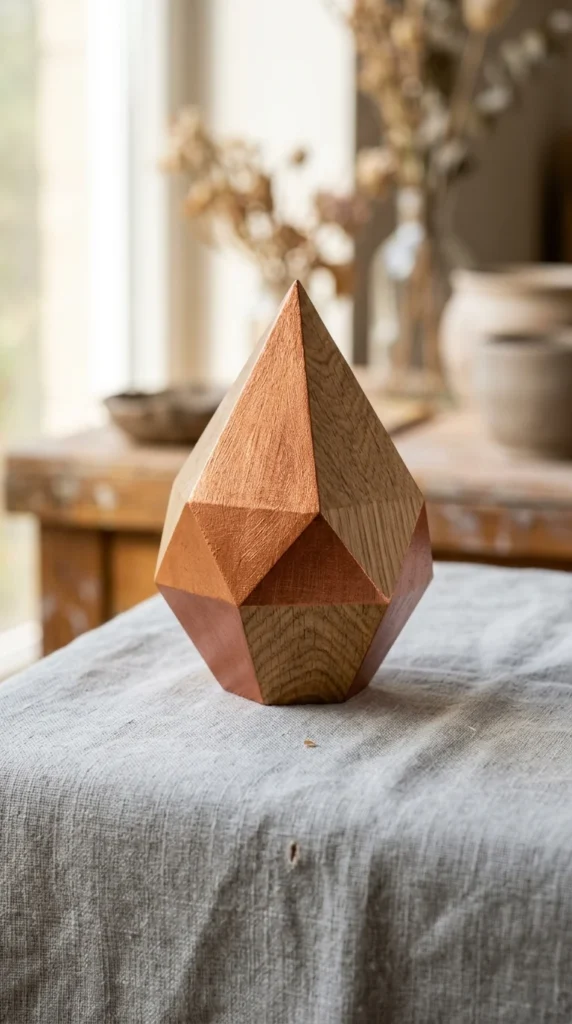
Use a miter saw to cut small blocks of wood into irregular, faceted “gem” shapes. This modern take on wooden ornaments looks fantastic when painted in metallic tones or neon colors for a contemporary holiday palette. The sharp angles and flat planes reflect the tree lights in a unique way compared to traditional round baubles.
16. Spool Wraps
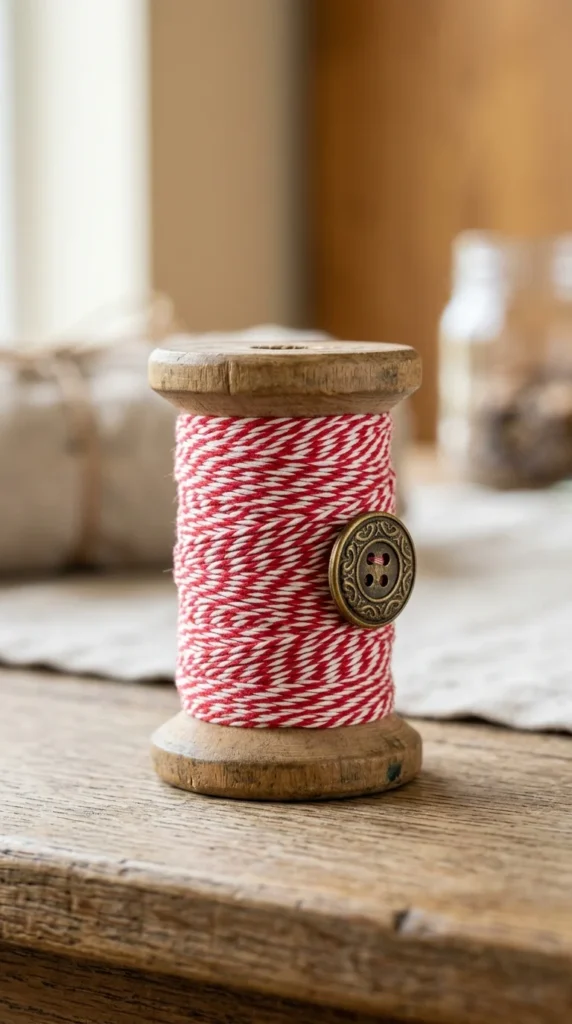
Vintage or reproduction wooden spools can be decorated in endless ways. Wrap them in colorful yarn, lace, or patterned fabric. You can also thread a ribbon through the center and tie a bell at the bottom. They evoke a sense of “homespun” comfort and look particularly good on trees with a farmhouse or traditional theme.
17. Dowel Snowflakes
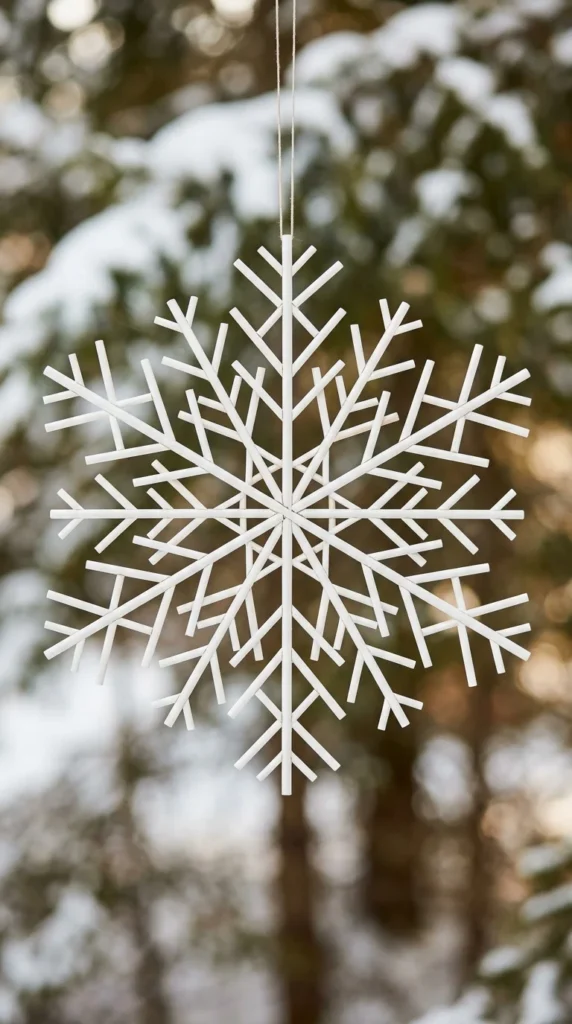
Thin wooden dowels can be cut into small sections and glued together to form geometric snowflakes. Because dowels are uniform, these ornaments have a very clean, structured look. You can leave them natural for a modern feel or paint them white and sprinkle them with iridescent glitter to mimic the sparkle of real ice crystals.
18. Jenga Towers
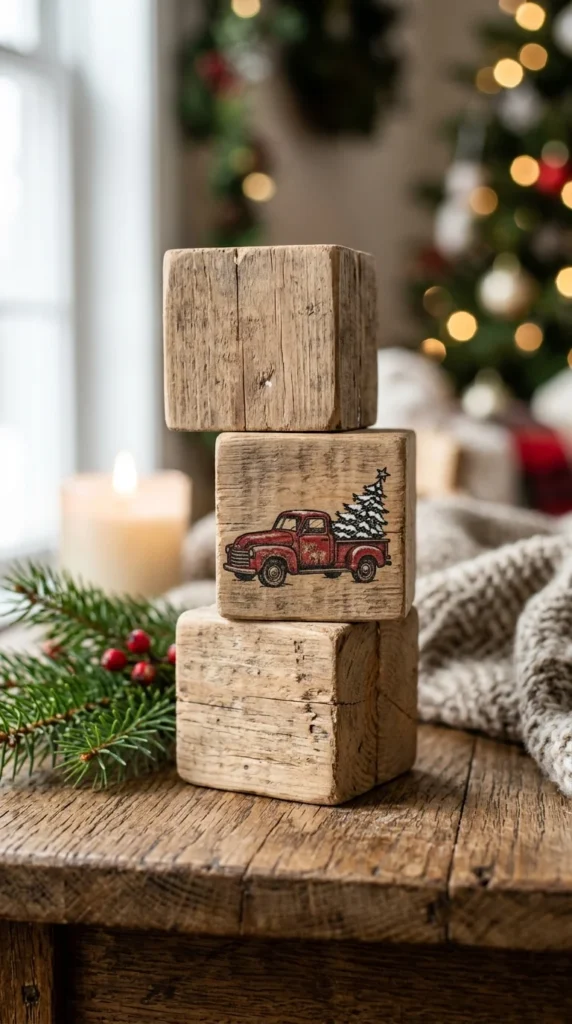
If you have an old Jenga set with missing pieces, don’t throw it away! The rectangular blocks are the perfect size for ornaments. You can stamp them with holiday greetings, use decoupage to apply vintage Christmas cards, or even glue three together vertically to create a tall, thin canvas for a painted winter scene.
19. Birch Pillars
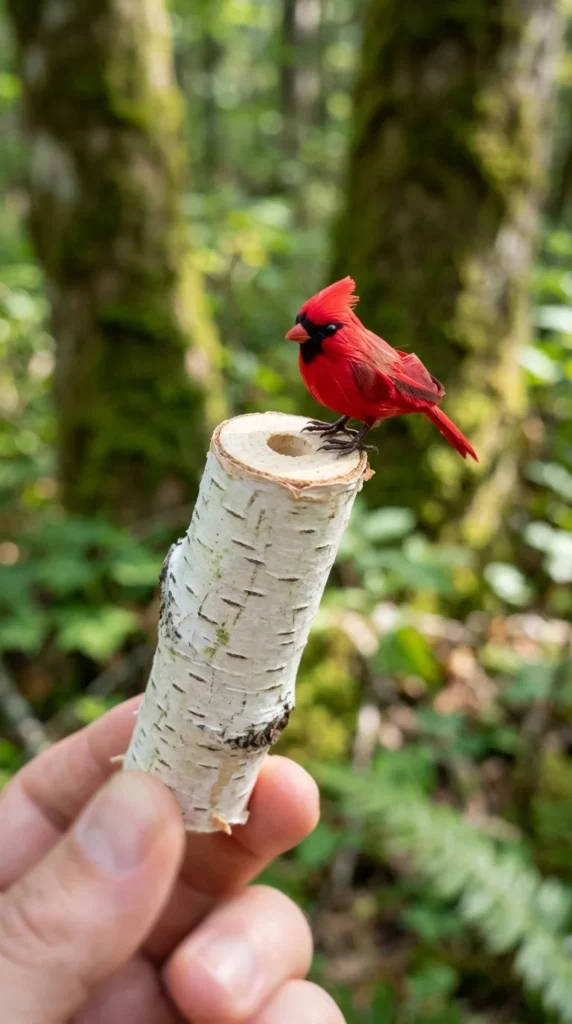
White birch bark is naturally decorative. Simply cutting small “pillars” from a birch branch and adding a hanging loop creates an elegant, woodland-themed ornament. The striking contrast between the white bark and the dark lenticels (the horizontal lines) means you don’t need to add much else to make these look beautiful.
20. Tree Ring Transfers
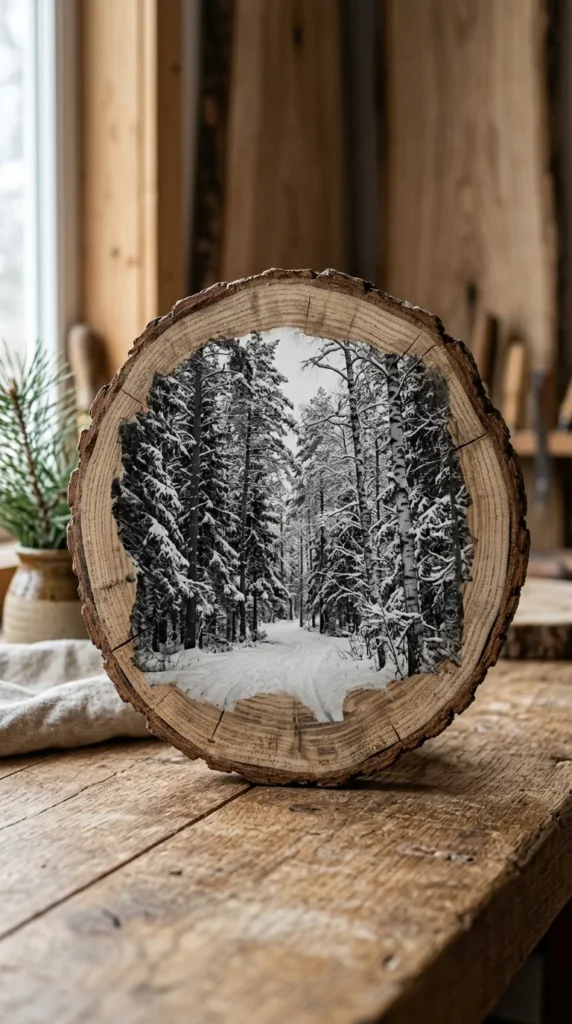
Using a photo transfer medium, you can apply black and white photos or vintage illustrations directly onto wood slices. This allows the natural grain of the wood to show through the image, giving it a dreamy, antique quality. This is an excellent way to commemorate special memories from the past year.
21. Shaker Shapes
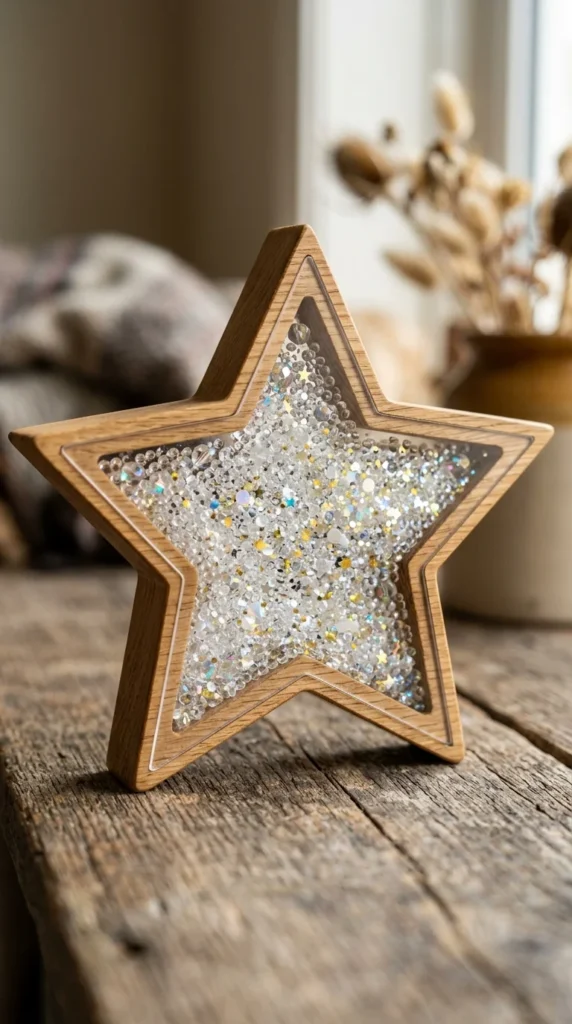
Create a “shaker” ornament by hollowing out a thick piece of wood or using a pre-made wooden frame. Cover the front with a thin piece of clear acetate and fill the inside with tiny wooden stars, sequins, or faux snow. Every time the branch moves, the contents of the ornament will dance and settle, adding motion to your tree.
22. Nested Slices
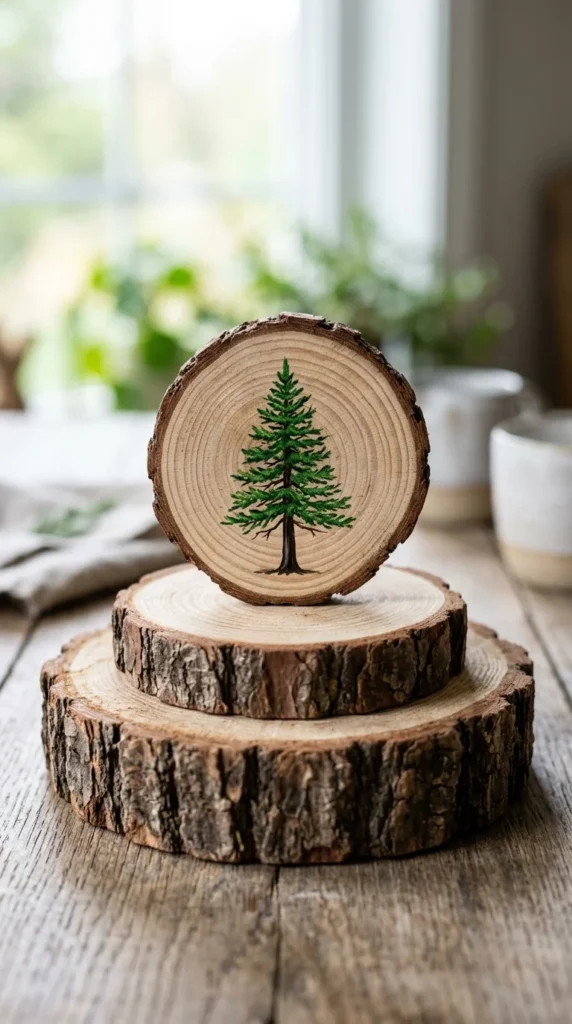
Instead of using one wood slice, stack three of varying sizes (large, medium, and small) on top of each other. This creates a tiered effect that adds depth. You can paint a different part of a scene on each level, or simply use the different sizes to create a “top-down” view of a snowy mountain or a festive wreath.
23. Hammered Tin and Wood
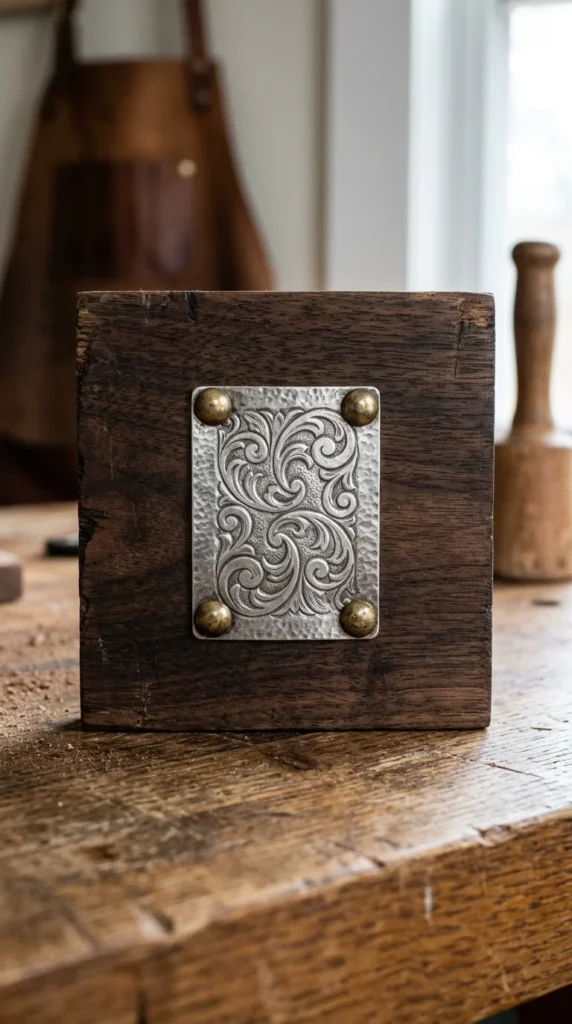
Combine textures by mounting a small piece of embossed metal or “tin” onto a wooden backing. The warmth of the wood balances the coolness of the metal. You can use a nail to punch designs into a piece of soda can or craft metal, then tack it onto a sanded wood block for an industrial-meets-rustic look.
24. Threaded Plywood
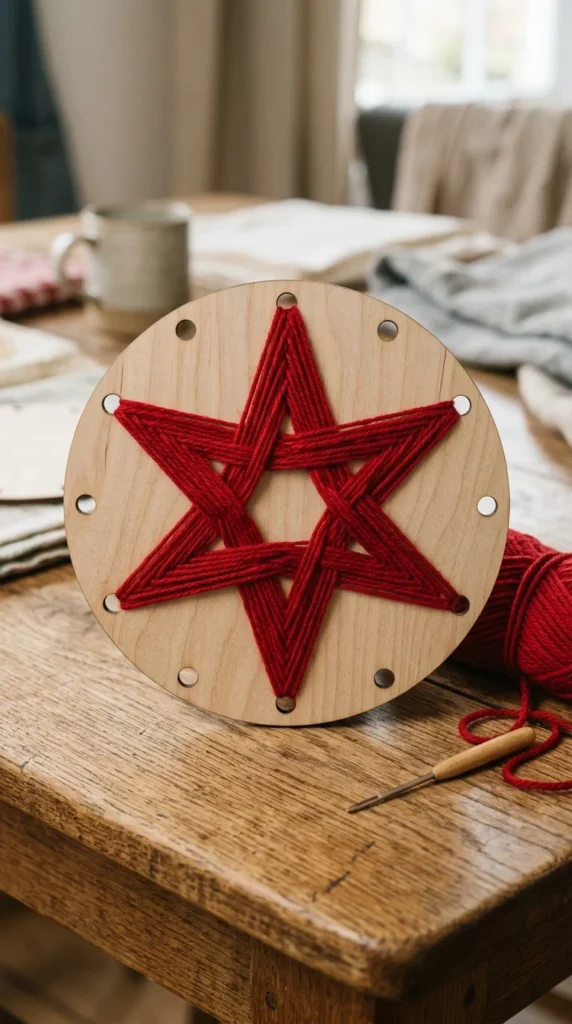
Drill a series of small holes into a flat plywood shape and “sew” through them using colorful yarn or embroidery floss. This technique, similar to string art, allows you to create geometric patterns, stars, or even initials. It’s a great way to introduce color and soft texture to the hard surface of the wood.
25. Wood Wool Nests
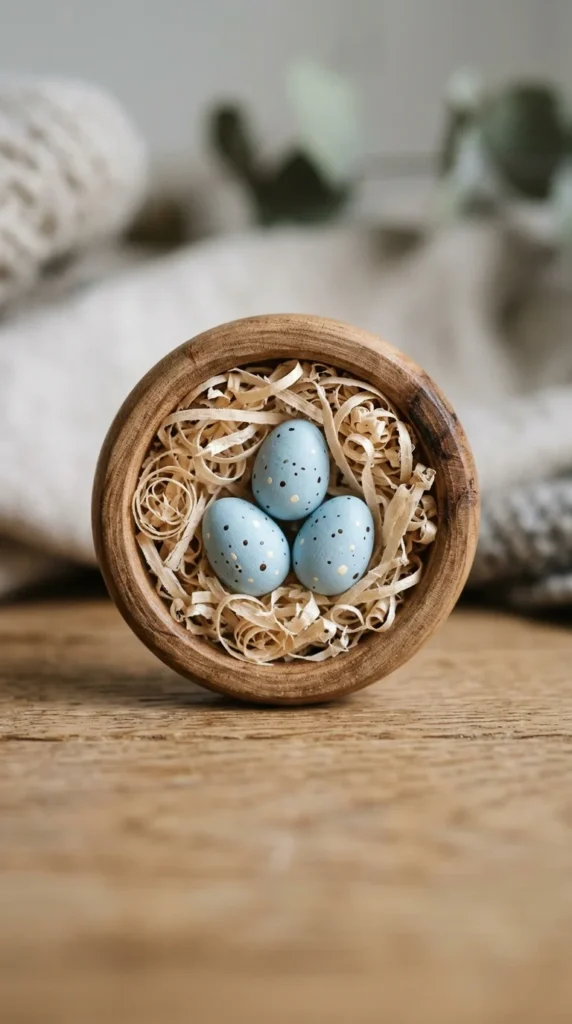
Use “wood wool” (the curly shavings used for packaging) to create tiny nests. Glue the shavings into a small wooden bowl or a ring cut from a branch. Add a few small wooden “eggs” or a tiny carved bird. These ornaments feel very organic and look lovely tucked deep into the branches of a tree.
26. Painted Landscapes
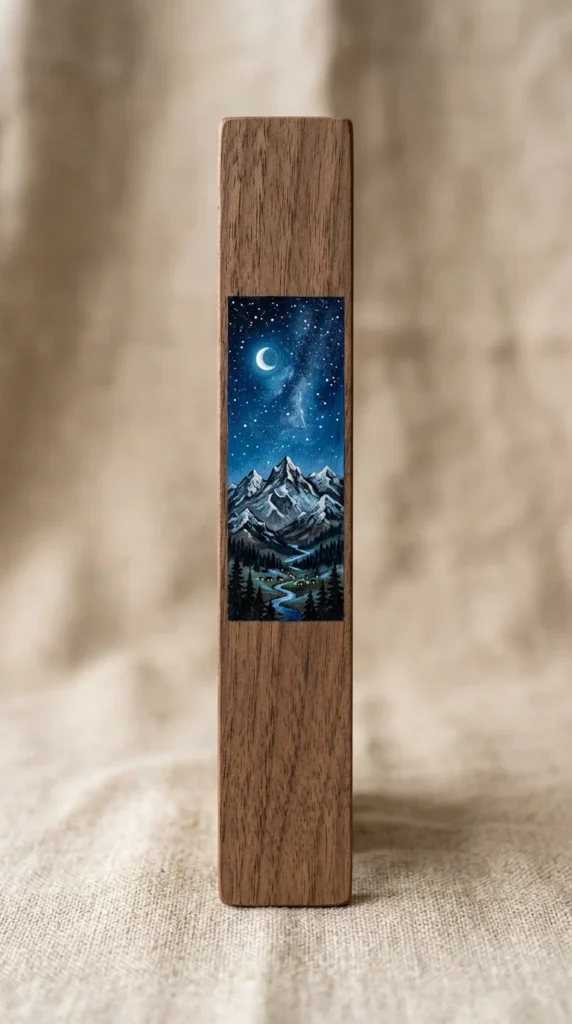
If you enjoy painting, use small strips of wood as mini canvases. A long, thin rectangle is perfect for a panoramic view of a winter forest or a row of colorful houses in a snowy village. Use acrylic paints and a very fine-tipped brush to capture the details. A matte varnish will give these a sophisticated, gallery-like finish.
27. Wood Shingle Houses
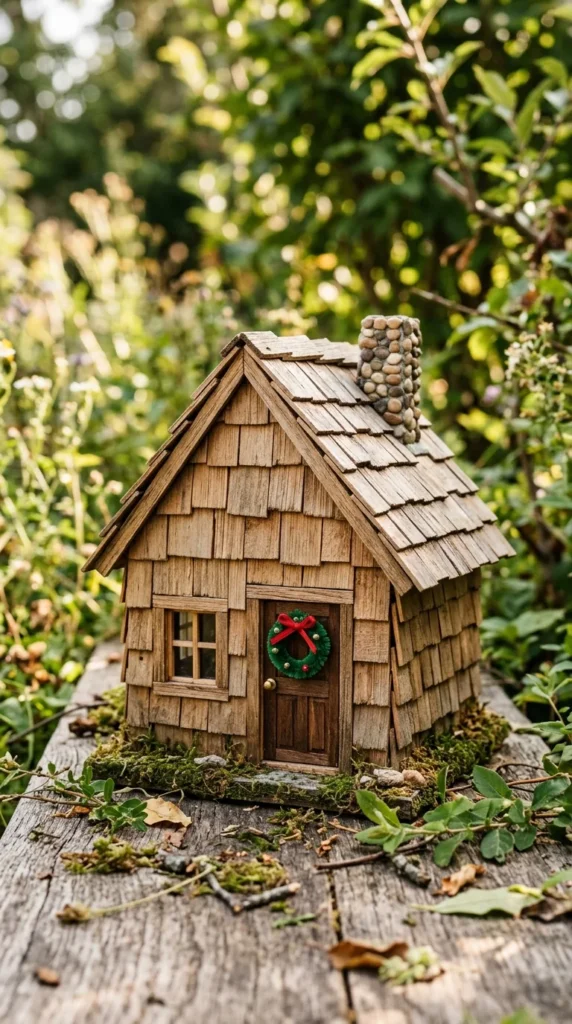
Cut small pieces of cedar shingles or thin craft wood to build miniature houses. These can be simple A-frame structures or more complex cottages. Because they are made of wood, they have a sturdy, architectural feel. You can paint them to look like gingerbread houses or keep them natural for a minimalist “village” look on your tree.
28. Laser Cut Layers
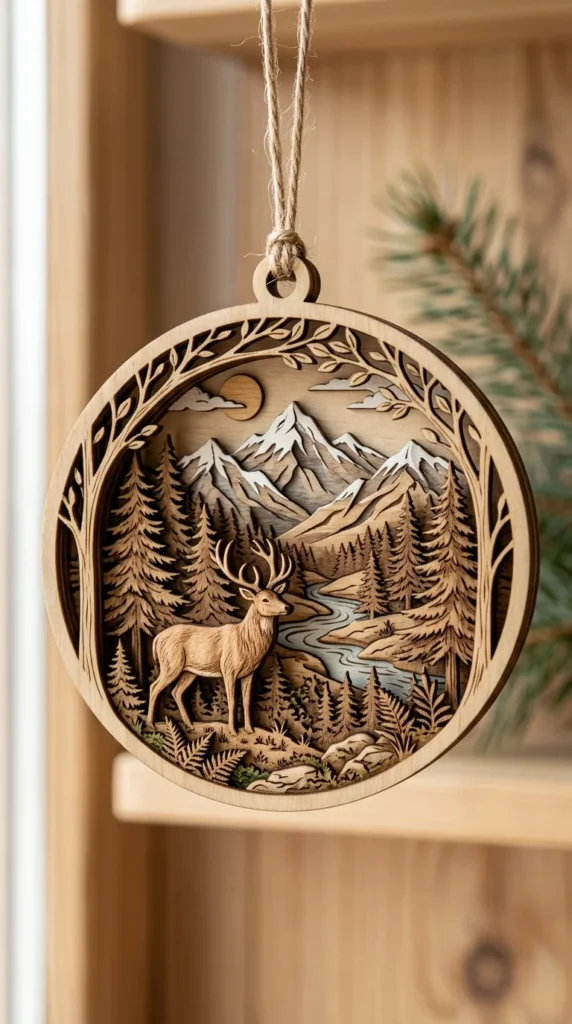
For those with access to a laser cutter, layered ornaments are a showstopper. By cutting three or four different scenes and gluing them together with small spacers in between, you create a “shadow box” effect. The precision of the laser allows for incredibly fine details like individual pine needles or tiny stars that would be nearly impossible to cut by hand.
Creating your own wooden ornaments is a rewarding way to slow down and embrace the spirit of the season. Each piece you make carries the story of the time spent crafting it, making your Christmas tree a gallery of personal history and natural beauty. Whether you prefer the raw, unrefined look of bark and twigs or the polished finish of painted gems, these wooden ideas will ensure your holiday is truly handmade.